개발자로서 현장에서 일하면서 새로 접하는 기술들이나 알게된 정보 등을 정리하기 위한 블로그입니다. 운 좋게 미국에서 큰 회사들의 프로젝트에서 컬설턴트로 일하고 있어서 새로운 기술들을 접할 기회가 많이 있습니다. 미국의 IT 프로젝트에서 사용되는 툴들에 대해 많은 분들과 정보를 공유하고 싶습니다.
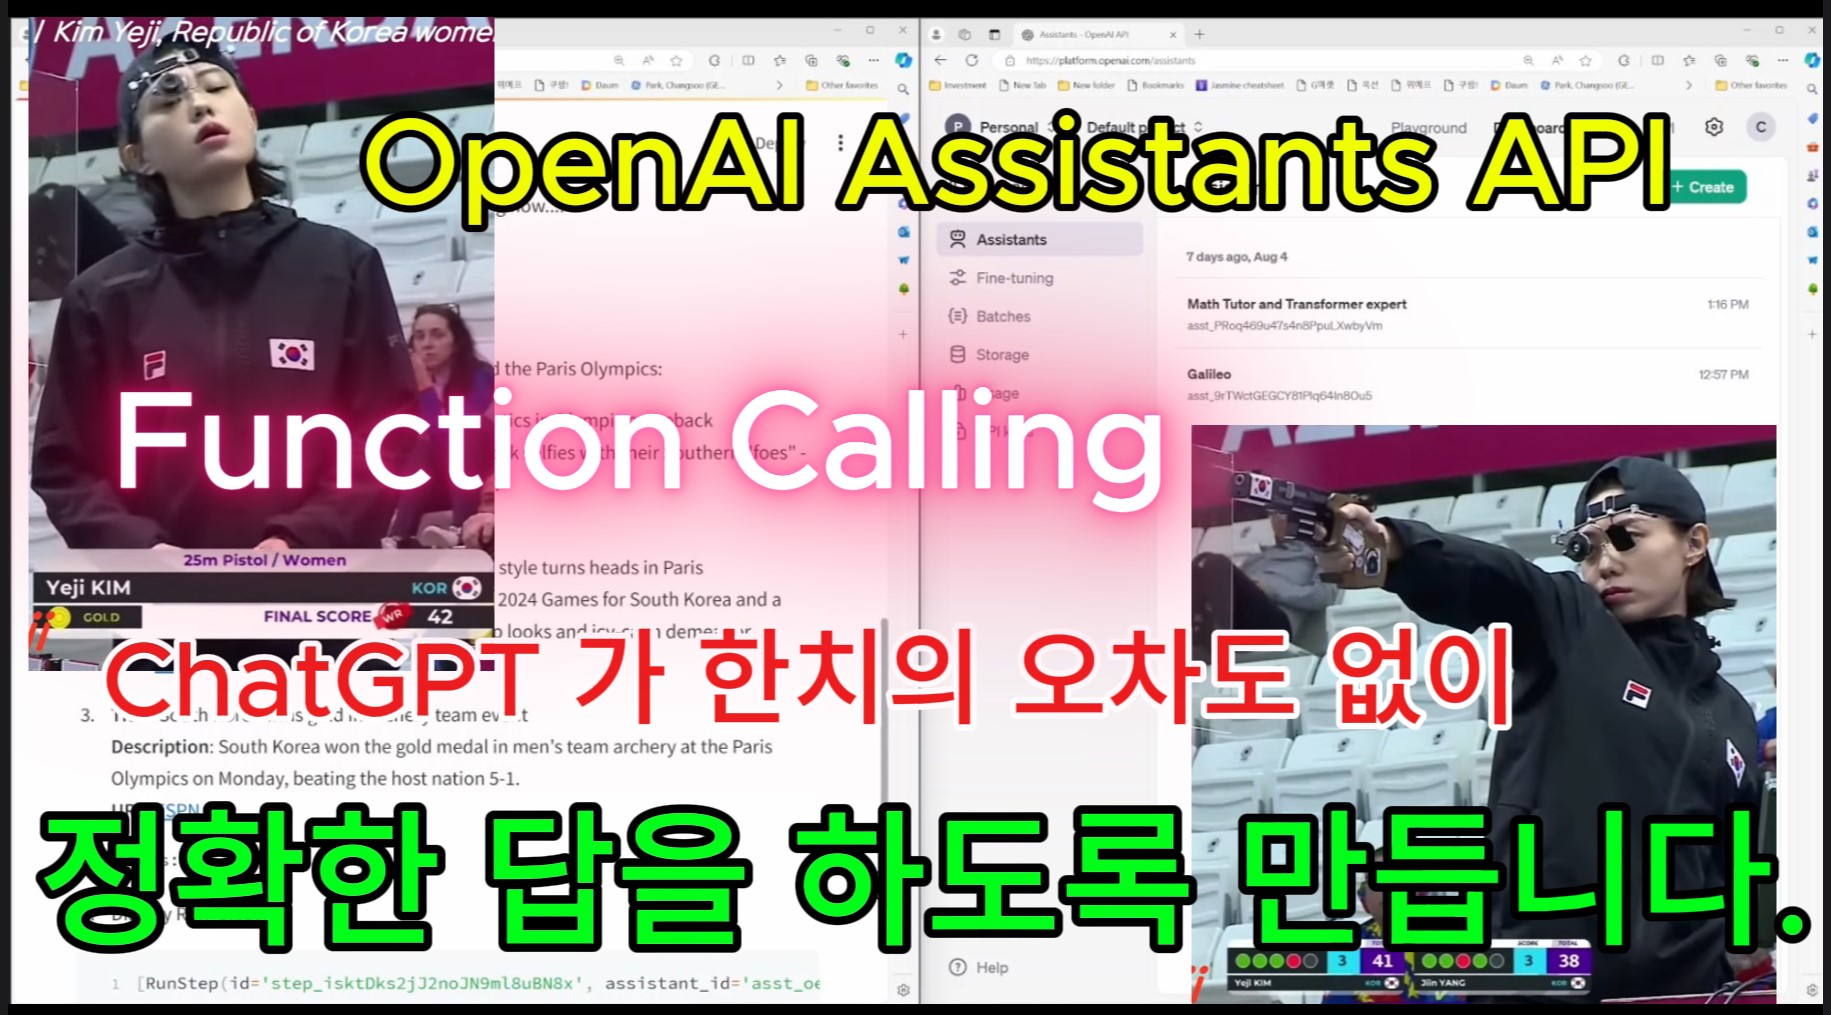
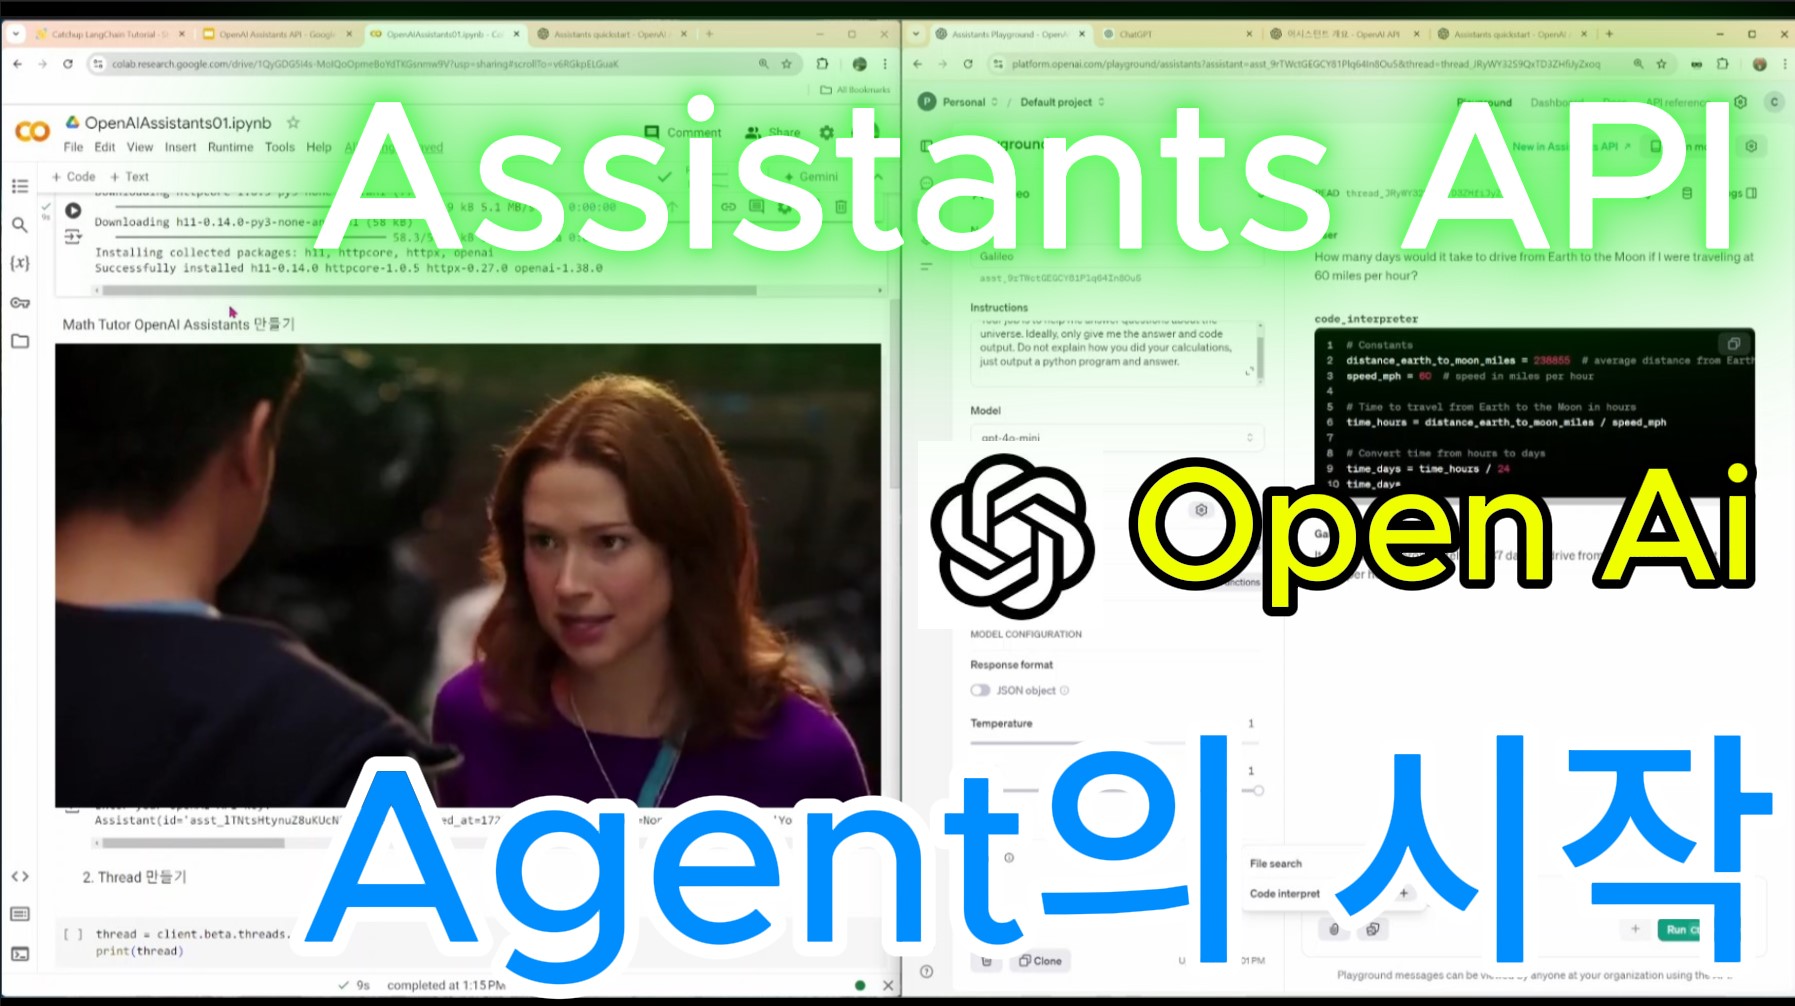
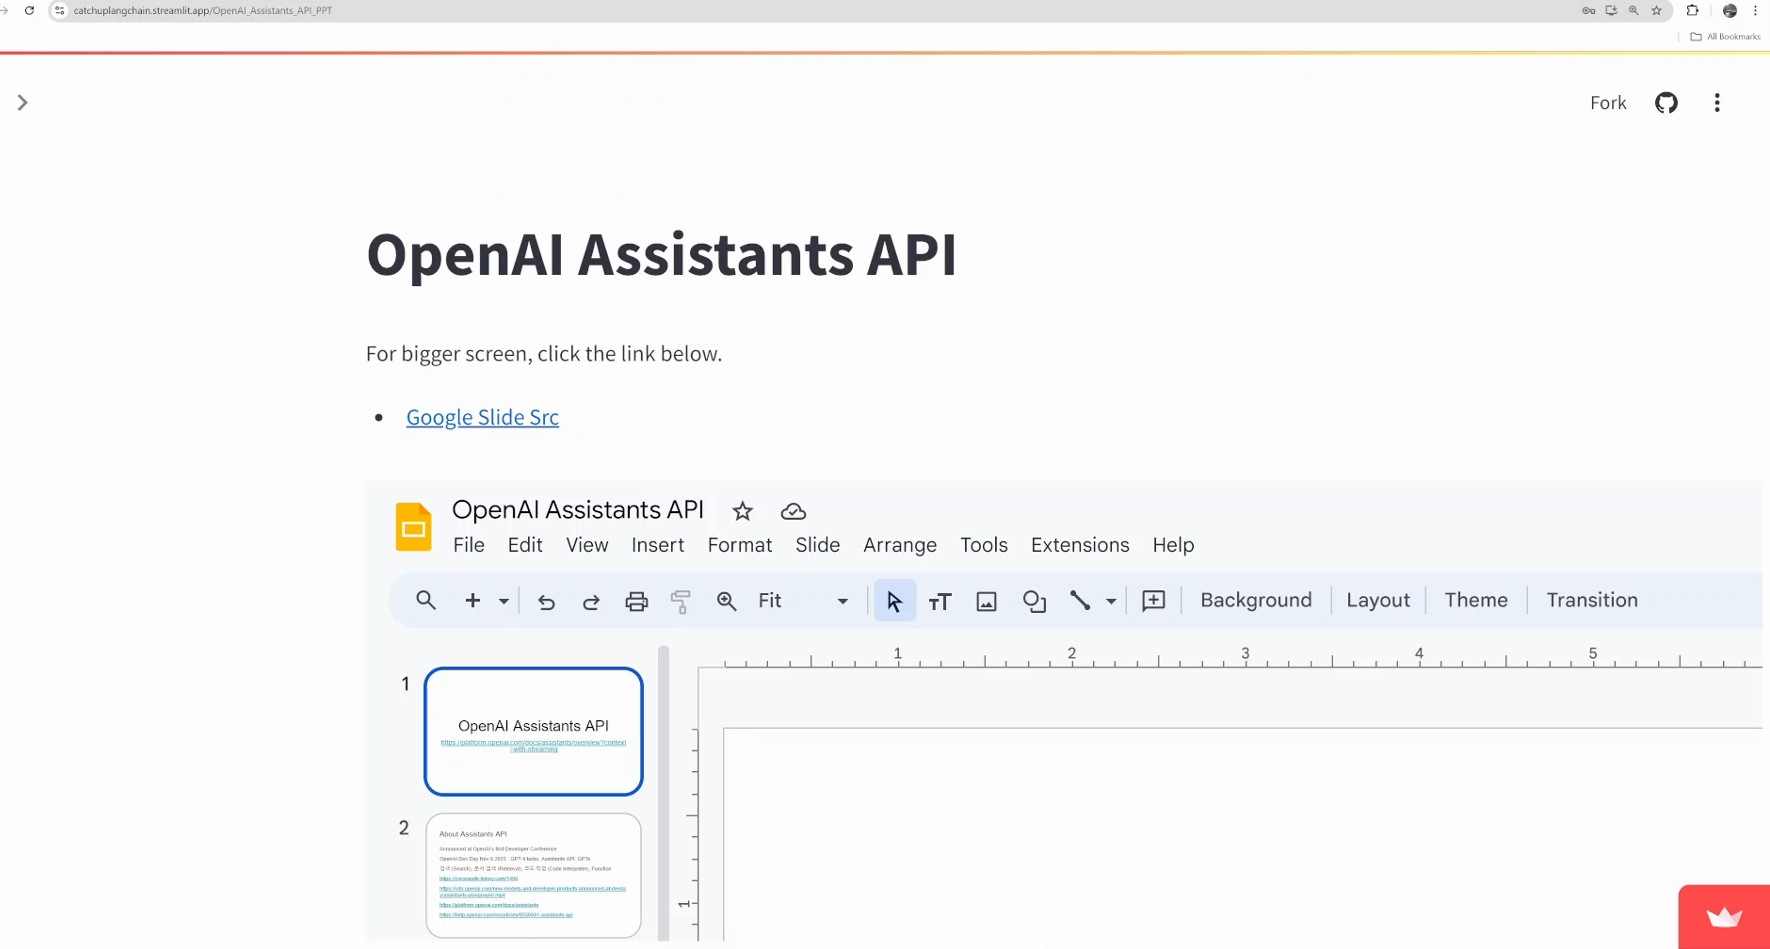
작년 11월에 소개 된 Assistants API 입니다. 조용하게 진행 되지만 아주 중요한 프로젝트 입니다.
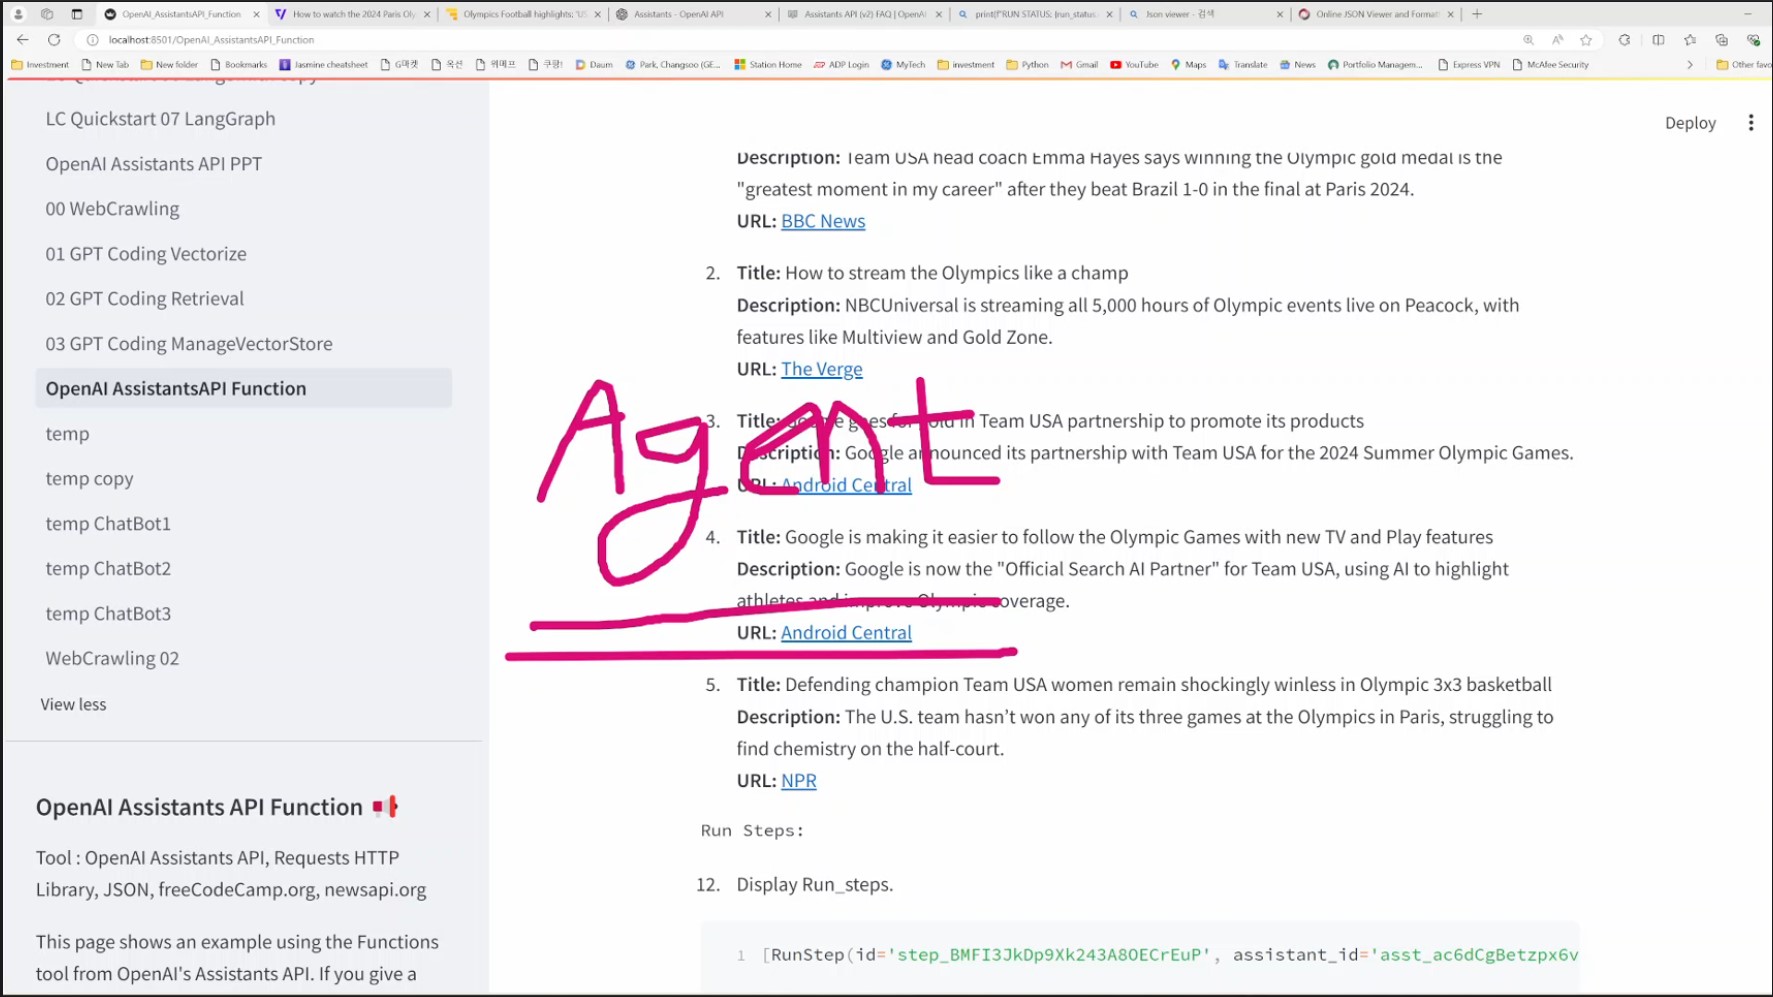
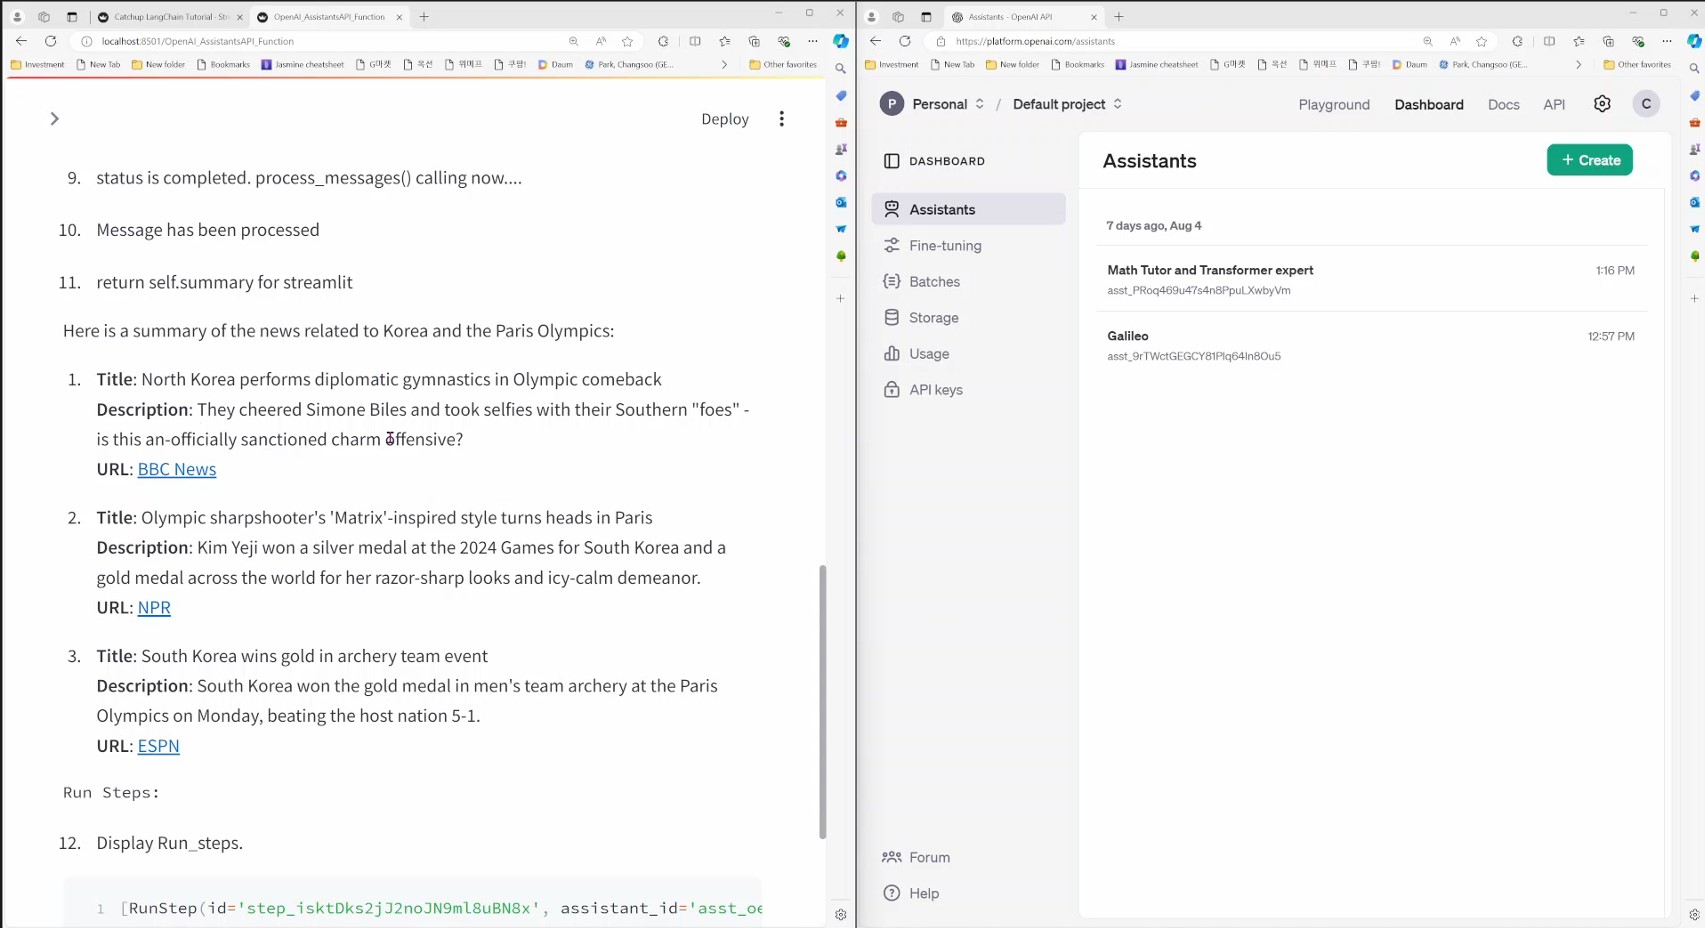
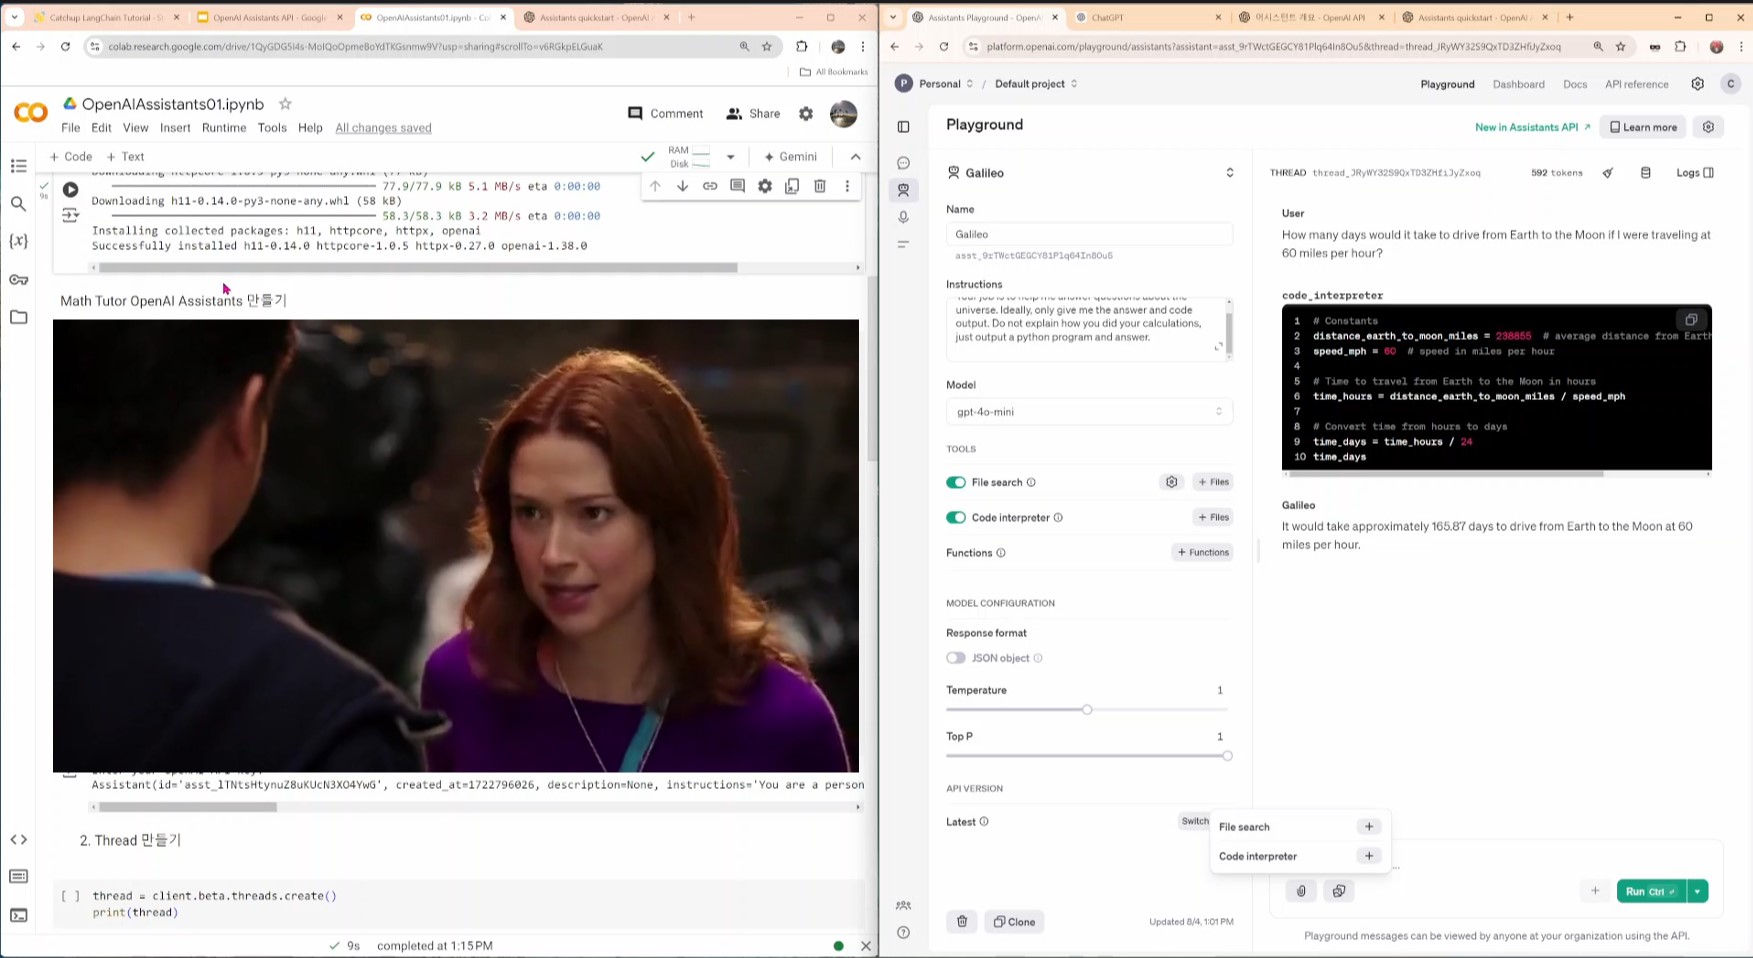
OpenAI에서 RAG 개념을 받아들인 최초의 API 예요. Assistants는 LangChain의 Agent 역할을 하죠. 덕분에 우리도 ChatGPT에서 RAG 기능을 사용할 수 있게 됐습니다. 논문을 업로드해서 요약을 한다던지 현재 날씨 정보를 얻는다던지 하는 그런 서비스는 원래 ChatGPT는 못했었거든요.
LangChain은 LangGraph로 Agent 를 한껏 발전 시켰습니다. OpenAI는 이 Assistants API를 어떤 방향으로 발전 시킬지...
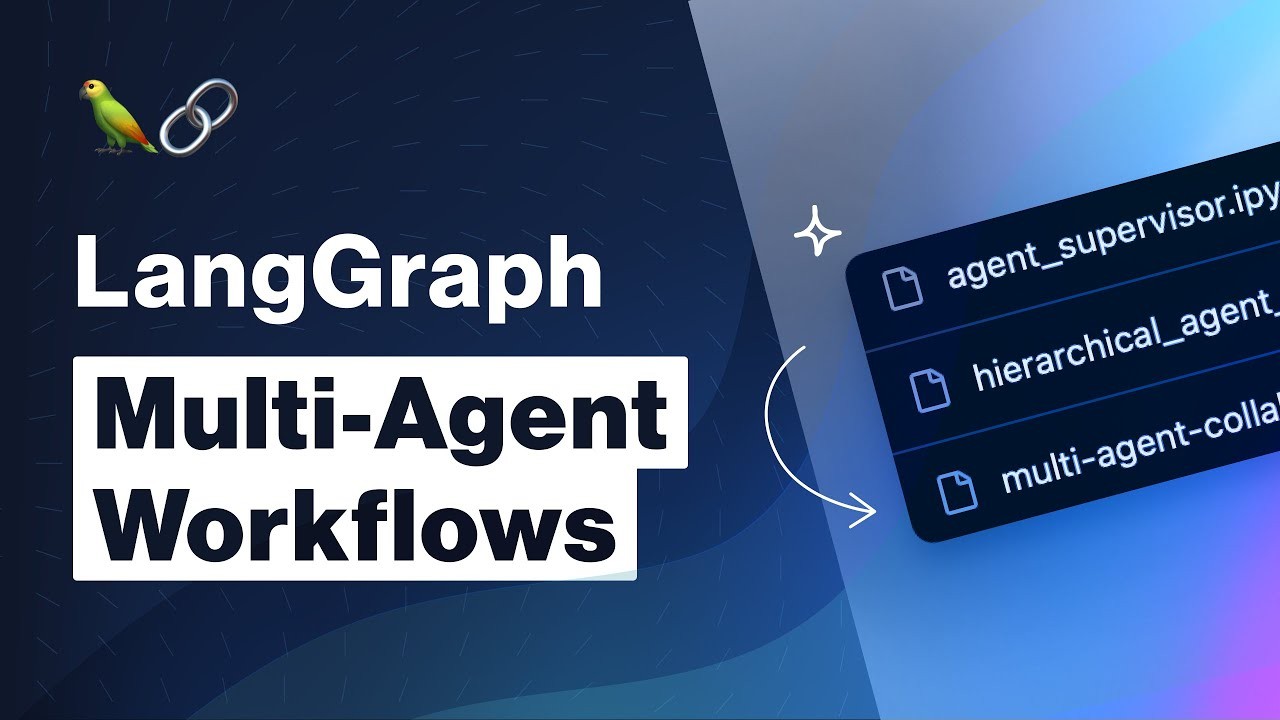
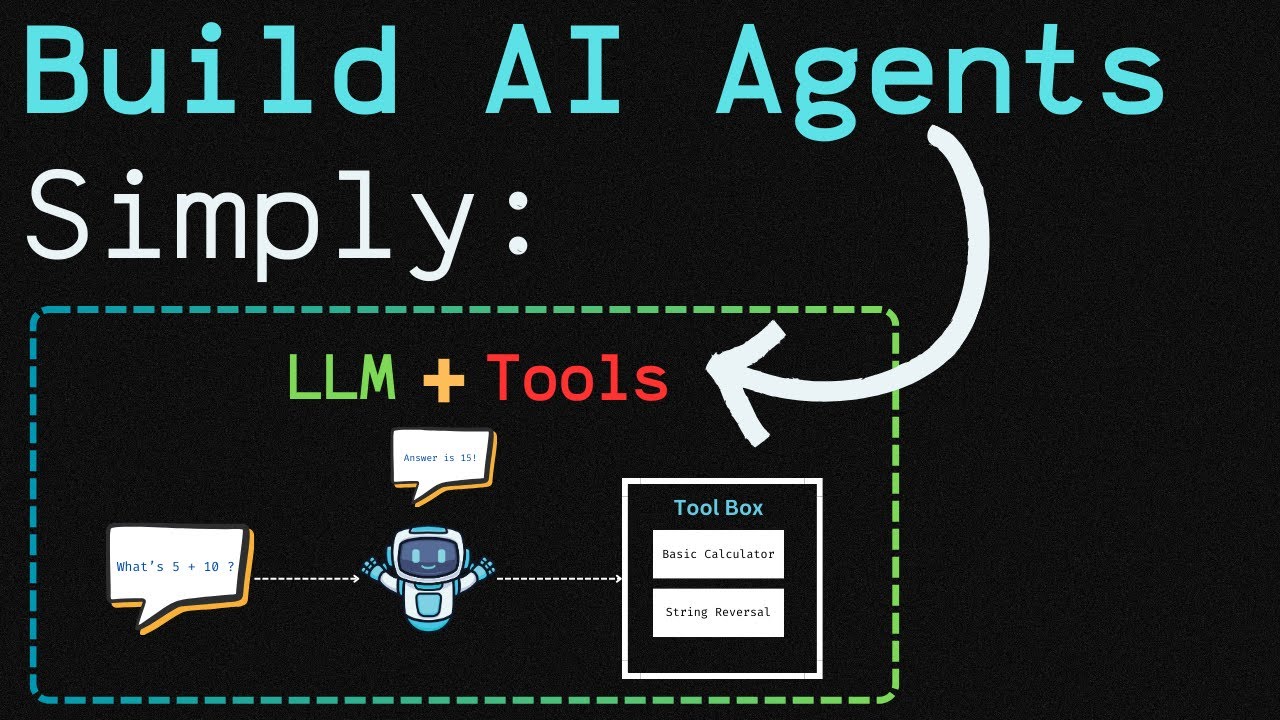
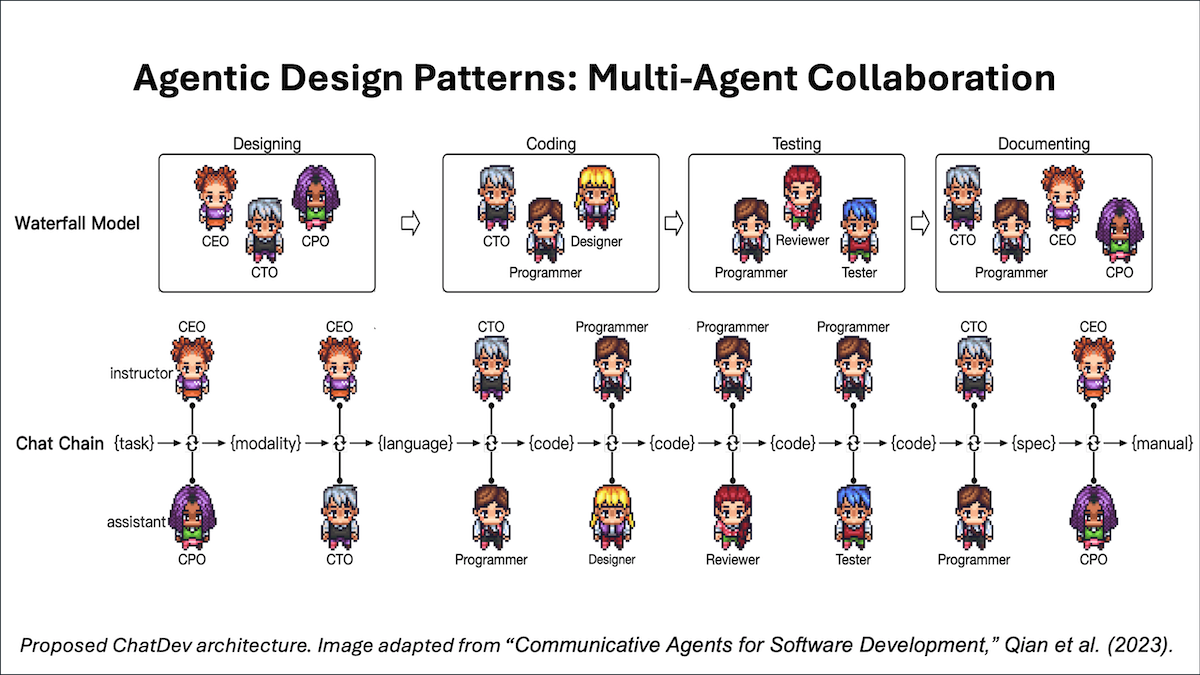
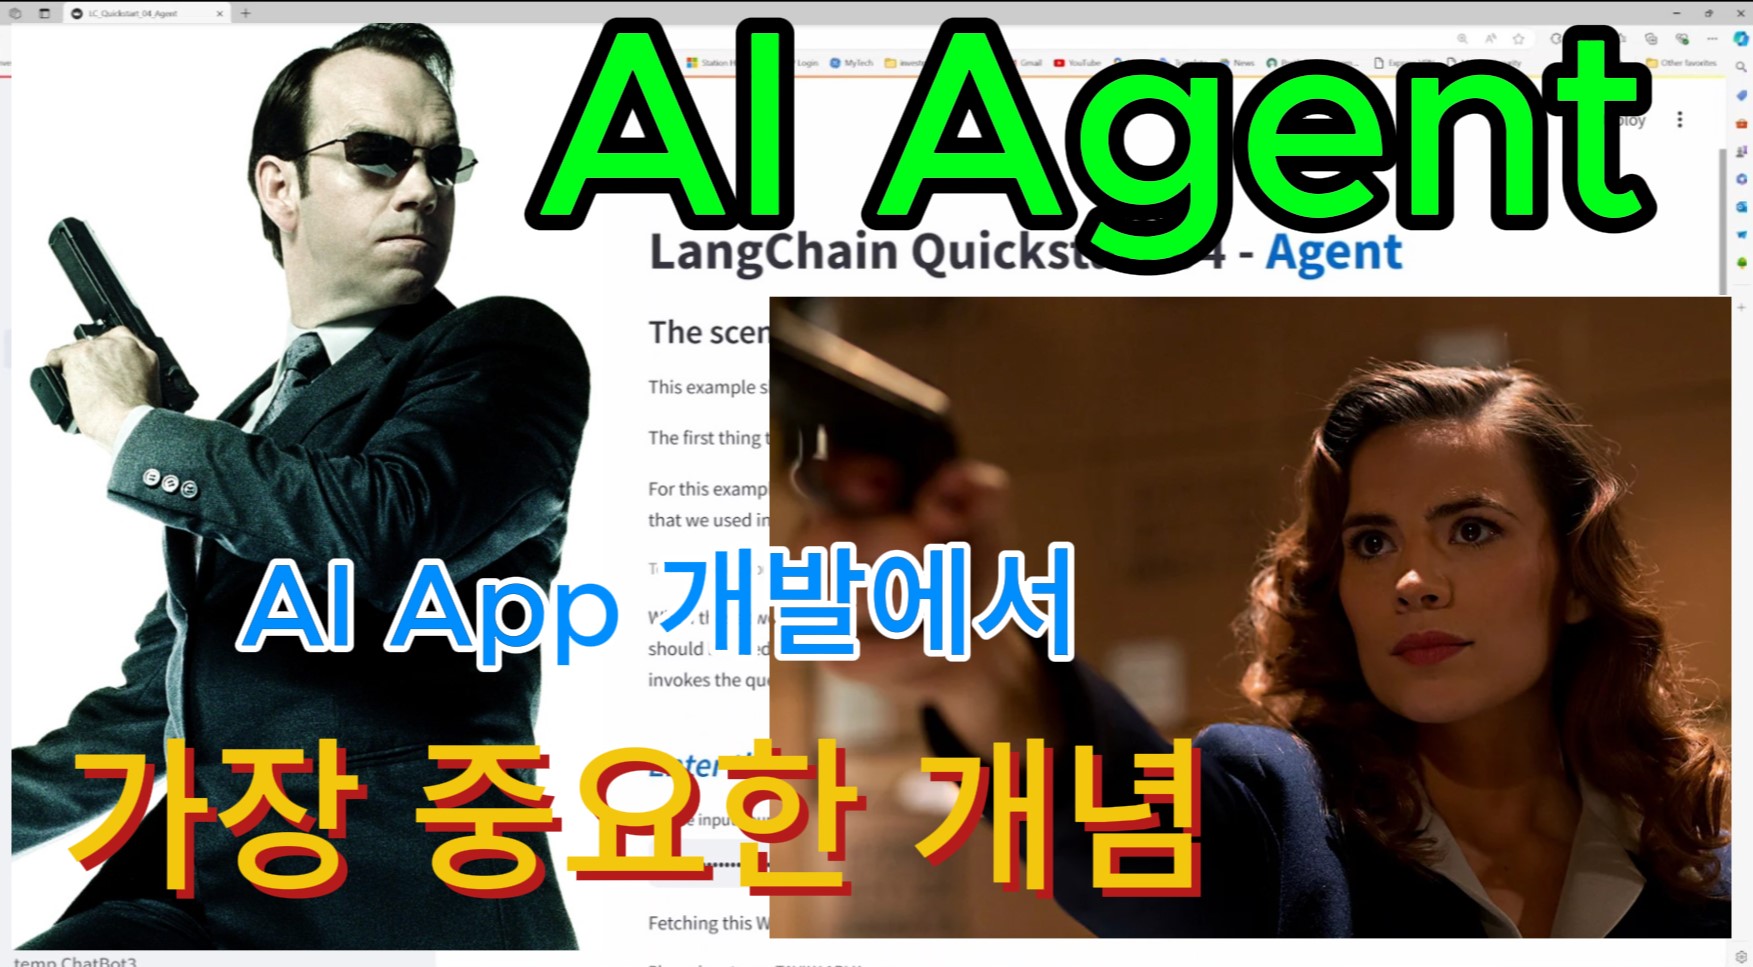
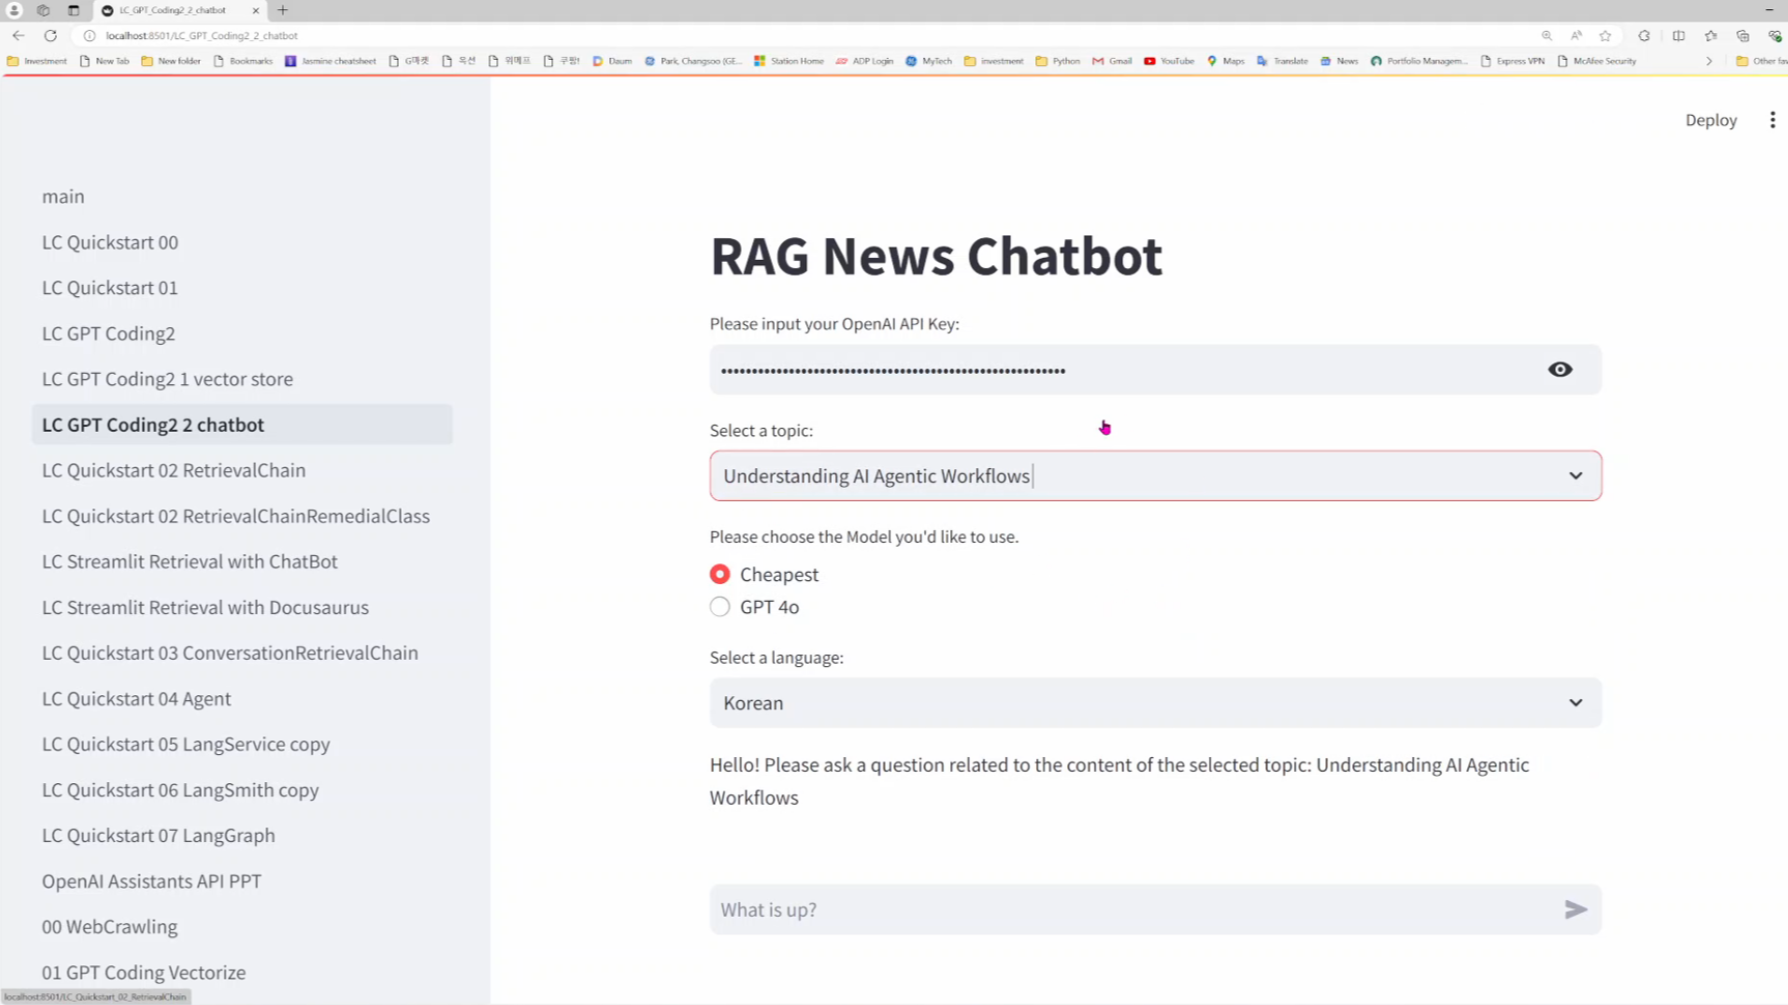
2024년도에 AI Web App 개발 분야에서 떠오르는 기술입니다. Agentic Workflow, Multi Agent Collaboration 등등 많은 이론과 기술들이 쏟아지고 있습니다. LangChain에서는 LangGraph라고 하는 별도의 Framework를 만들어서 이 Agentic Workflow, Multi Agent Collaboration 개념과 기술을 AI Application에 구현할 수 있도록 지원하고 있습니다. 오늘 그 AI Agent를 사용해 첫번째 AI Web App을 만들어 보겠습니다. 기본을 탄탄하게 다져 놓으면 어려운 문제가 닥쳐도 쉽게 풀어 낼 수 있습니다. 이 AI Agent 기본은 LangChain에 있는 API Service 들을 사용합니다. AI Agent 의 기본을 오늘부터 다져 나가겠습니다.
In the initial phase of my channel, I uploaded seven videos designed to introduce the fundamentals of Deep Learning. These videos are compiled in the "DL Fundamentals" playlist. This series covers everything from the basics of Deep Learning to advanced topics like the Transformer model, which underpins modern Large Language Models (LLMs) such as ChatGPT.
Following this, I released a set of eight videos that lay the groundwork for AI-driven web development, available in the "AI Web App Development" playlist. In this series, we delve into the concept of Retrieval Augmented Generation (RAG), exploring how to implement this technique, which integrates various tools alongside LLMs.
Now, we are progressing to more advanced AI web development technologies that have gained prominence in 2024. Key concepts like Agentic Workflow and Multi-Agent Programming will be discussed, with a particular focus on understanding the role of Agents.
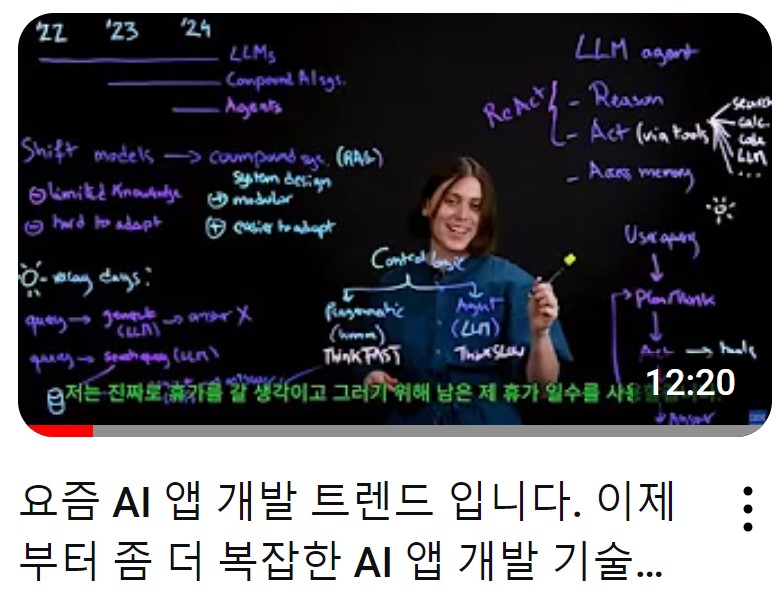
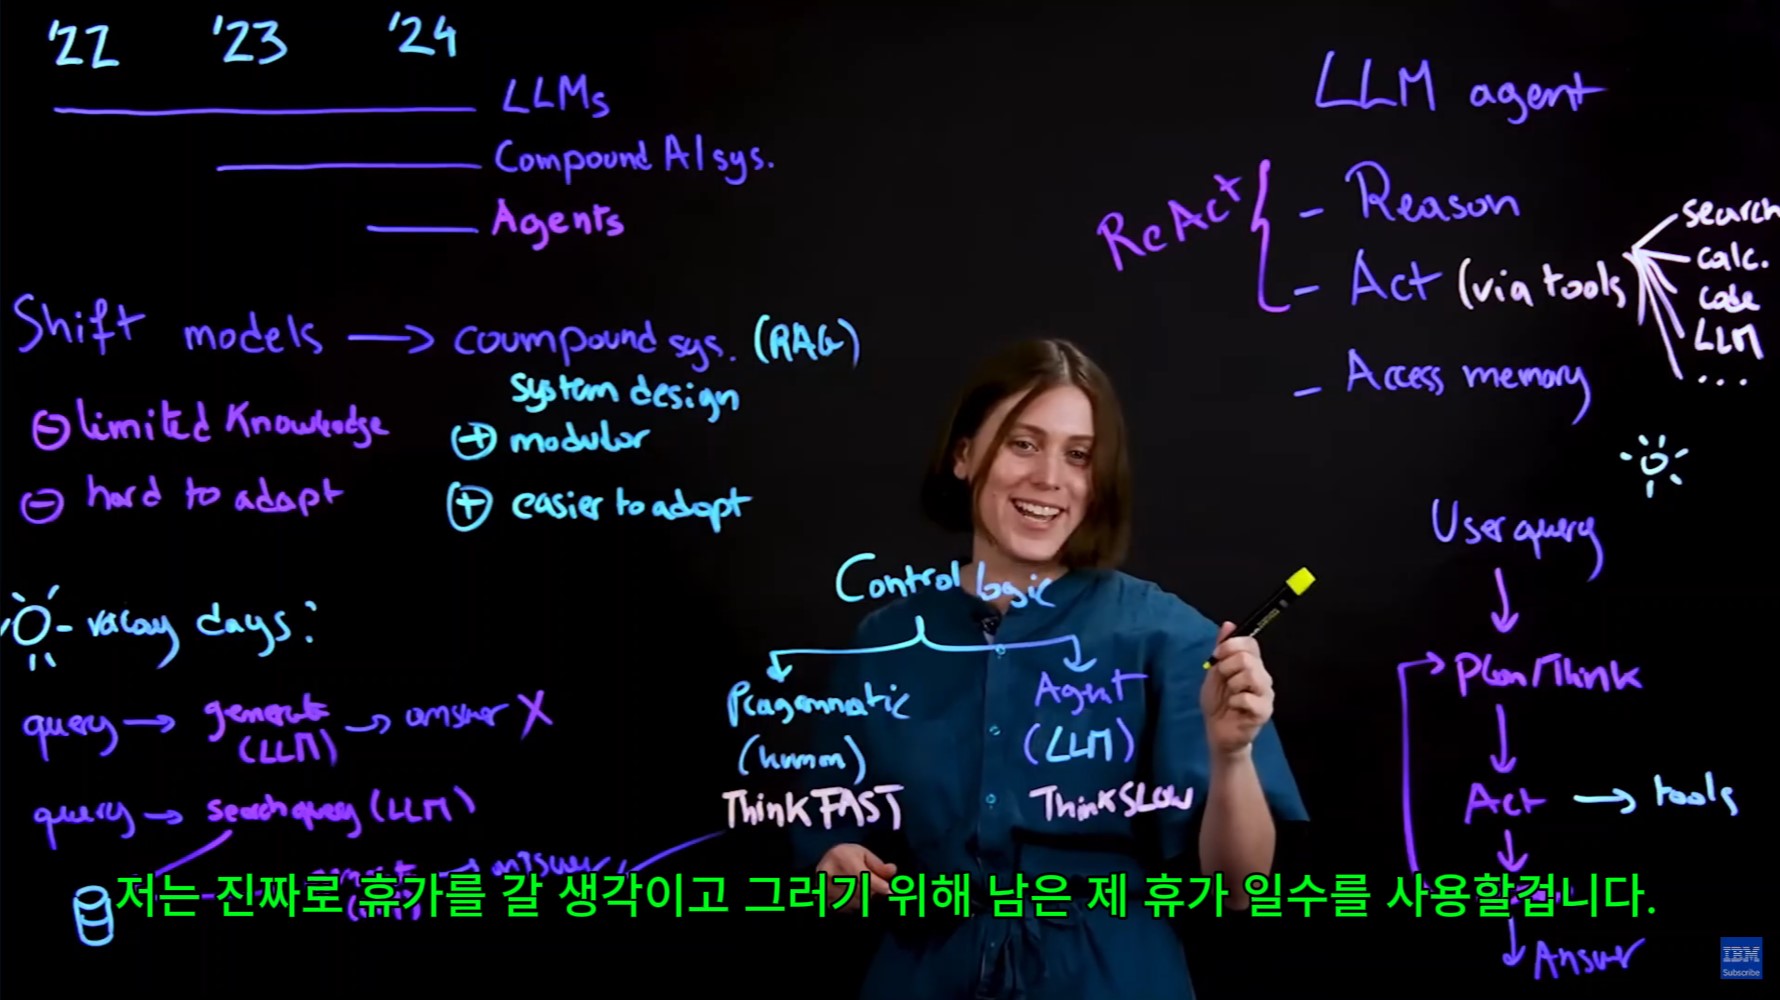
To grasp these upcoming lessons effectively, it is crucial to understand what an Agent is. IBM's video "What are AI Agents?" provides an excellent explanation of this concept. I’ve included Korean subtitles for your convenience.
On a lighter note, the instructor's most enthusiastic moment occurs when she shares stories about her vacation. ;)
AWS 부사장 Matt Wood가 New York City에서 개최된 AWS Summit에서 기조 연설을 통해 Generative AI(생성적 AI)의 중요성과 혁신에 대해 강조했습니다. 주요 내용은 다음과 같습니다:
Generative AI의 중요성:
Generative AI는 데이터와 정보, 상호작용 방식에서 인터넷 초기와 비교될 정도로 큰 변화를 일으키고 있습니다.
Generative AI에 투자하는 조직들은 향후 30년간 엄청난 성장을 경험할 것입니다.
AWS의 Generative AI 관련 서비스:
AWS Bedrock은 Generative AI 애플리케이션을 구축하기 위한 서비스로 빠르게 성장 중입니다.
AWS는 AI 및 머신 러닝 워크로드를 처리하는 수십만 고객을 보유하고 있습니다.
AWS는 다양한 산업에서 Generative AI를 통해 혁신을 이루고 있습니다.
Regulated Industries에서의 빠른 채택:
금융, 보험, 생명 과학, 공공 부문 등 규제된 산업에서도 빠르게 Generative AI를 채택하고 있습니다.
이러한 산업들은 이미 데이터 전략, 데이터 품질, 데이터 거버넌스를 잘 이해하고 있어 AI 채택이 용이합니다.
고객들이 AWS를 선택하는 이유:
AWS는 보안, 프라이버시, 데이터 통제에 중점을 둔 서비스를 제공합니다.
AI 서비스에서 데이터는 모델 개선에 사용되지 않으며, 인간이 데이터를 검토하지 않습니다.
AWS는 고객의 보안 요구사항을 충족하고 초과하는 능력을 제공합니다.
AWS의 AI 스택:
AWS는 인프라, 애플리케이션 구축, 데이터 분석 등을 포함한 폭넓은 AI 기능을 제공합니다.
Amazon Bedrock, Amazon Q 등의 서비스를 통해 다양한 AI 애플리케이션을 쉽게 구축할 수 있습니다.
Generative AI의 빠른 변화:
Generative AI는 빠르게 발전하고 있으며, AWS는 고객들이 최신 기술을 따라잡을 수 있도록 빠르게 새로운 기능을 제공합니다.
AWS의 지속 가능성 노력:
AWS는 전 세계적으로 500개 이상의 재생 가능 에너지 사이트를 운영하고 있으며, 2030년까지 모든 운영에 100% 재생 가능 에너지를 사용하기 위한 목표를 이미 달성했습니다.
AWS는 지속 가능성과 재생 가능 에너지에 대한 투자로 고객에게도 혜택을 제공합니다.
Generative AI의 미래:
Generative AI는 모든 애플리케이션, 프로세스, 사용 사례에 통합될 것이며, 이는 새로운 표준이 될 것입니다.
Generative AI의 장점을 활용하여 조직의 혁신과 성장을 촉진할 수 있습니다.
AWS는 Generative AI를 통해 고객들이 혁신하고 성장할 수 있도록 지원하며, 보안과 프라이버시를 중시하는 접근 방식을 강조하고 있습니다.
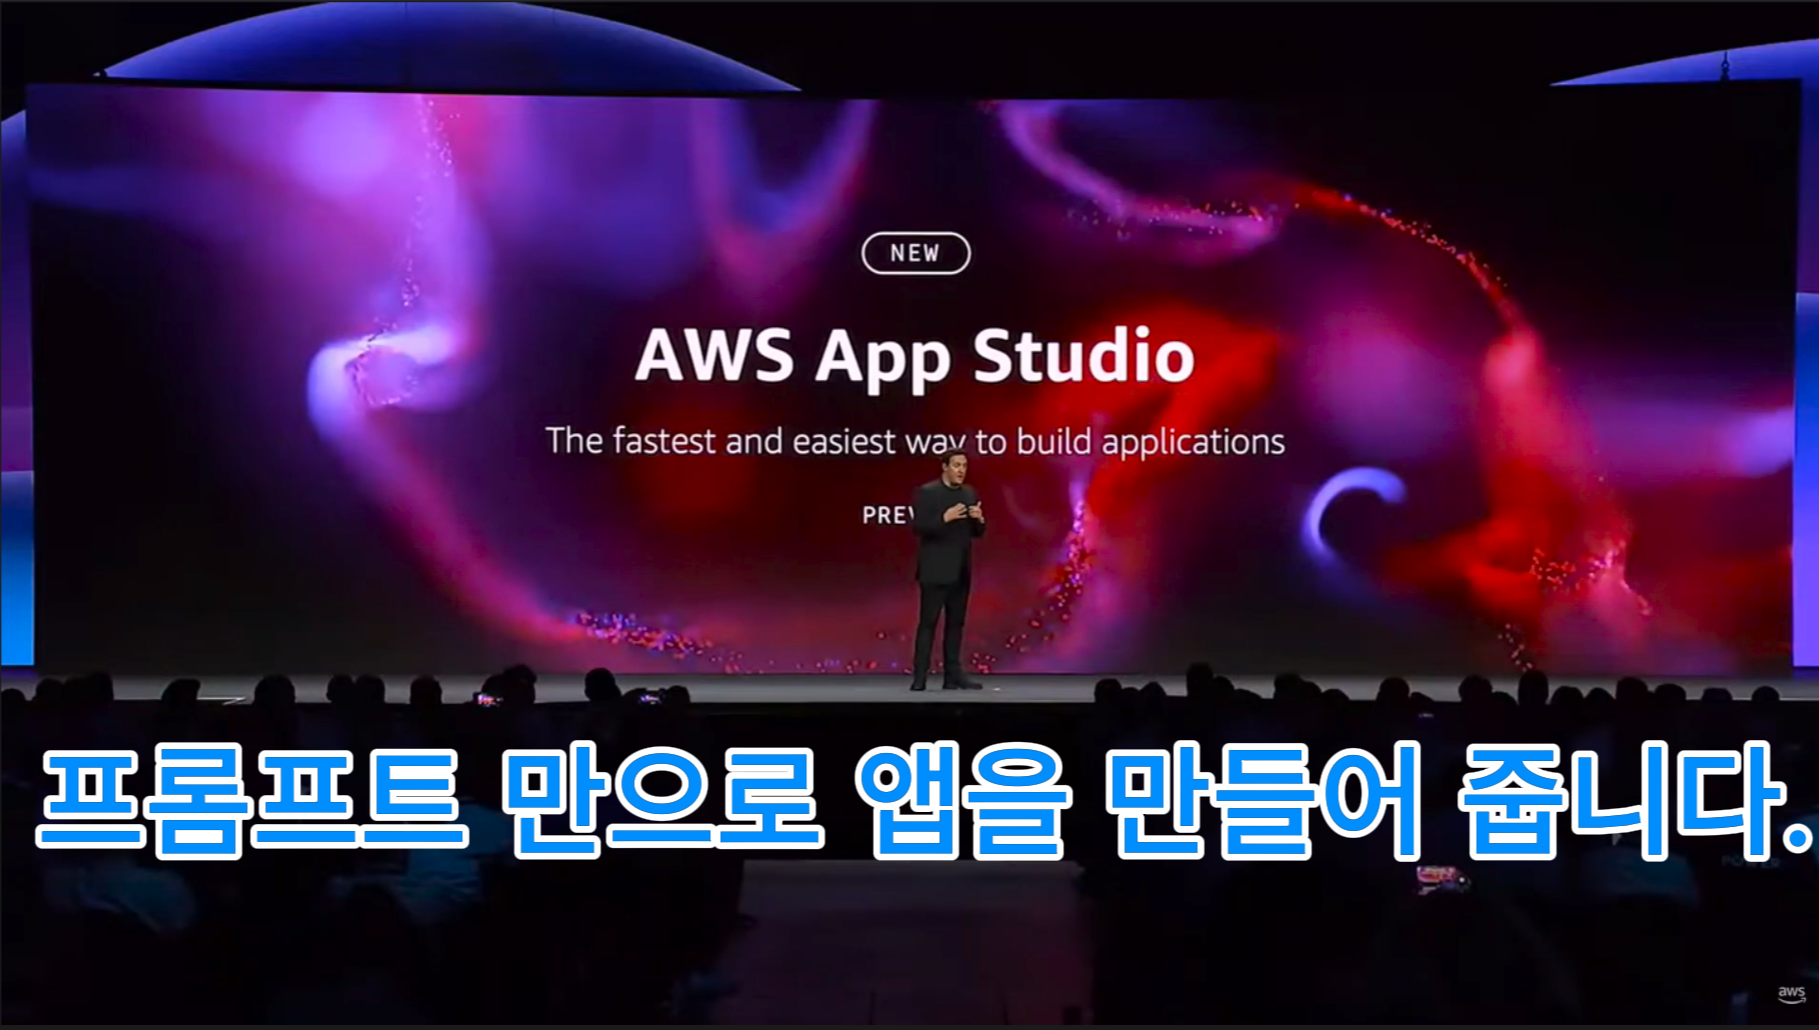
AWS App Studio 요약:
AWS App Studio는 생성적 AI를 활용한 저코드 애플리케이션 빌딩 서비스로, 다음과 같은 주요 기능과 특징을 제공합니다:
애플리케이션 생성:
자연어를 사용해 애플리케이션의 기능과 데이터 처리 방식을 설명할 수 있습니다.
예를 들어, 직원 경비를 관리하고 승인하는 애플리케이션을 만들 때, 간단한 명령어로 앱을 생성할 수 있습니다.
시각적 빌더:
생성된 애플리케이션을 시각적으로 편집할 수 있습니다.
UI, 데이터 객체, 자동화 작업을 드래그 앤 드롭 방식으로 쉽게 추가 및 수정할 수 있습니다.
변경 사항은 자동으로 적용되며, 언제든지 미리보기를 통해 확인할 수 있습니다.
연동 및 알림:
AWS 및 타사 서비스와의 원활한 통합이 가능합니다.
예를 들어, Slack과 연동하여 경비 승인 상태 변경 시 알림을 보내는 자동화 워크플로우를 설정할 수 있습니다.
배포 및 관리:
테스트 환경에 애플리케이션을 배포하여 팀이 테스트를 진행할 수 있습니다.
애플리케이션의 배포, 공유, 롤백 등이 매우 쉽게 이루어지며, 내부적으로 보안, 확장성, 공유 기능을 갖춘 애플리케이션을 만들 수 있습니다.
비용 효율성:
애플리케이션 생성은 무료이며, 사용한 만큼만 비용을 지불합니다.
유사한 서비스 대비 최대 80%의 비용 절감 효과를 제공합니다.
AWS App Studio는 IT 프로젝트 매니저, 데이터 엔지니어, 아키텍트 등 소프트웨어 개발 기술이 없는 기술 전문가들도 빠르고 쉽게 비즈니스 문제를 해결하는 애플리케이션을 만들 수 있게 해줍니다
Amazon Q 요약:
Amazon Q는 AWS에서 제공하는 생성적 AI 기반의 소프트웨어 개발 지원 도구로, 두 가지 주요 기능을 제공합니다:
소프트웨어 개발 지원:
Amazon Q는 소프트웨어 개발 생명주기 전체를 지원합니다. 코드 작성, 테스트, 배포, 유지보수를 포함한 여러 단계에서 자동화를 통해 개발자의 생산성을 높여줍니다.
개발자는 주석을 입력하면 Q가 해당 주석을 기반으로 코드 추천을 제공합니다. Q의 코드 추천 수락률은 업계 최고 수준입니다.
Q는 보안 스캐닝 기능을 제공하여 코드의 보안 문제를 탐지하고 해결할 수 있습니다. 이로 인해 개발 초기 단계부터 보안 요구 사항을 충족시킬 수 있습니다.
Q Developer Agent는 코드 이해를 돕고, 코드 생성 및 수정 작업을 자동화합니다. 이를 통해 개발자는 코드 작성과 검토에 소요되는 시간을 줄이고, 더 창의적인 작업에 집중할 수 있습니다.
엔터프라이즈 데이터 활용:
Q는 40개 이상의 데이터 소스와 연결할 수 있으며, 이를 통해 기업 내 데이터를 효과적으로 활용할 수 있습니다. S3, Salesforce, Google Drive, Microsoft 365 등의 데이터 소스와 통합됩니다.
Q는 사용자의 역할에 따라 접근 권한을 관리하여, 권한이 있는 데이터만을 반환합니다. 이를 통해 데이터 보안과 프라이버시를 보장합니다.
Q Apps 기능을 통해 사용자 지정 소프트웨어를 빠르고 쉽게 생성할 수 있습니다. Q는 사용자가 입력한 프롬프트를 기반으로 웹 양식을 생성하고, 이를 통해 반복적인 작업을 자동화할 수 있습니다.
Q는 엔터프라이즈 데이터와 연동하여, 대화 내용을 재사용 가능한 앱으로 변환할 수 있습니다. 이를 통해 사용자들은 효율적으로 작업을 수행할 수 있습니다.
Amazon Q는 소프트웨어 개발자와 엔터프라이즈 사용자 모두에게 큰 생산성 향상을 제공하며, AI를 활용한 자동화를 통해 업무의 효율성을 극대화할 수 있도록 돕습니다(AWSAppStudio).
Amazon Q와 SageMaker Studio의 관계 요약:
Amazon Q는 AWS의 SageMaker Studio와 통합되어 데이터 과학자와 머신 러닝 엔지니어가 머신 러닝 모델을 더 쉽게 구축, 훈련 및 배포할 수 있도록 돕습니다. SageMaker Studio는 데이터와 머신 러닝 워크로드를 위한 통합 개발 환경(IDE)으로, 대부분의 모델이 구축되는 장소입니다.
주요 기능:
자연어를 통한 모델 구축:
Amazon Q는 자연어를 사용해 머신 러닝 모델을 구축할 수 있는 기능을 제공합니다. 예를 들어, 고객은 Q에게 자연어로 모델 훈련 계획을 요청할 수 있으며, Q는 이에 대한 구체적인 단계를 제안합니다.
실시간 코드 제안:
Q는 사용자가 작업 중인 코드와 모델에 대한 실시간, 상황에 맞는 코드 제안을 제공합니다. 이러한 제안은 전체 함수에서부터 코드 주석에 이르기까지 다양합니다.
오류 해결 및 문제 해결:
사용자가 작업 중 오류를 발견하면 Q는 자동으로 문제를 해결하고 근본 원인을 파악할 수 있습니다. 이는 많은 조직에서 머신 러닝 작업을 시작하거나 가속화하는 데 큰 도움을 줍니다.
개발자 지원:
Q는 개발자의 의도를 이해하고 전체 전략을 제시하여 새로운 기능을 구현하는 데 필요한 코드 작성, 수정, 테스트 코드 생성, 문서 업데이트 등의 작업을 자동화합니다. 이를 통해 개발자는 보다 창의적인 작업에 집중할 수 있습니다.
보안 스캐닝:
Q는 코드에 대한 보안 스캐닝을 제공하여 보안 문제를 조기에 발견하고 해결할 수 있습니다. 이는 조직의 코드 보안 요구 사항을 충족시키는 데 중요한 역할을 합니다.
SageMaker Studio와의 통합:
SageMaker Studio는 Q의 도움을 받아 데이터 과학자와 머신 러닝 엔지니어가 머신 러닝 모델을 구축, 훈련, 배포하는 전체 과정을 간소화합니다. Q는 SageMaker Studio 노트북 옆에서 실시간으로 작동하며, 데이터 과학자가 작업 중 궁금한 점을 질문하면 Q는 이에 대한 답변과 지침을 제공합니다. 이 통합을 통해 많은 조직이 머신 러닝 작업을 더 쉽게 시작하거나 가속화할 수 있습니다
Agents for Amazon Bedrock 요약:
Amazon Bedrock Agents는 복잡한 다단계 작업을 수행할 수 있는 지능형 시스템을 구축하는 데 필요한 모든 것을 제공하는 서비스입니다. 주요 기능과 특징은 다음과 같습니다:
자동 프롬프트 생성:
Amazon Bedrock Agents는 목표의 의도를 이해하고 자동으로 프롬프트를 생성합니다.
이는 사용자의 목표를 이해하고 이에 맞는 작업 계획을 세우며, 다단계 작업을 자동으로 조정합니다 .
메모리 유지 기능:
에이전트는 상호작용을 통해 학습하고, 이전 작업의 맥락을 유지하여 더 나은 성능을 발휘할 수 있습니다.
이 기능은 에이전트가 긴 시간 동안 더 전략적인 작업을 수행할 수 있도록 돕습니다 .
코드 해석 기능:
Amazon Bedrock Agents는 자동으로 코드를 생성하고 실행하여 데이터를 분석하고, 그 결과를 그래프로 나타낼 수 있습니다.
이는 에이전트가 더 명확하고 간결하게 작업할 수 있게 해줍니다 .
다중 모델 지원:
Bedrock은 다양한 모델을 지원하여 각 모델의 강점을 활용할 수 있습니다.
이는 특정 작업에 가장 적합한 모델을 선택하고 조합하여 더 높은 생산성을 발휘할 수 있게 합니다 .
설명 가능성 및 보안:
모든 작업 단계와 결정을 추적할 수 있어 에이전트의 행동을 완전히 설명할 수 있습니다.
보안 및 프라이버시를 중시하여 데이터를 보호하고 안전한 환경에서 작업을 수행합니다 .
Amazon Bedrock Agents는 이러한 기능들을 통해 조직이 더 복잡하고 전략적인 작업을 자동화하고, 생산성을 극대화할 수 있도록 돕습니다.
Contextual Grounding Checks 요약:
Contextual Grounding Checks는 Amazon Bedrock의 새로운 보호 기능으로, 생성적 AI 모델의 정확성과 신뢰성을 향상시키기 위해 설계되었습니다. 이 기능은 다음과 같은 주요 특징을 가지고 있습니다:
목표 및 작동 방식:
이 기능은 생성적 AI 모델이 제공하는 응답이 실제 출처 자료에 기반하는지를 확인하여 잘못된 정보나 "환각(hallucinations)"을 방지합니다.
사용자로부터 제공된 프롬프트, 지식 베이스에서 가져온 정보, 그리고 모델이 생성한 결과를 비교하여 응답이 출처 자료에 정확히 기반하고 있는지를 확인합니다.
환각 감소:
Contextual Grounding Checks는 RAG(검색 증강 생성) 및 요약 작업에서 발생하는 환각을 75%까지 줄일 수 있습니다.
이는 생성적 AI 시스템이 사용자에게 잘못된 정보를 제공할 가능성을 크게 줄여 줍니다.
검증 절차:
결과가 소스 자료에서 발견되었는지, 소스 자료를 통해 제공된 정보가 답변에 포함되어 있는지, 그리고 그 답변이 사용자 질문과 관련 있는지를 검증합니다.
이러한 검증 절차를 통해, 모델이 정확하고 신뢰할 수 있는 정보를 제공하도록 합니다.
보안 및 프라이버시:
이 기능은 모델이 민감한 정보를 잘못 처리하거나, 유해한 콘텐츠를 생성하는 것을 방지하는 추가적인 보호 계층을 제공합니다.
고객의 데이터를 보호하고, AI 시스템이 안전하고 책임감 있게 운영될 수 있도록 합니다.
Contextual Grounding Checks는 Amazon Bedrock 내에서 자동으로 작동하며, 고객들이 더욱 안전하고 신뢰할 수 있는 생성적 AI 응용 프로그램을 구축할 수 있도록 지원합니다 .
Expanded Data Connectors 요약:
Amazon Bedrock의 Expanded Data Connectors는 사용자가 다양한 데이터 소스에서 데이터를 쉽게 통합하여 생성적 AI 모델을 맞춤화할 수 있도록 돕는 기능입니다. 주요 기능과 특징은 다음과 같습니다:
데이터 소스 통합:
기존 데이터 소스와 벡터 소스 및 S3 외에도 Salesforce, Confluence, SharePoint와 같은 인기 있는 데이터 소스와 직접 연결할 수 있습니다.
사용자 지정 웹 소스를 추가하여 URL 세트를 제공하면, 해당 URL에서 정보를 가져와 RAG(검색 증강 생성) 시스템에서 사용할 수 있습니다. 이는 실시간 정보에 이상적입니다(AWSAppStudio).
메타데이터 포함:
PDF, 테이블 형식의 데이터(CSV 파일 등)와 같은 고메타데이터 및 컨텍스트 정보를 사용하는 경우, 모델에 테이블 헤더와 같은 모든 메타데이터를 제공하여 정확성을 높이고 환각률을 줄일 수 있습니다(AWSAppStudio).
비즈니스 데이터 활용:
비즈니스 데이터를 활용하여 매우 구체적인 필요에 맞게 모델을 맞춤화할 수 있습니다. 이는 모든 주요 데이터 소스를 Amazon Bedrock에 직접 연결할 수 있는 기능을 포함합니다(AWSAppStudio).
보안 및 관리:
이 모든 기능은 완전히 관리되는 RAG 워크플로우로 제공되므로, 개별적으로 구성할 필요 없이 Bedrock 내에서 모두 작동합니다. 이를 통해 일관되고 신뢰할 수 있는 생성적 AI 시스템을 구축할 수 있습니다(AWSAppStudio).
Expanded Data Connectors는 다양한 데이터 소스를 통합하여 맞춤형 생성적 AI 애플리케이션을 구축하고, 정확성을 높이며, 환각률을 줄이는 데 중요한 역할을 합니다.
Guardrails API 요약:
Guardrails API는 Amazon Bedrock의 중요한 기능으로, 생성적 AI 모델이 제공하는 결과의 정확성과 신뢰성을 보장하기 위해 설계되었습니다. 주요 기능과 특징은 다음과 같습니다:
환각 탐지 및 차단:
Guardrails API는 생성적 AI 모델이 잘못된 정보를 생성하지 않도록 방지합니다. 특히, RAG(검색 증강 생성) 및 요약 작업에서 발생하는 환각을 75%까지 줄일 수 있습니다.
사용자 프롬프트, 지식 베이스에서 가져온 정보, 모델이 생성한 결과를 비교하여 응답이 정확한 출처 자료에 기반하는지 확인합니다 .
단어 및 주제 필터링:
특정 단어나 주제를 필터링할 수 있습니다. 예를 들어, "농구"와 관련된 내용을 모델이 생성하지 않도록 설정할 수 있습니다.
또한, 유해한 콘텐츠나 개인 식별 정보(PII)를 탐지하고 차단하는 보안 체크를 제공합니다 .
모델에 대한 독립적 평가:
Bedrock 외부에서 호스팅되는 모델(SageMaker 모델 또는 EC2에서 호스팅되는 모델)에서도 동일한 기능을 사용할 수 있습니다.
사용자 입력과 모델 응답을 독립적으로 평가할 수 있으며, 테스트 목적으로도 활용할 수 있습니다 .
보안 및 신뢰성:
Guardrails API는 모델이 안전하고 책임감 있게 운영될 수 있도록 도와줍니다. 이를 통해 사용자들이 AI 시스템을 신뢰할 수 있게 됩니다.
API는 모델 응답의 출처를 명확히 하여 설명 가능성을 높이고, 데이터의 보안을 보장합니다 .
Guardrails API는 Amazon Bedrock 모델과 밀접하게 통합되어 있으며, 이를 통해 다양한 환경에서 안전하고 신뢰할 수 있는 생성적 AI 응용 프로그램을 구축할 수 있습니다 .
AWS Summit 2024에서 발표된 Anthropic's Claude 3 모델의 파인 튜닝(Fine-Tuning) 요약:
AWS는 2024년 AWS Summit에서 Anthropic의 Claude 3 모델에 대한 파인 튜닝 기능을 발표했습니다. 이 기능은 사용자가 자신의 데이터를 사용하여 Claude 3 모델을 맞춤화할 수 있도록 합니다. 주요 기능과 특징은 다음과 같습니다:
맞춤형 모델 생성:
사용자 데이터와 함께 Claude 3 모델을 파인 튜닝하여 특정 작업에 최적화된 맞춤형 모델을 만들 수 있습니다.
이를 통해 더 정확하고 관련성 높은 결과를 도출할 수 있습니다.
안전하고 프라이버시 보호:
파인 튜닝 작업은 사용자의 데이터 프라이버시를 보호하면서 진행됩니다.
사용자는 자신의 암호화 키를 사용하여 파인 튜닝 작업을 제어할 수 있습니다.
쉬운 사용성:
머신 러닝 경험이 없어도 몇 가지 간단한 단계만으로 파인 튜닝 작업을 설정할 수 있습니다.
Amazon Bedrock을 통해 파인 튜닝된 모델을 쉽게 통합하고 사용할 수 있습니다.
실제 성능 개선:
SK Telecom과 Thomson Reuters와 같은 기업들이 파인 튜닝을 통해 최대 40%의 성능 향상을 경험했습니다.
이러한 성능 향상은 고객 지원, 금융 분석, 컨텐츠 생성 등 다양한 분야에서 이루어졌습니다.
Anthropic과의 협력:
AWS와 Anthropic 간의 협력으로 인해, Claude 3 모델의 파인 튜닝 기능은 AWS에서만 제공됩니다.
이 파트너십을 통해 고객들은 최첨단 AI 모델을 안전하고 효과적으로 사용할 수 있습니다.
이러한 파인 튜닝 기능을 통해 기업들은 Claude 3 모델을 더욱 효과적으로 활용할 수 있으며, 비즈니스 요구에 맞는 맞춤형 AI 솔루션을 구축할 수 있습니다.
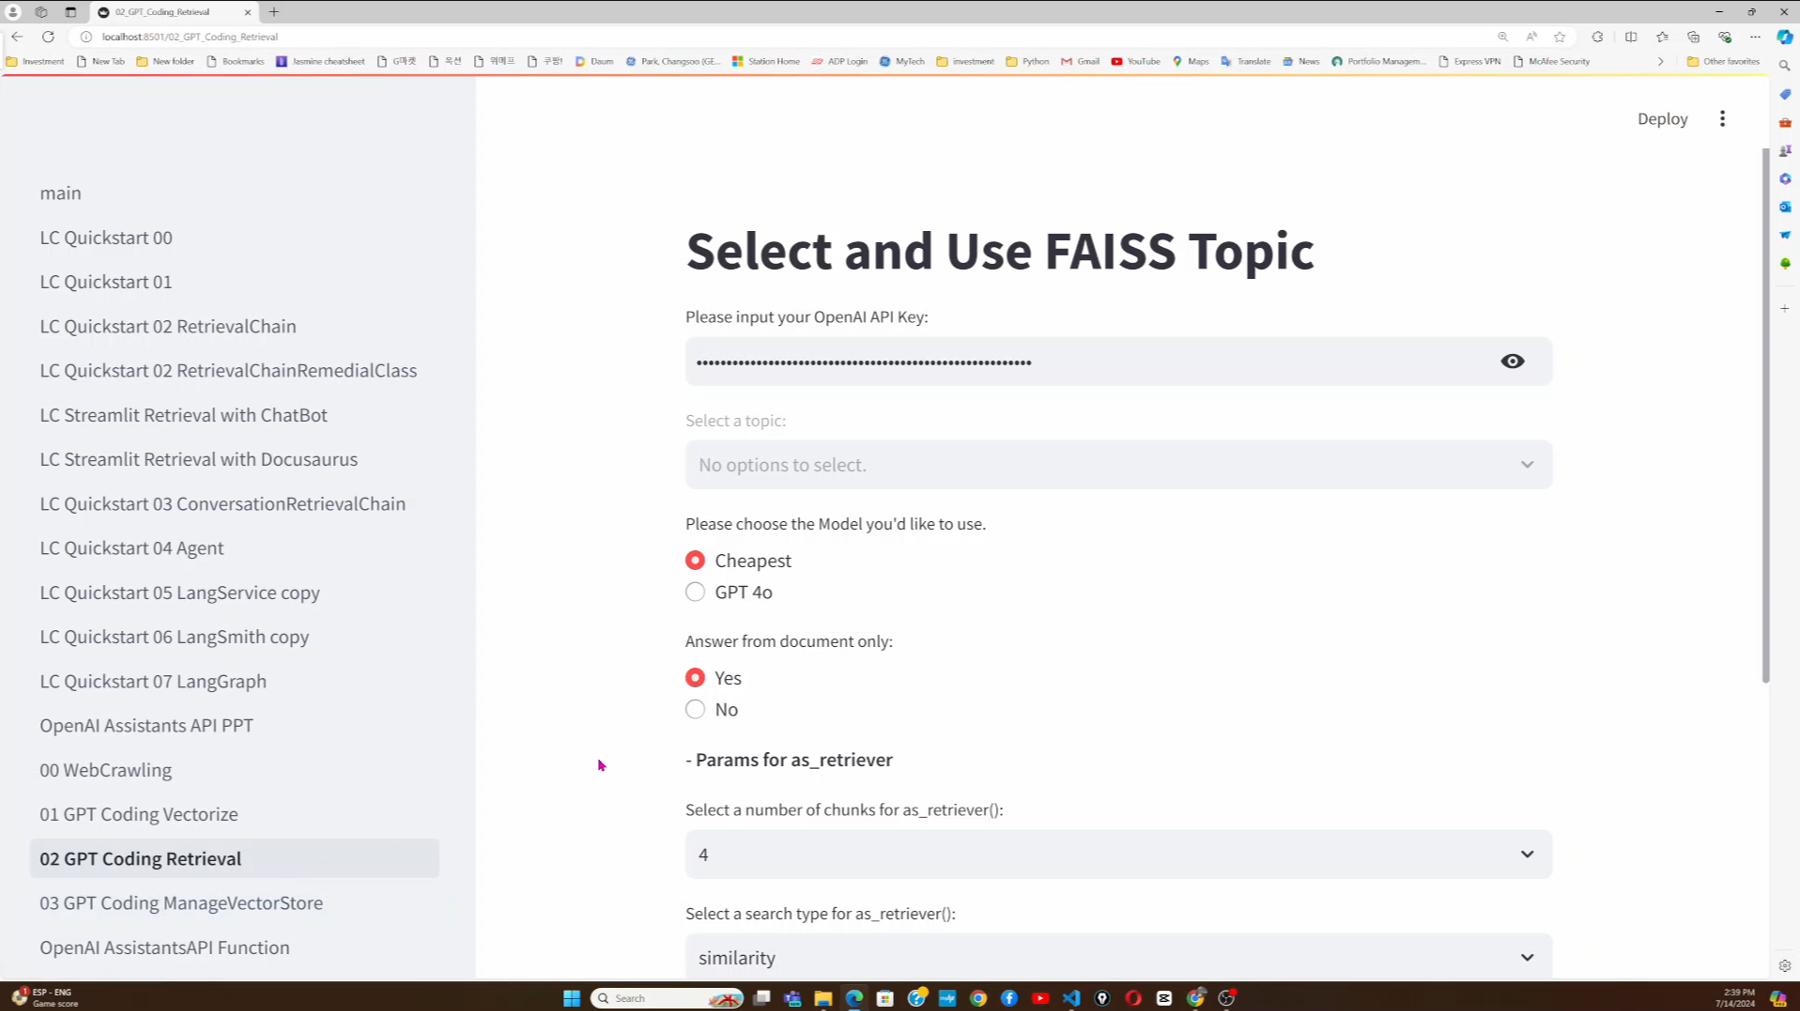
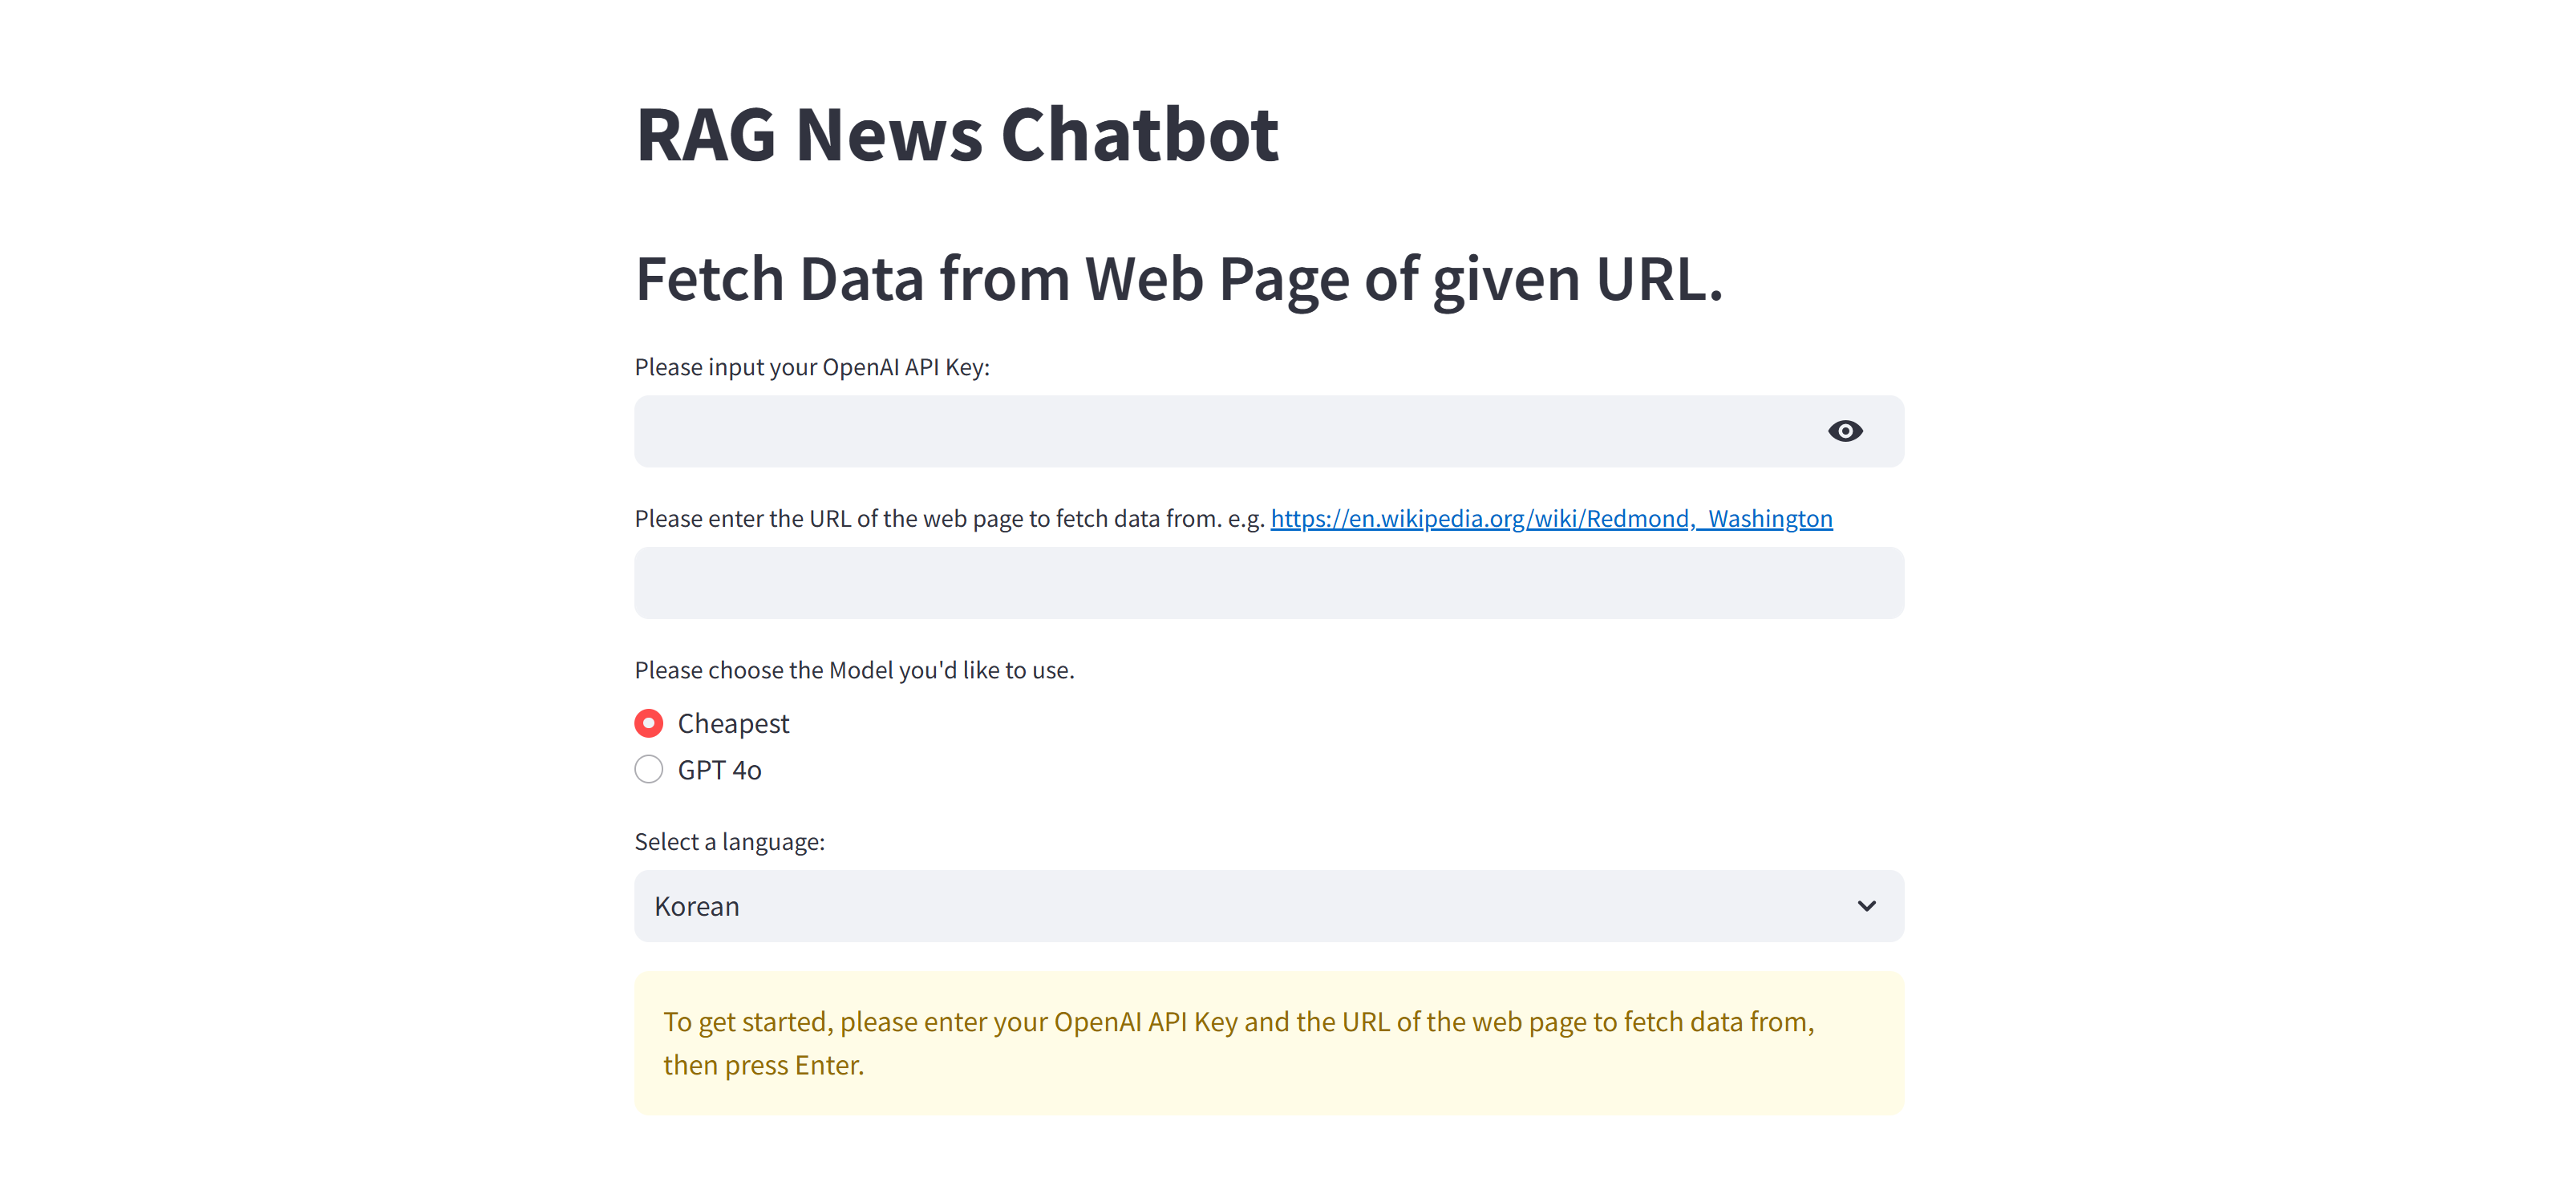
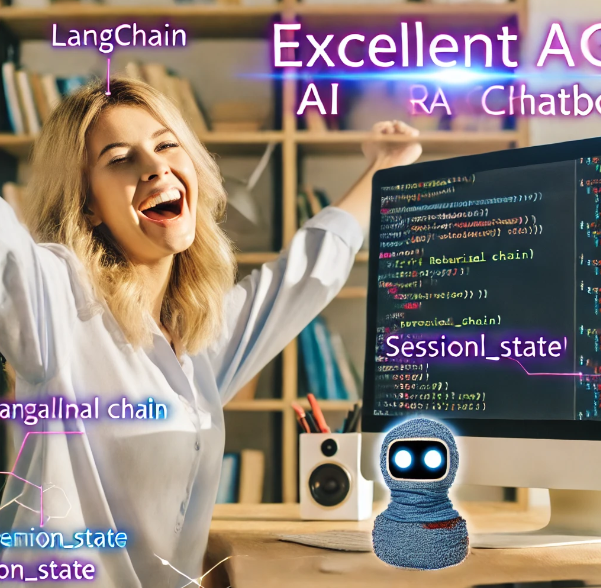
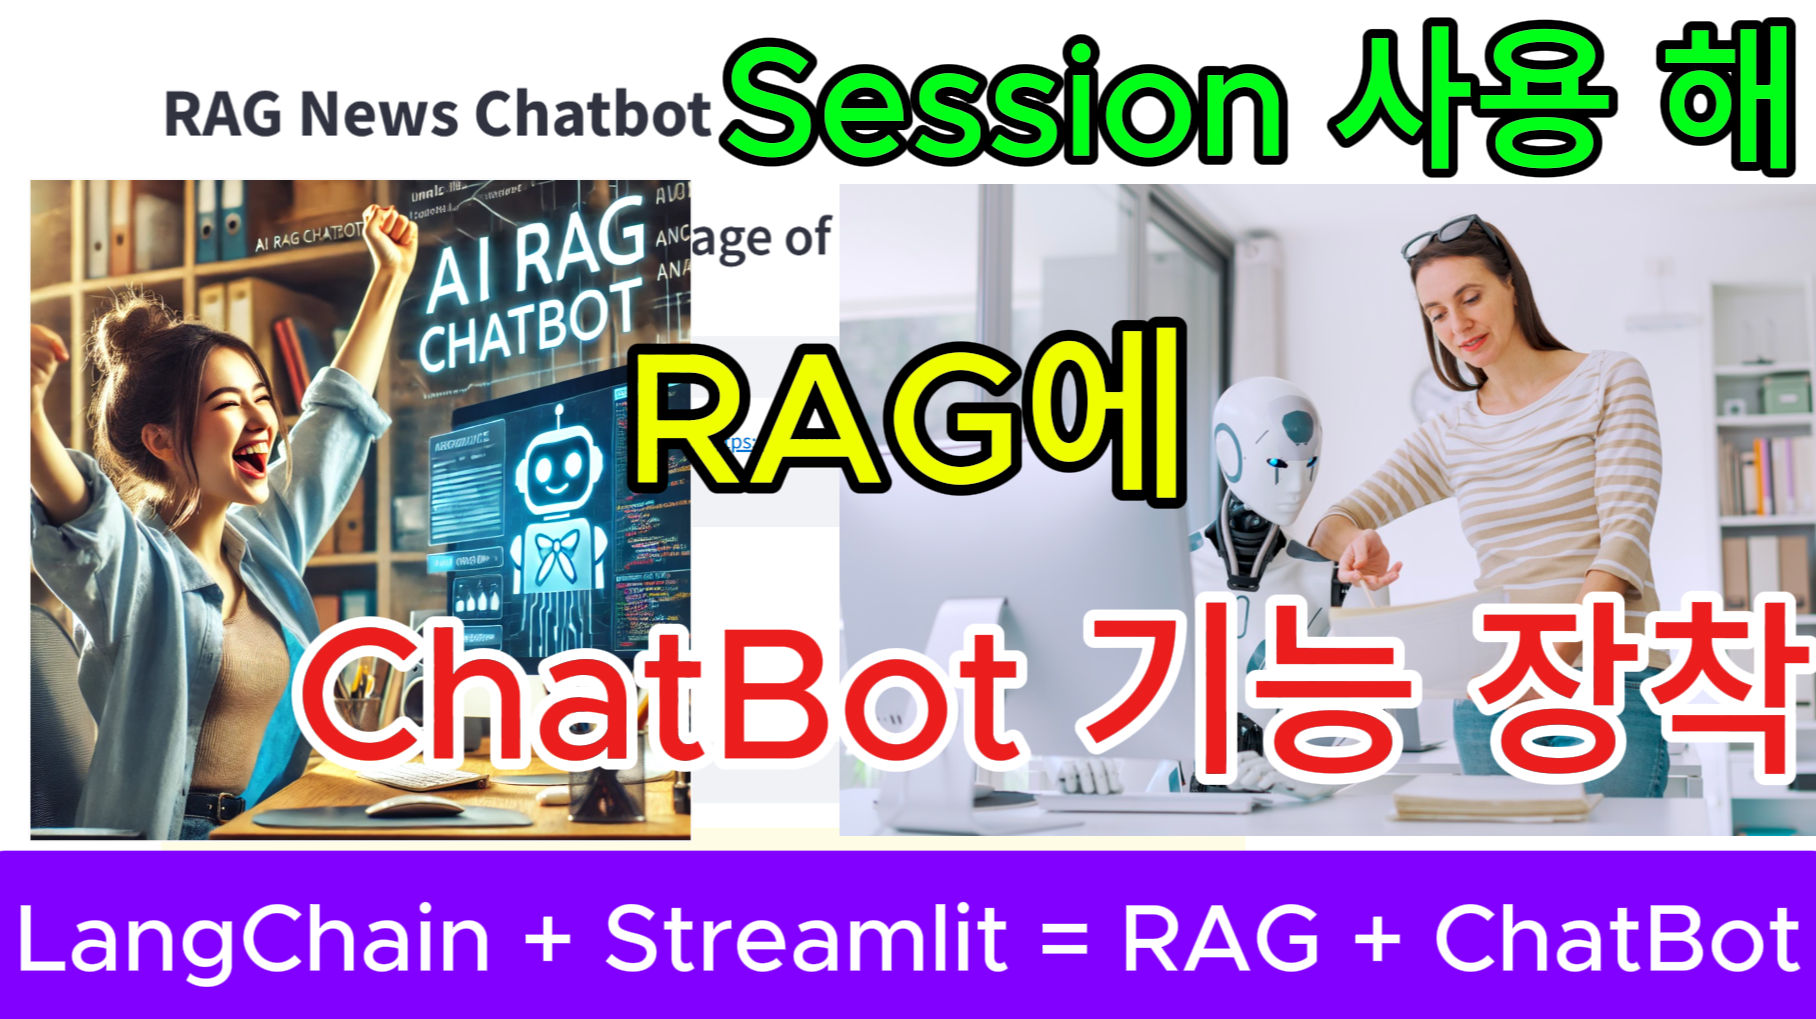
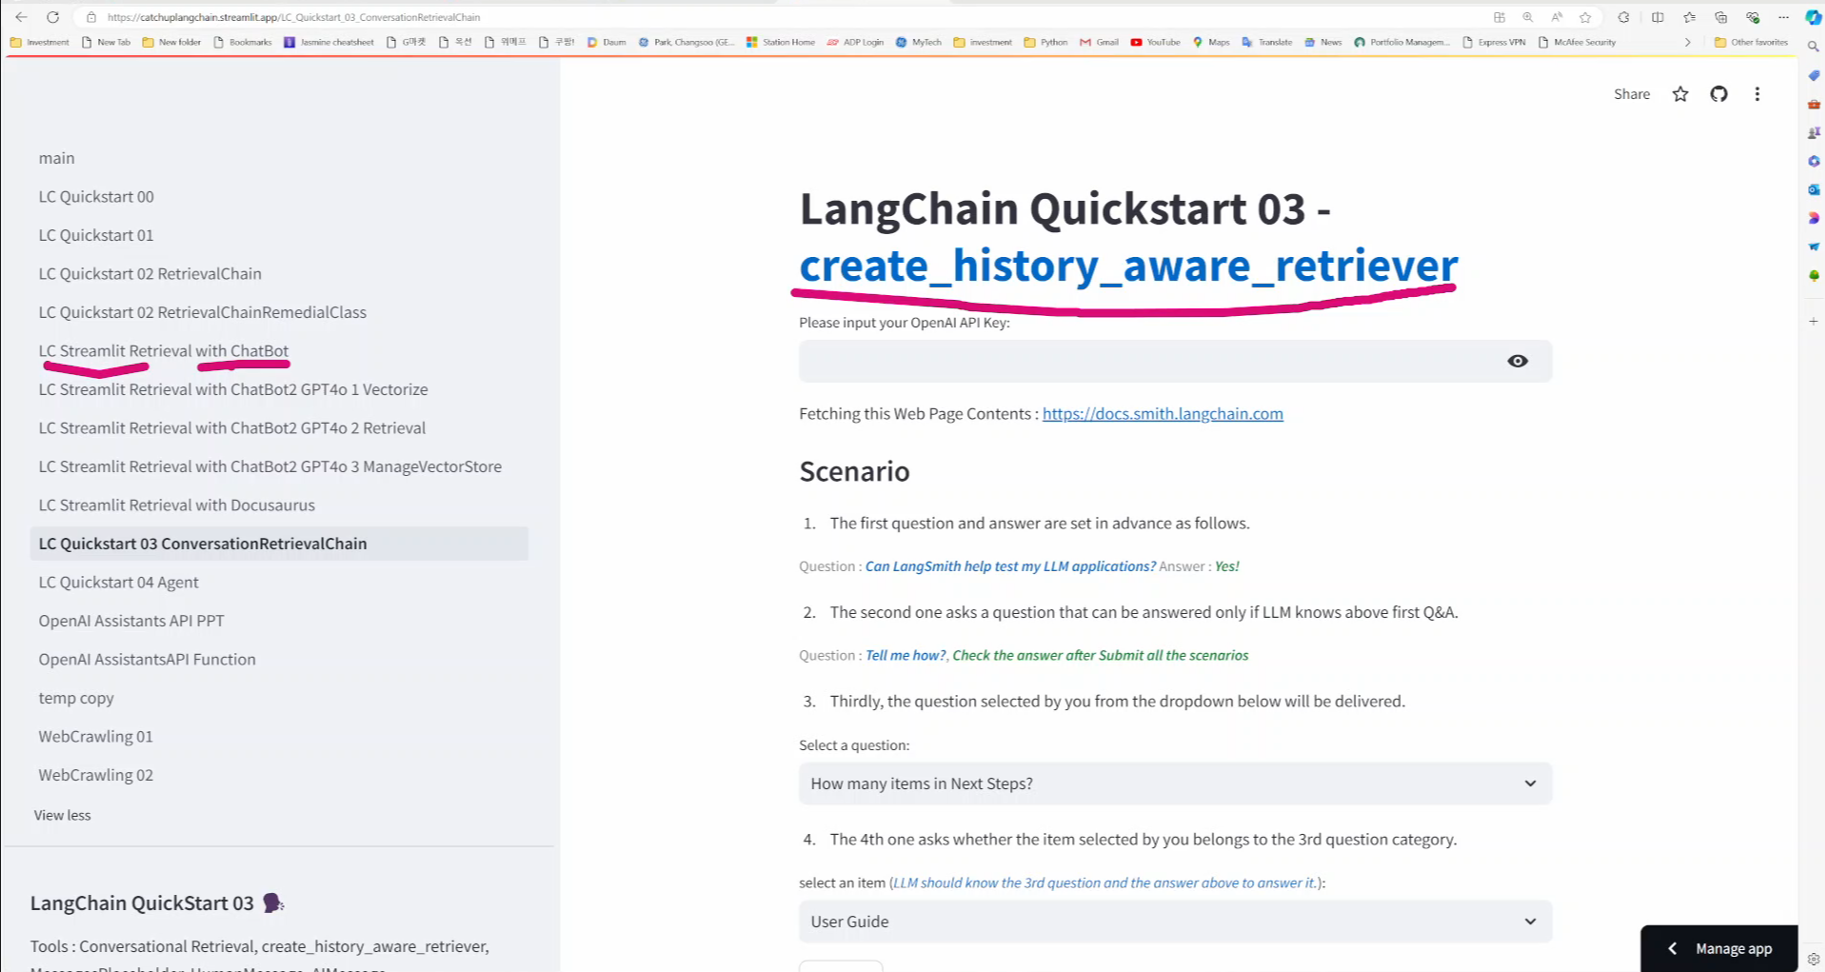
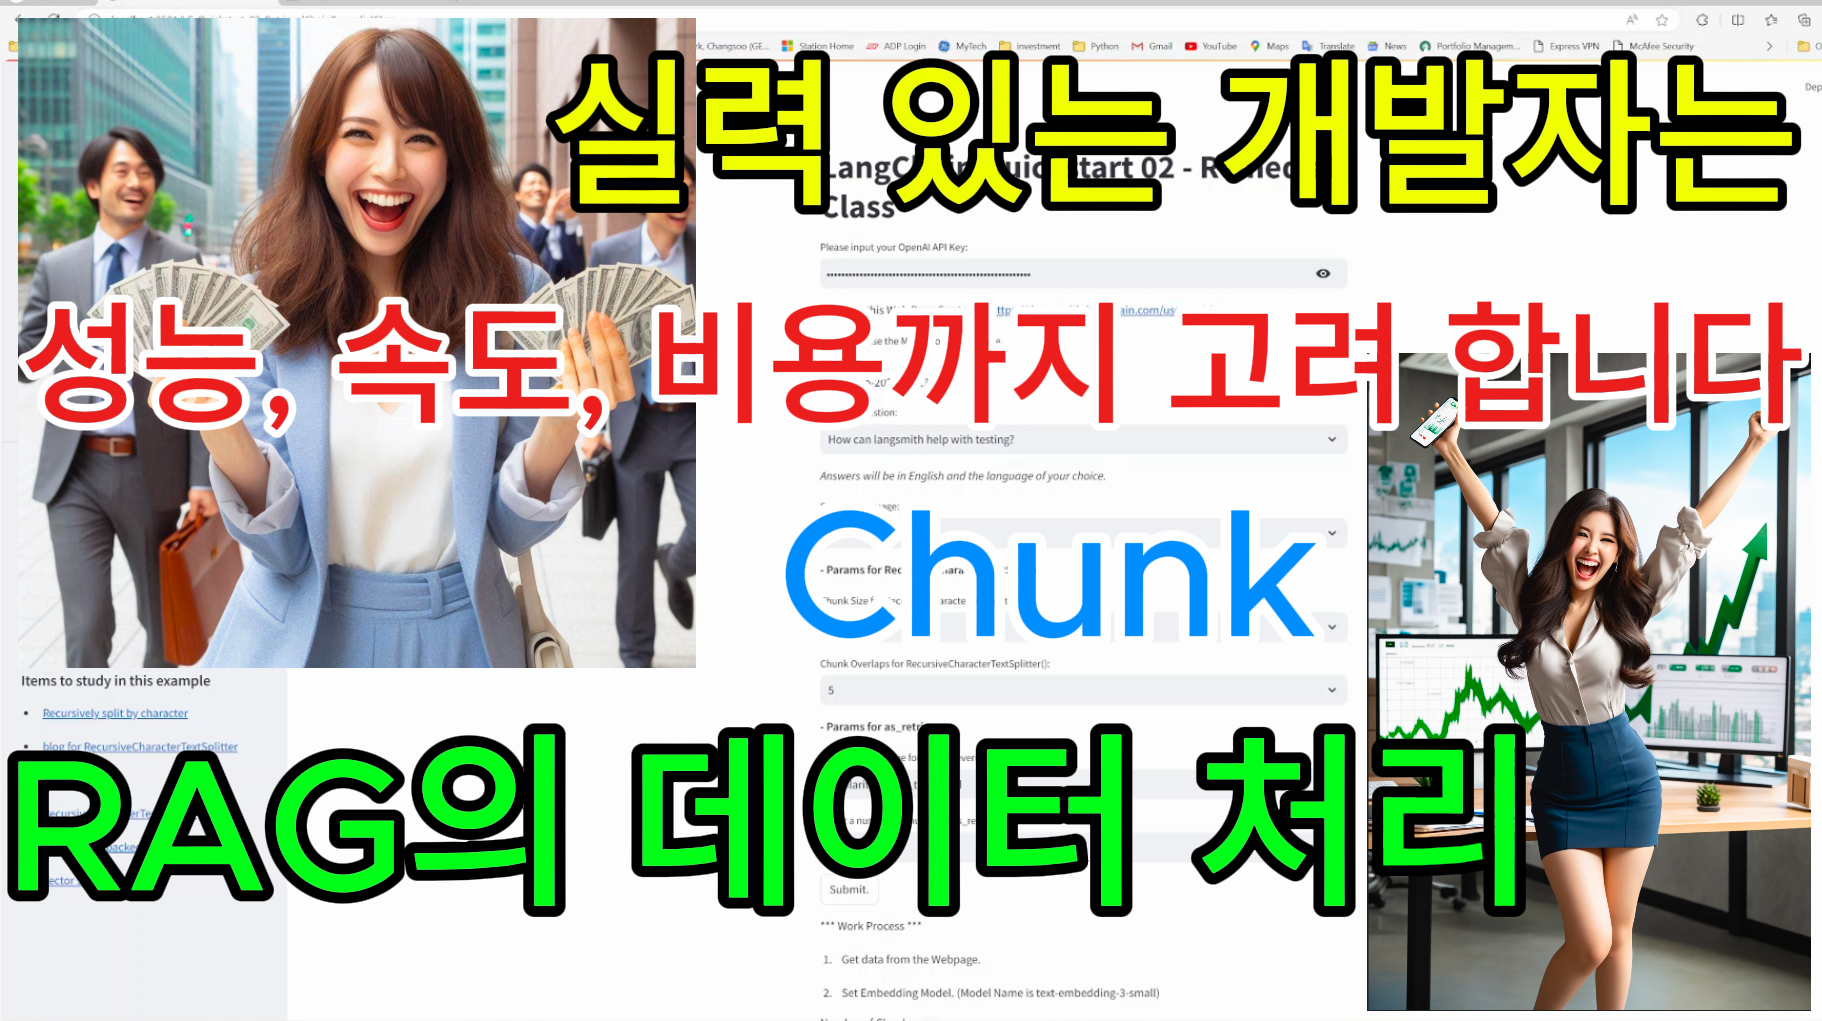
이번 시간에는 지난번 LangChain의 RetrievalChain 을 배울 때 사용했던 소스코드를 그대로 사용할 겁니다.
그 소스코드에 Streamlit 의 Session 관련 기능들을 사용해서 ChatBot 기능을 구현해 봅니다.
주요 스트림릿 툴들은 st.session_state(), st.session_message 그리고 st.session_input 등입니다.
이 각 툴들은 어떤 역할을 하고 또 어떻게 사용해야 되는지 알아봅니다.
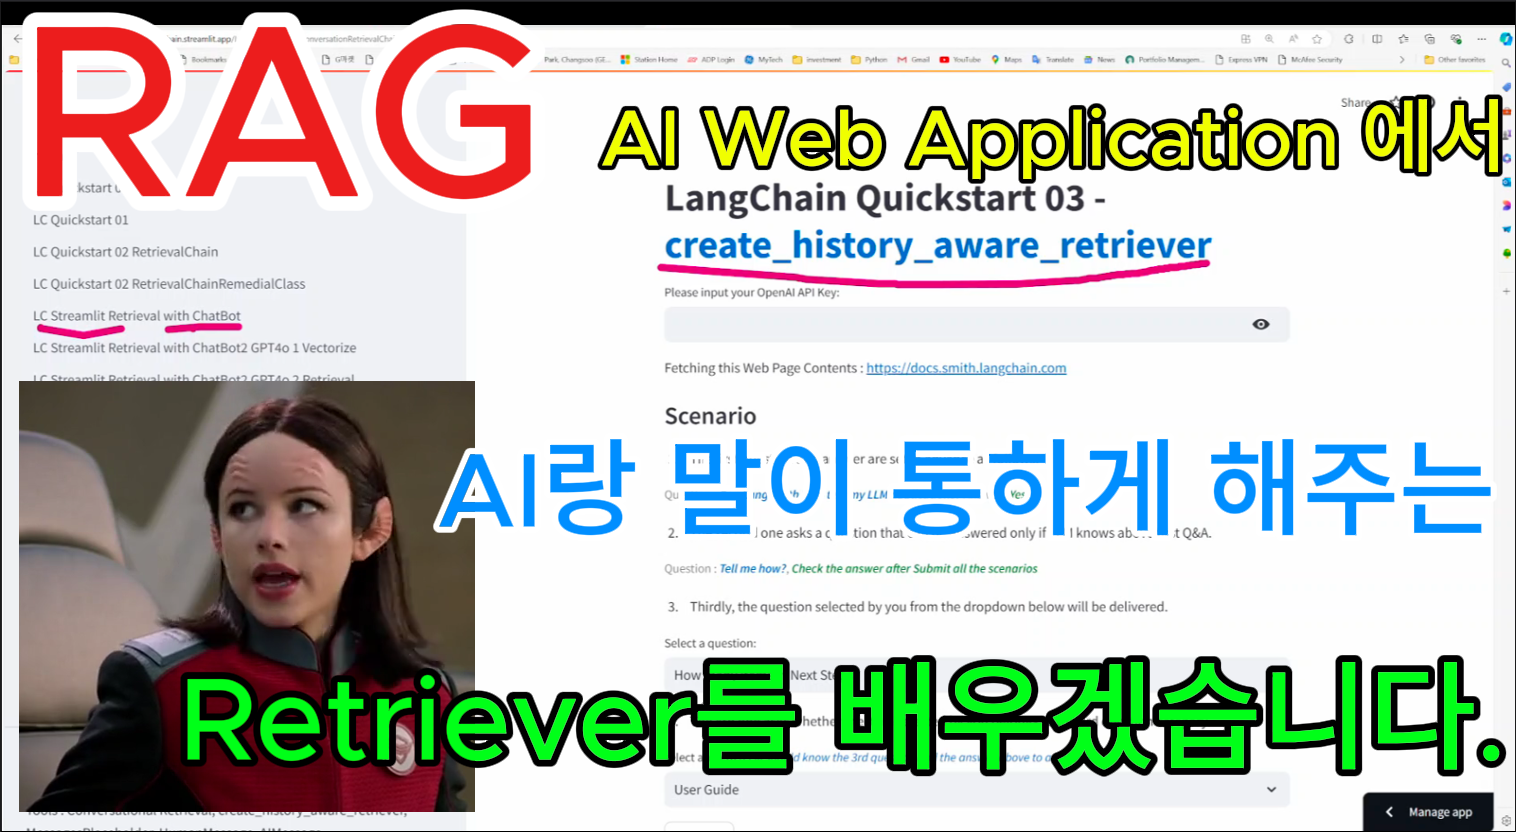
지난 시간에 배웠던 랭체인의 create_history_aware_retriever 도 챗봇 기능을 구현하기 위해 지원되는 기능입니다.
둘 다 사용자의 질문과 인공지능의 대답을 저장해 두고 다음 질문 할 때 그 history와 함께 새로운 질문을 인공지능에 보내서 인공지능이 그동안의 질문과 답변을 참고해서 질문의 의미를 좀 더 정확하게 파악할 수 있게 해 좀 더 해당 질문에 정확한 답변을 보낼 수 있도록 해 주는 겁니다.
그리고 그 질문과 답변 history를 브라우저에 표시할 수도 있어서 사용자도 질문과 답변 히스토리를 볼 수 있도록 해 줍니다.
랭체인은 스크립트 내 변수에 해당 히스토리를 저장해서 사용하고 스트림릿은 세션단위에서 그 히스토리를 저장해서 사용합니다.
그렇기 때문에 둘 다 새로운 브라우저에서 대화를 할 때는 이전 히스토리를 사용할 수 없습니다.
이렇게 해당 정보가 휘발되지 않고 다른 브라우저에서 볼 수도 있고 컴퓨터를 껐다가 켜도 그 정보를 사용할 수 있도록 려면 스크립트 내 변수나 브라우저 세션 등 임시 저장공간에 저장을 하지않고 파일이나 DB 등 제 3의 장소에 저장해서 사용해야 합니다.
오늘은 스트림릿에서 제공하는 st.session_state 를 사용해서 간단하게 챗봇을 구현하는 기술을 배워 봅니다.