지난 5월 13일, 워싱턴주 벨뷰 시청에서 열린 AI 세미나에 직접 참석해 발표 영상을 촬영했습니다.
"AI가 왜 기업에서 자꾸 실패할까?" 라는 질문을 오랫동안 품고 있었는데, 이날 현장에서 그 답을 꽤 명확하게 들을 수 있었습니다. 요약 영상으로 만들어 Catch Up AI 채널에 공개했으니, 현장에 가지 못하신 분들도 핵심 내용을 빠르게 확인하실 수 있습니다.
이날 발표한 전문가 3인 + 패널 Q&A
🔴 Lana Feng, Ph.D. — Cogzia 공동창업자
MIT 연구 결과 AI 파일럿의 95%는 개념 검증 단계에서 멈춥니다. 실패 원인의 70%는 기술 문제가 아니라 사람의 문제 — 도메인 전문가 참여율이 고작 5%에 불과하기 때문입니다.
에너지 업계에서 2주 걸리던 재무 분석이 AI 도입 후 30분으로 줄었다는 사례도 소개됐는데, 단 한 가지 조건이 있었습니다. 처음부터 도메인 전문가가 AI 개발 루프 안에 있어야 한다는 것.
🟠 Alex Thaman — Andesite CTO
보안 분야의 구조적 딜레마를 다뤘습니다. 대기업 Splunk 비용은 연간 최대 $70M(약 950억 원). 로그 데이터는 매년 23% 증가하는데 보안 예산은 16%밖에 늘지 않습니다.
데이터가 늘면 비용이 오르고, 비용이 오르면 수집 범위를 줄이고, 범위가 줄면 보안 사각지대가 생기는 SIEM 둠 루프. 이 악순환을 끊는 열쇠가 AI라고 했습니다.
🔵 Aruna Veerappan — Upwork 엔지니어링 시니어 디렉터
가장 충격적인 데이터가 나온 세션이었습니다. Cursor를 도입한 500명 규모 개발팀의 비용이 $30만에서 $100만 이상으로 3배 넘게 급등했습니다. 반면, LangGraph 3단계 아키텍처로 재설계한 팀은 20배 절감에 성공했습니다.
같은 AI 도구 시대라도 어떻게 설계하느냐가 비용 구조 자체를 결정한다는 것이 이날 현장의 결론이었습니다.
🟣 패널 전체 Q&A
"현장에서 가장 무서운 보안 위협은 퀀텀 컴퓨팅인가?" 라는 질문에 금융기관 관계자가 단호하게 답했습니다. "아니요. 지금 당장 1위는 여전히 2FA 피싱입니다."
오픈소스 AI 모델의 보안 리스크로 정부 기관이 Anthropic 계약을 중도 해지했다는 실제 사례도 공개됐고, AI ROI는 코드 생성량이 아닌 **수용률(adoption rate)**로 측정해야 한다는 제안도 인상적이었습니다.
요약 영상 바로 보기
현장 발표 4개의 핵심을 2분으로 정리했습니다.
🇰🇷 한국어 버전
▶ https://youtu.be/Atjn75QCbSM
🇺🇸 English Version
▶ https://youtu.be/HppGRRENcPk
풀 영상이 궁금하신 분들께
발표 4개의 풀 영상(각 30~35분)은 현재 Catch Up AI 채널 멤버 전용으로 공개되어 있습니다. 주 2편씩 일반 공개로 전환될 예정이니, 멤버십에 가입하시면 가장 먼저 보실 수 있습니다.
멤버십은 월 $1.99(커피 한 잔)부터 시작합니다.
👉 youtube.com/@catchupai → 멤버 가입
시애틀·벨뷰 지역 AI 현장 영상을 계속 올릴 예정입니다. 구독과 좋아요로 응원해 주세요 🙏


#AI #인공지능 #엔터프라이즈AI #AI파일럿 #보안 #시애틀 #CatchUpAI #AI에이전트 #LangGraph #유튜브
'Catchup AI' 카테고리의 다른 글
| 기록이 AI를 강하게 만든다 — AI in Action Live #13 요약 영상 공개 (0) | 2026.06.13 |
|---|---|
| AI 녹음 기기, 미국에서 써도 됩니까? — Limitless·Meta 안경·Otter.ai 미국 법 완전 정리 (0) | 2026.06.10 |
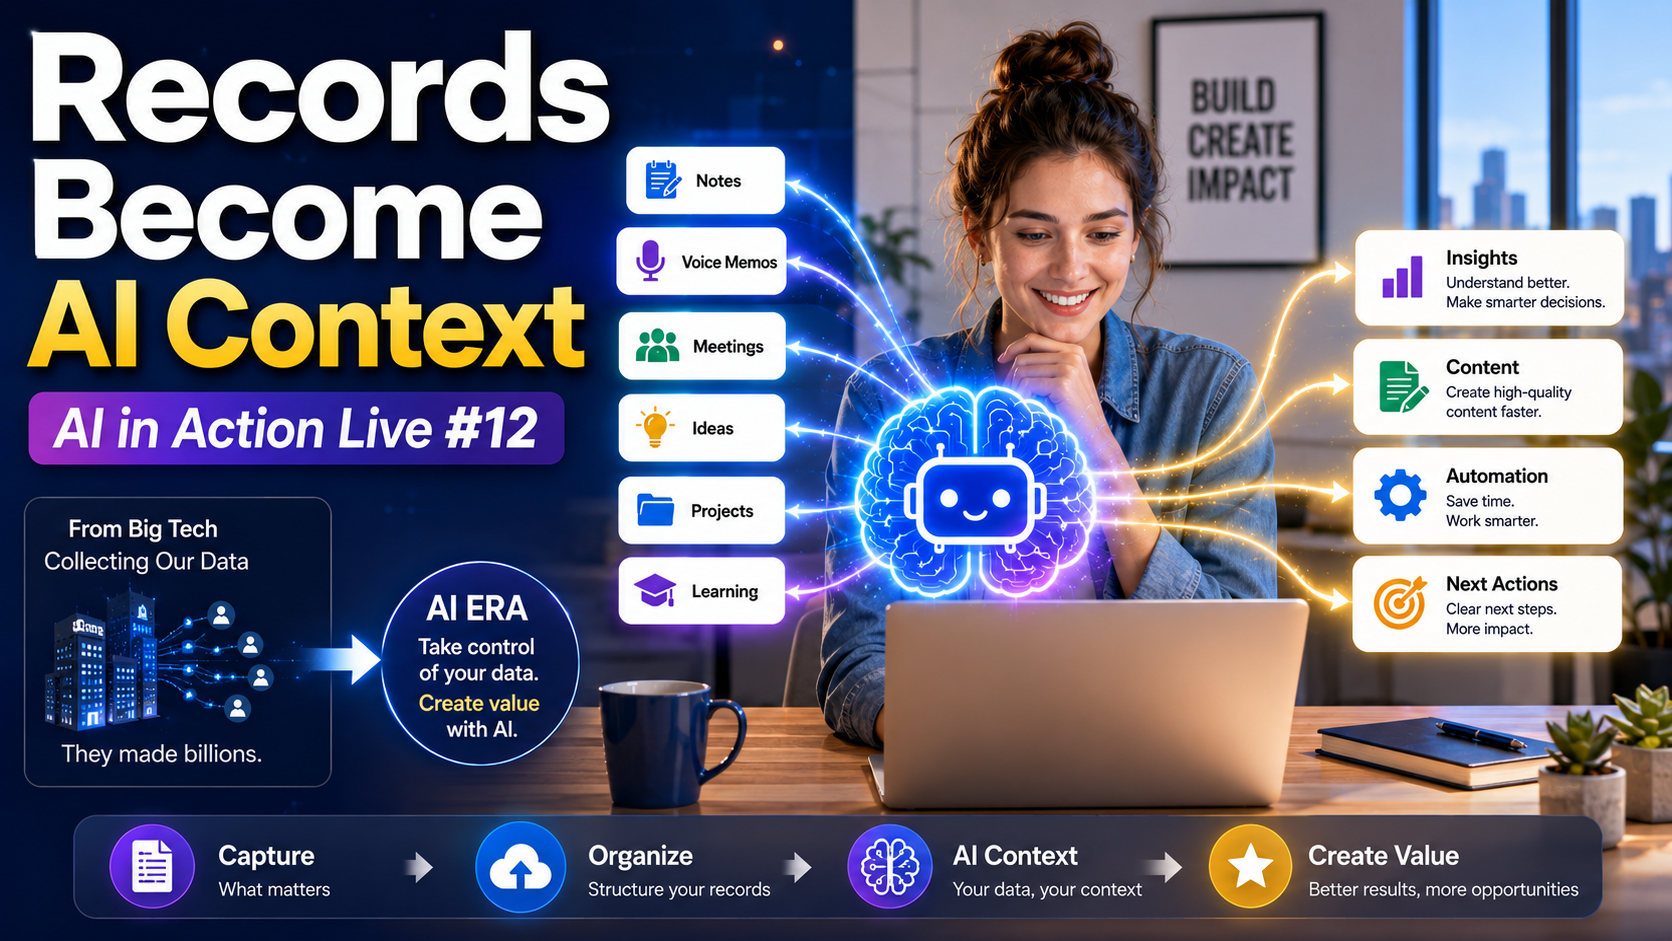
| AI 시대, 내 기록을 내 자산으로 만드는 법: AI in Action Live #12 요약 (1) | 2026.06.07 |
| 내 목소리를 AI로 복제했습니다 — Qwen3-TTS 12일·18시간 실전 기록 (1) | 2026.06.02 |
| AI랑 하면 뚝딱? 직접 해보니 현실은 달랐다, AI로 내 목소리 복제 등 AI 실험 주간 요약 (0) | 2026.05.27 |
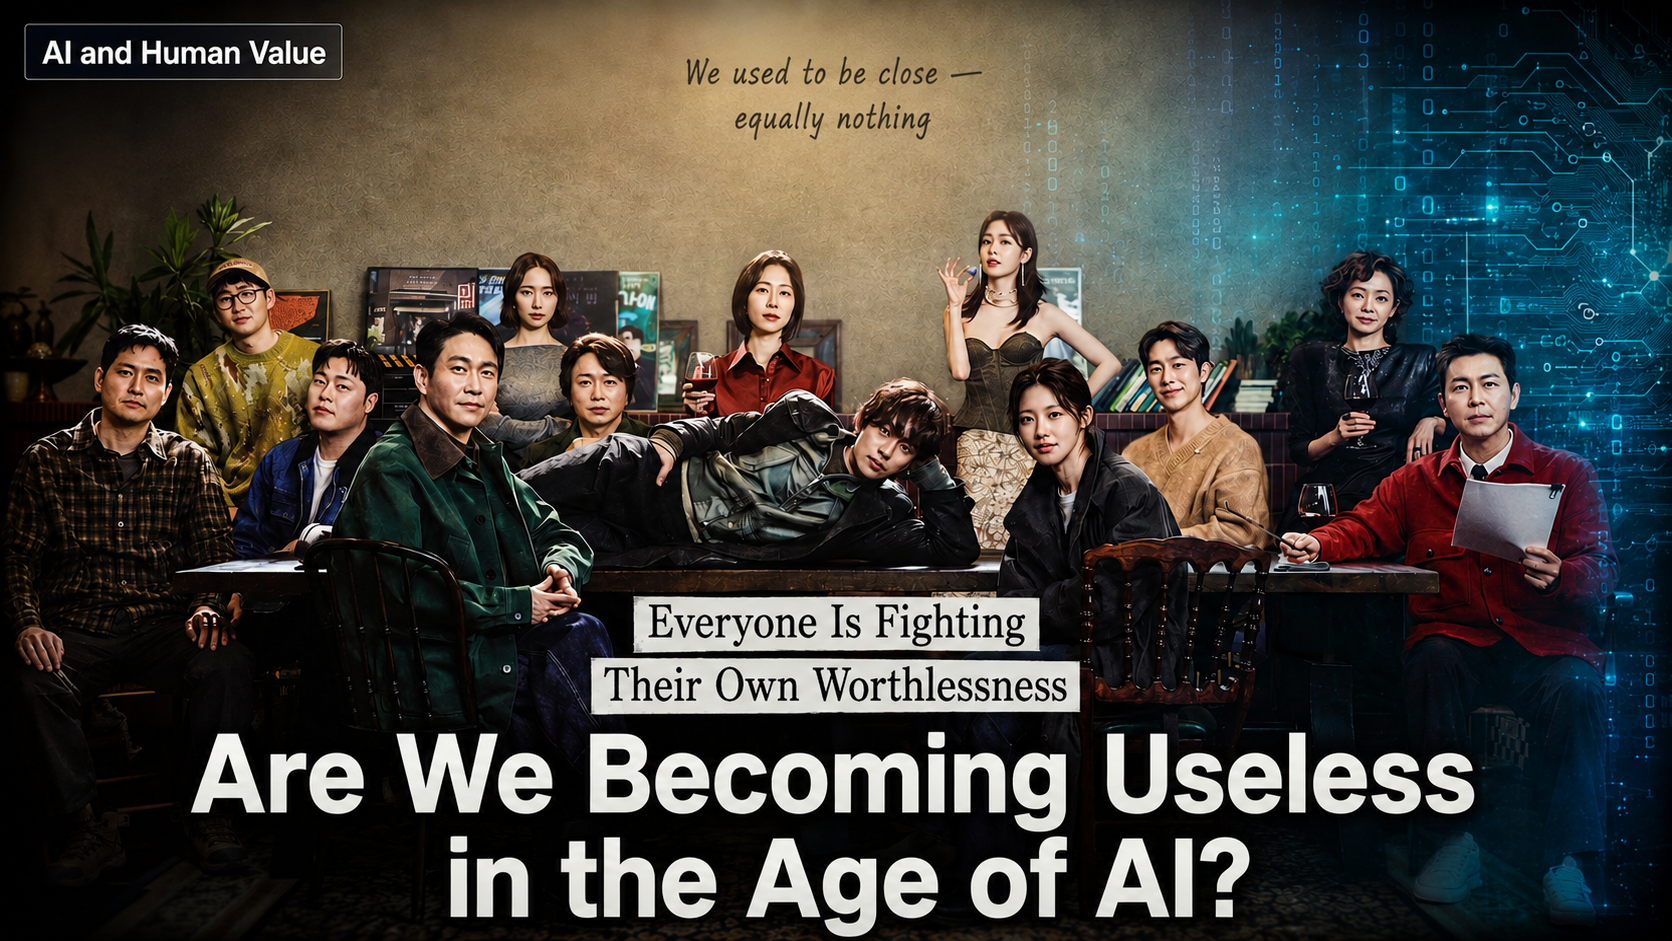
| 모두가 자신의 무가치함과 싸우고 있다 — AI 시대, 우리는 더 쓸모 없어 지는가? (0) | 2026.05.23 |
| [AI in Action Live #10] Qwen3-TTS 직접 실험 — 로컬 설치 실패 후 API로 전환한 이야기 (0) | 2026.05.20 |
| 시애틀 한인 AI 빌더 커뮤니티 "Builders Lounge" 창립 모임 — AI가 나 대신 포스팅하는 시대가 열렸다 (0) | 2026.05.16 |
| AI in Action #9 — 시애틀에서 시도하는 AI 일상 적용 실험 기록 (0) | 2026.05.15 |
| 시애틀 사람들은 AI를 어떻게 느낄까? — 거부부터 열정까지 5가지 민심 + 법명 받은 AI 스님 (1) | 2026.05.09 |