개발자로서 현장에서 일하면서 새로 접하는 기술들이나 알게된 정보 등을 정리하기 위한 블로그입니다. 운 좋게 미국에서 큰 회사들의 프로젝트에서 컬설턴트로 일하고 있어서 새로운 기술들을 접할 기회가 많이 있습니다. 미국의 IT 프로젝트에서 사용되는 툴들에 대해 많은 분들과 정보를 공유하고 싶습니다.
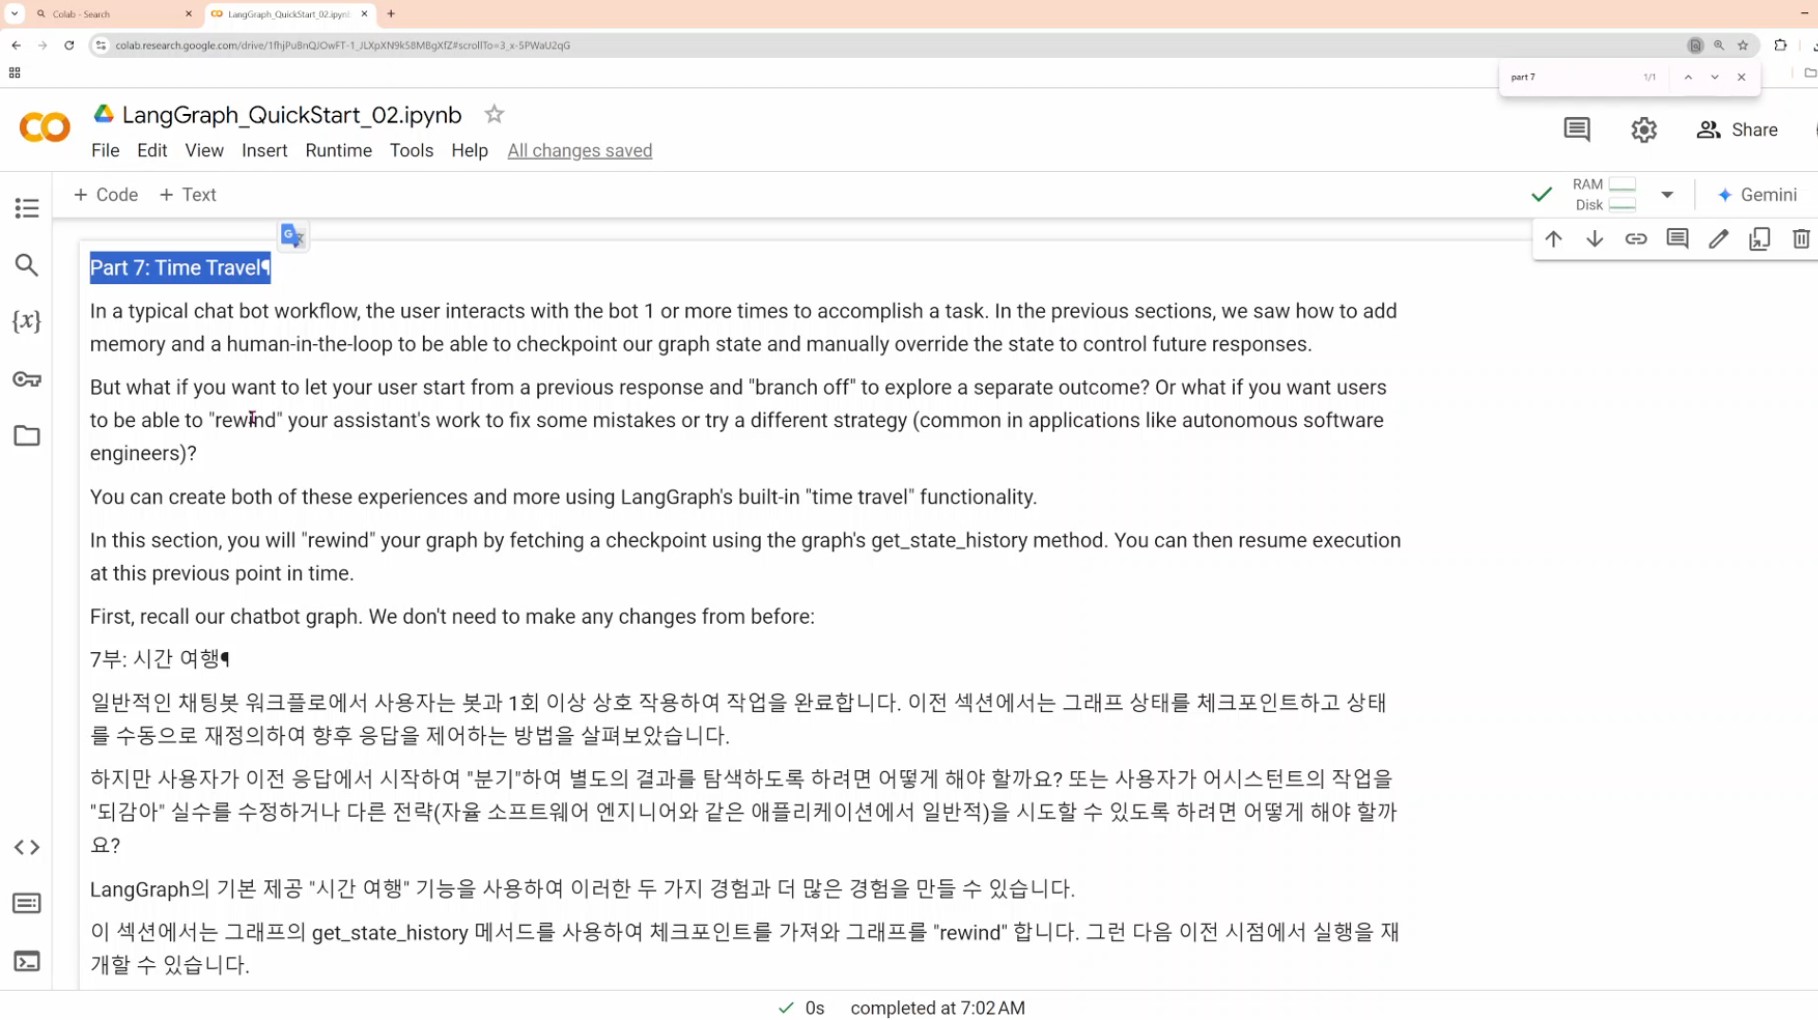
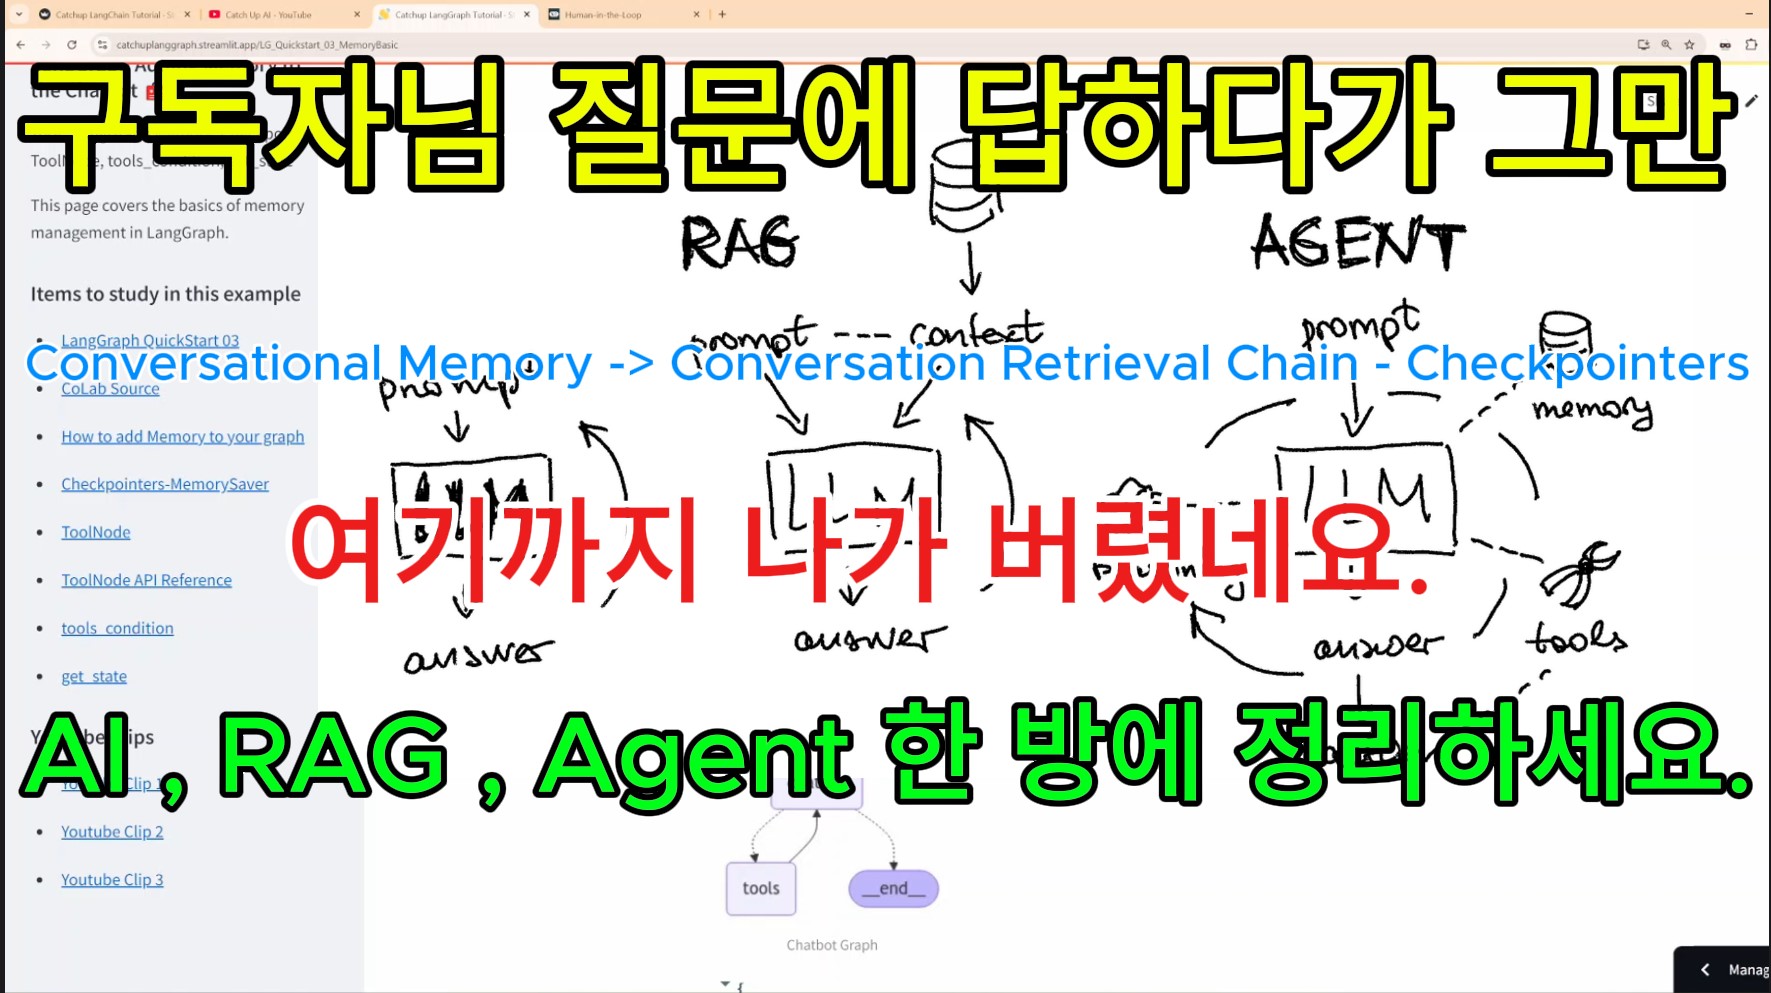
오늘은 LangGraph Quick Start Tutorial 마지막 단원인 Part 7 : Time Travel 입니다.
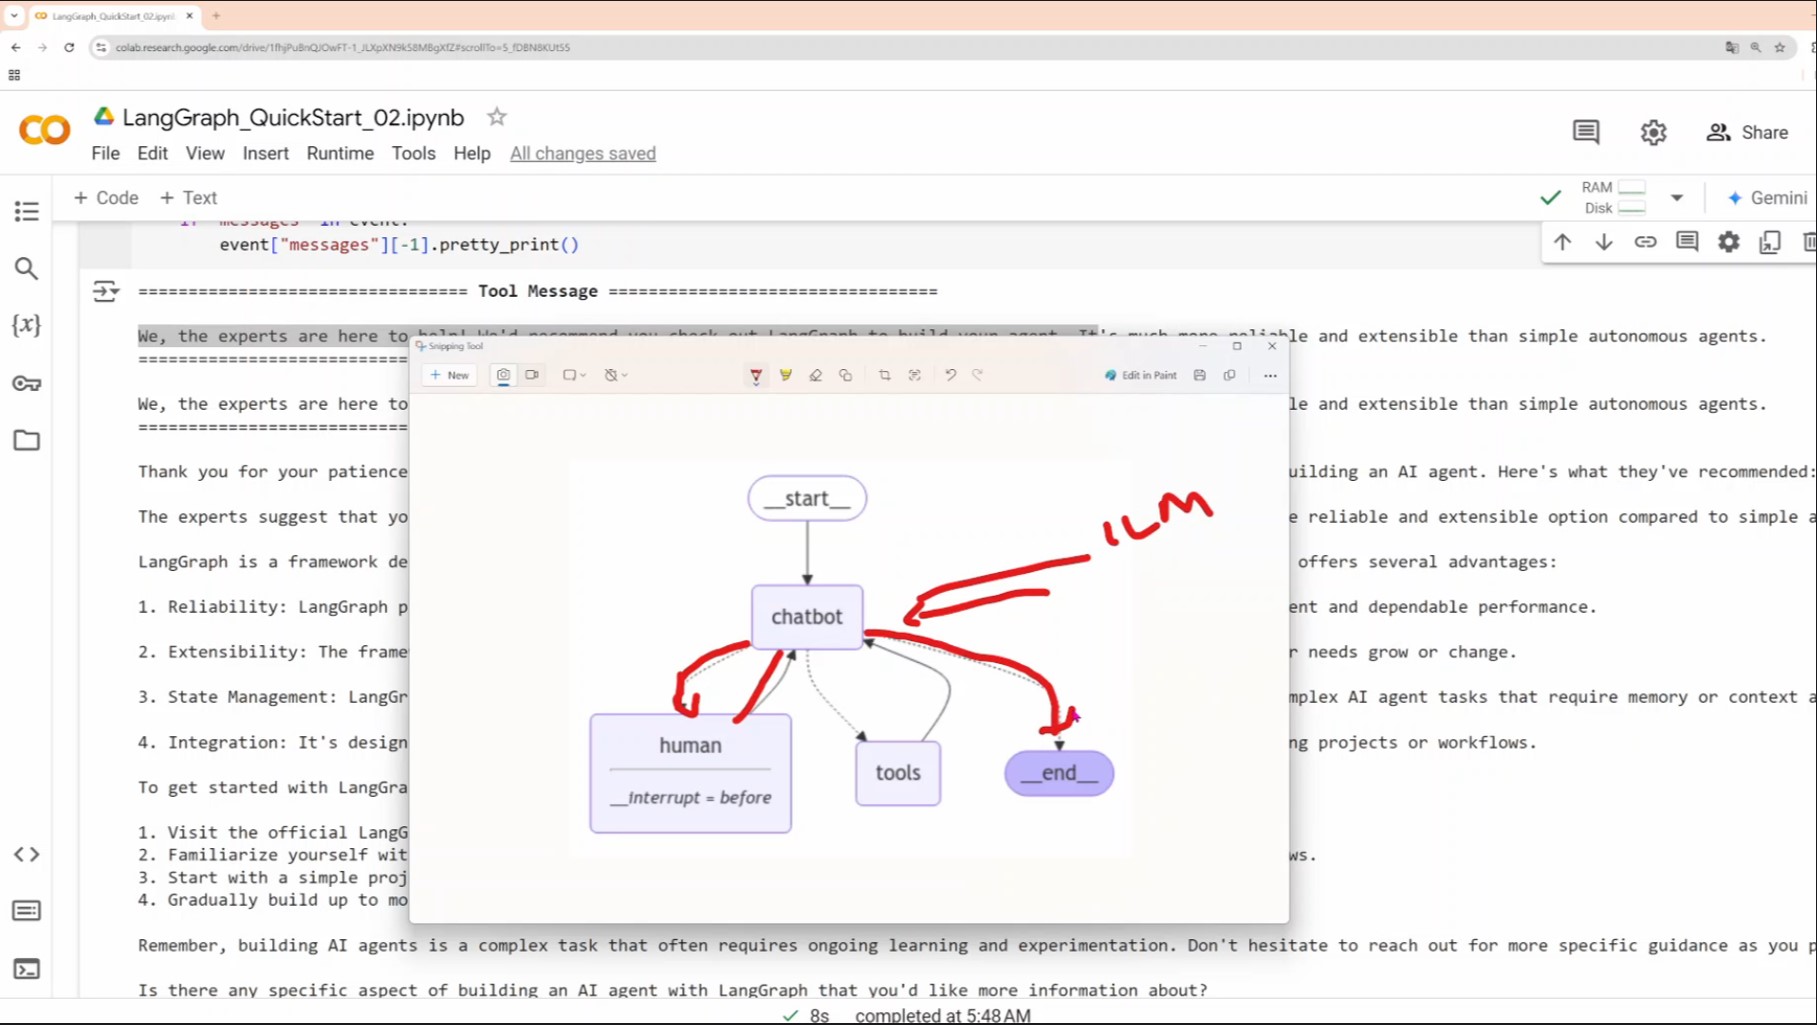
이름에서 알 수 있듯이 과거로 돌아가서 당시 State를 바꾸는 겁니다.
그러면 현재의 결과 값을 바꿀 수 있습니다.
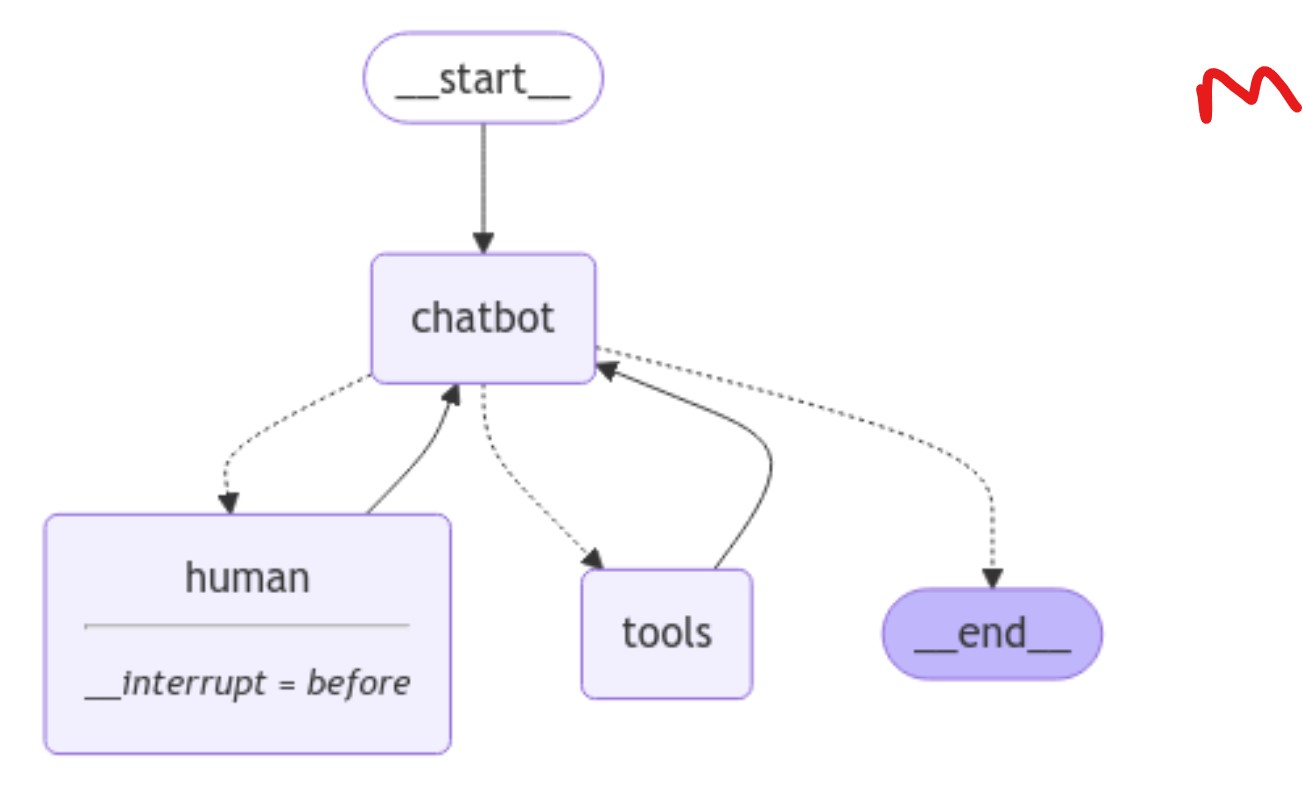
바로 State 의 History 가 Checkpoint 단위로 Step 별로 다 관리가 되고 있기 때문에 가능한 겁니다.
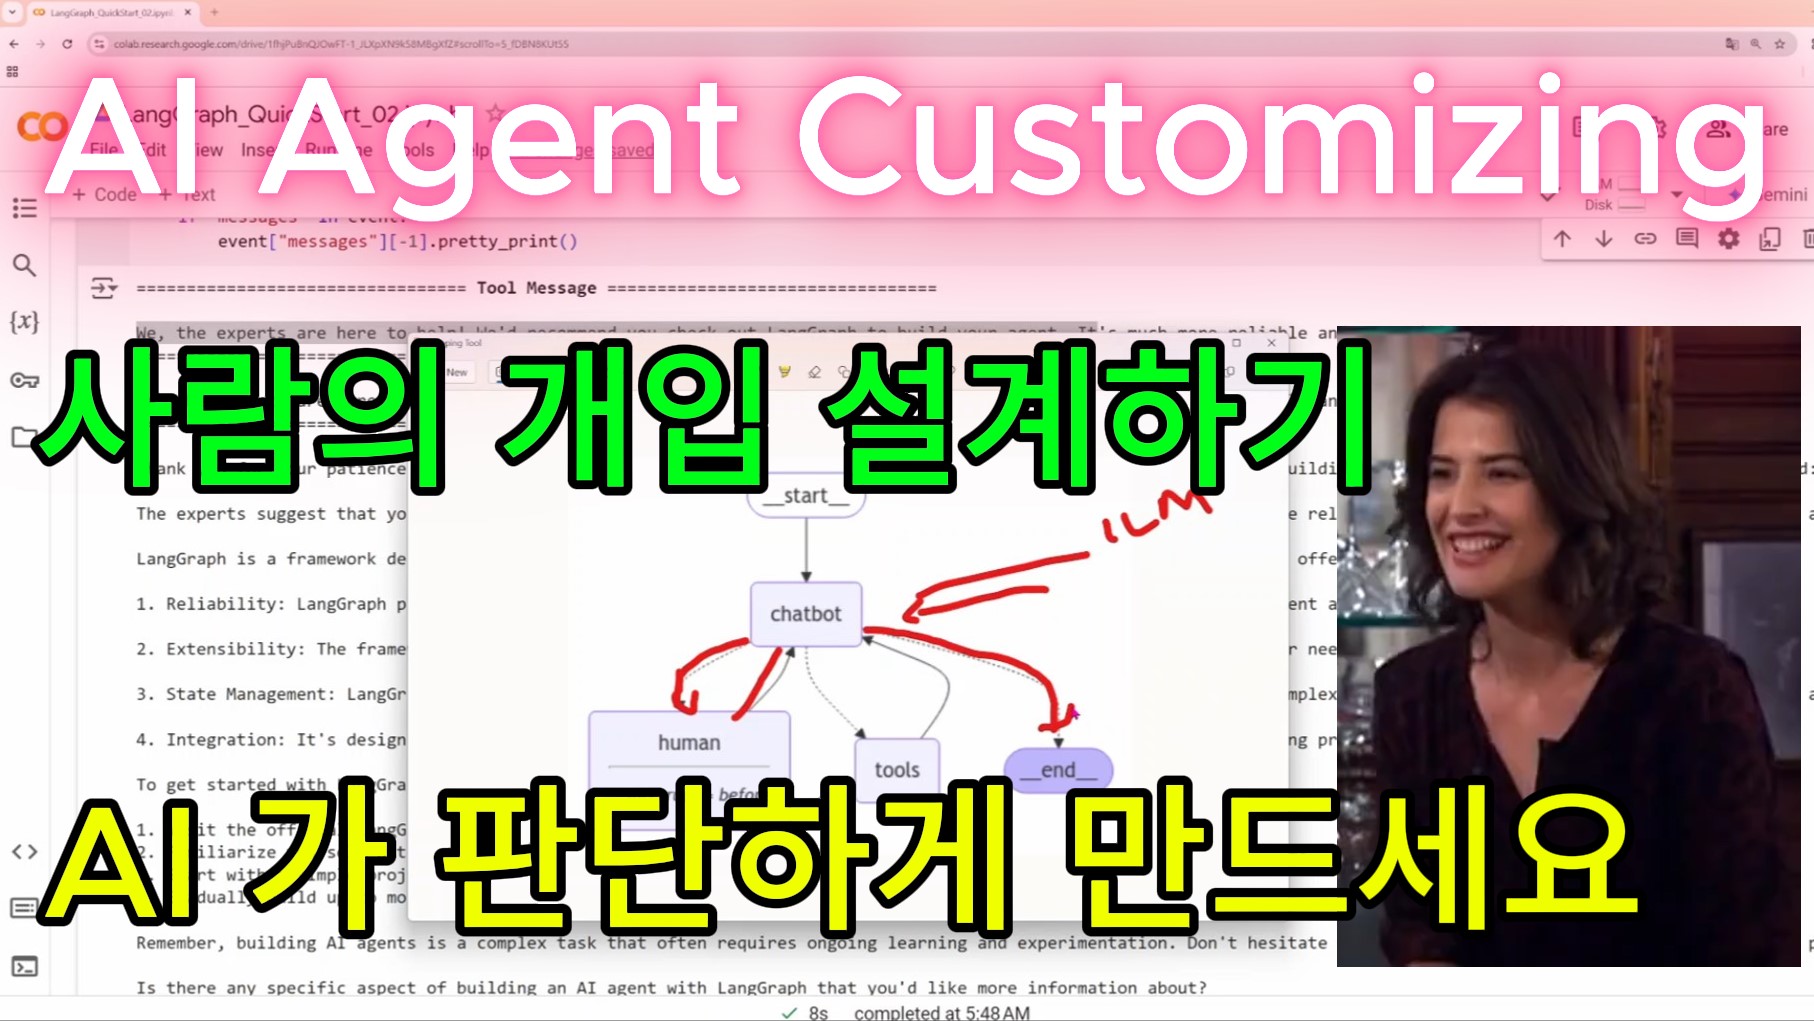
이 기능을 사용하면 Agent 의 Process 중 오류가 발생하거나 아니면 디버깅을 하거나 혹은 다른 Business Requirements 중에 이 기능이 필요한 경우 적용해서 보다 고객의 요구 조건을 풍부하게 충족 시켜 주는 어플리케이션을 개발 할 수 있을 겁니다.
This article was written in response to a publication request, where I share my perspective on how we should approach the emerging technology of AI.
When we view AI merely as an extension of digital technology to enhance digital-based services, we limit its true potential. Such a narrow approach confines us to only a fraction of AI's capabilities. Instead, I believe we must approach AI with the sensibilities of an analog world—embracing the depth and nuance beyond the digital realm. This perspective allows us to harness AI in a more meaningful way.
This article encapsulates my thoughts on this unique approach to AI.
이 글은 어느곳에 요청을 받고 제가 기고한 글입니다.
AI 라는 신기술을 어떻게 바라볼 것인가에 대한 저의 생각을 정리했습니다.
AI 를 Digital 의 연장으로 생각해서 좀 더 나은 Digital 기반의 서비스를 제공하겠다고 생각하면 안됩니다.
그러면 AI의 아주 제한적인 기능만 사용하게 됩니다.
Digital 이전의 세상인 Analog 적인 감성으로 AI를 대해야 제대로 AI를 활용할 수 있습니다.