반응형
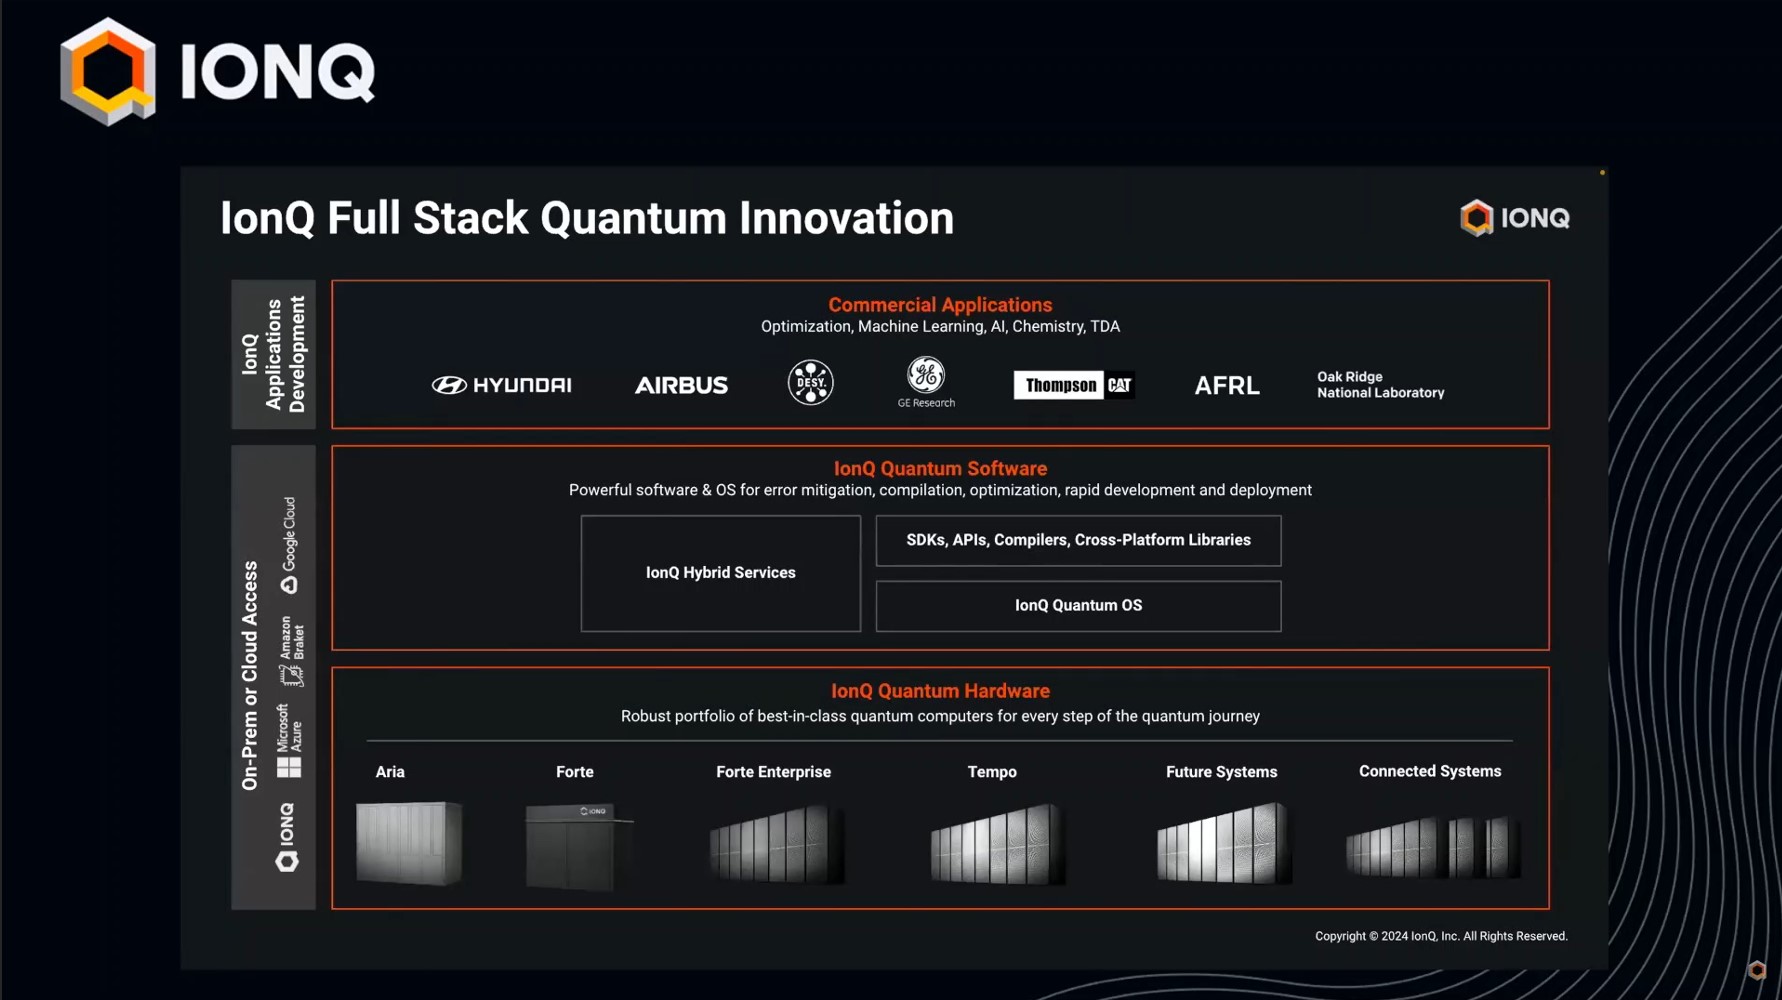
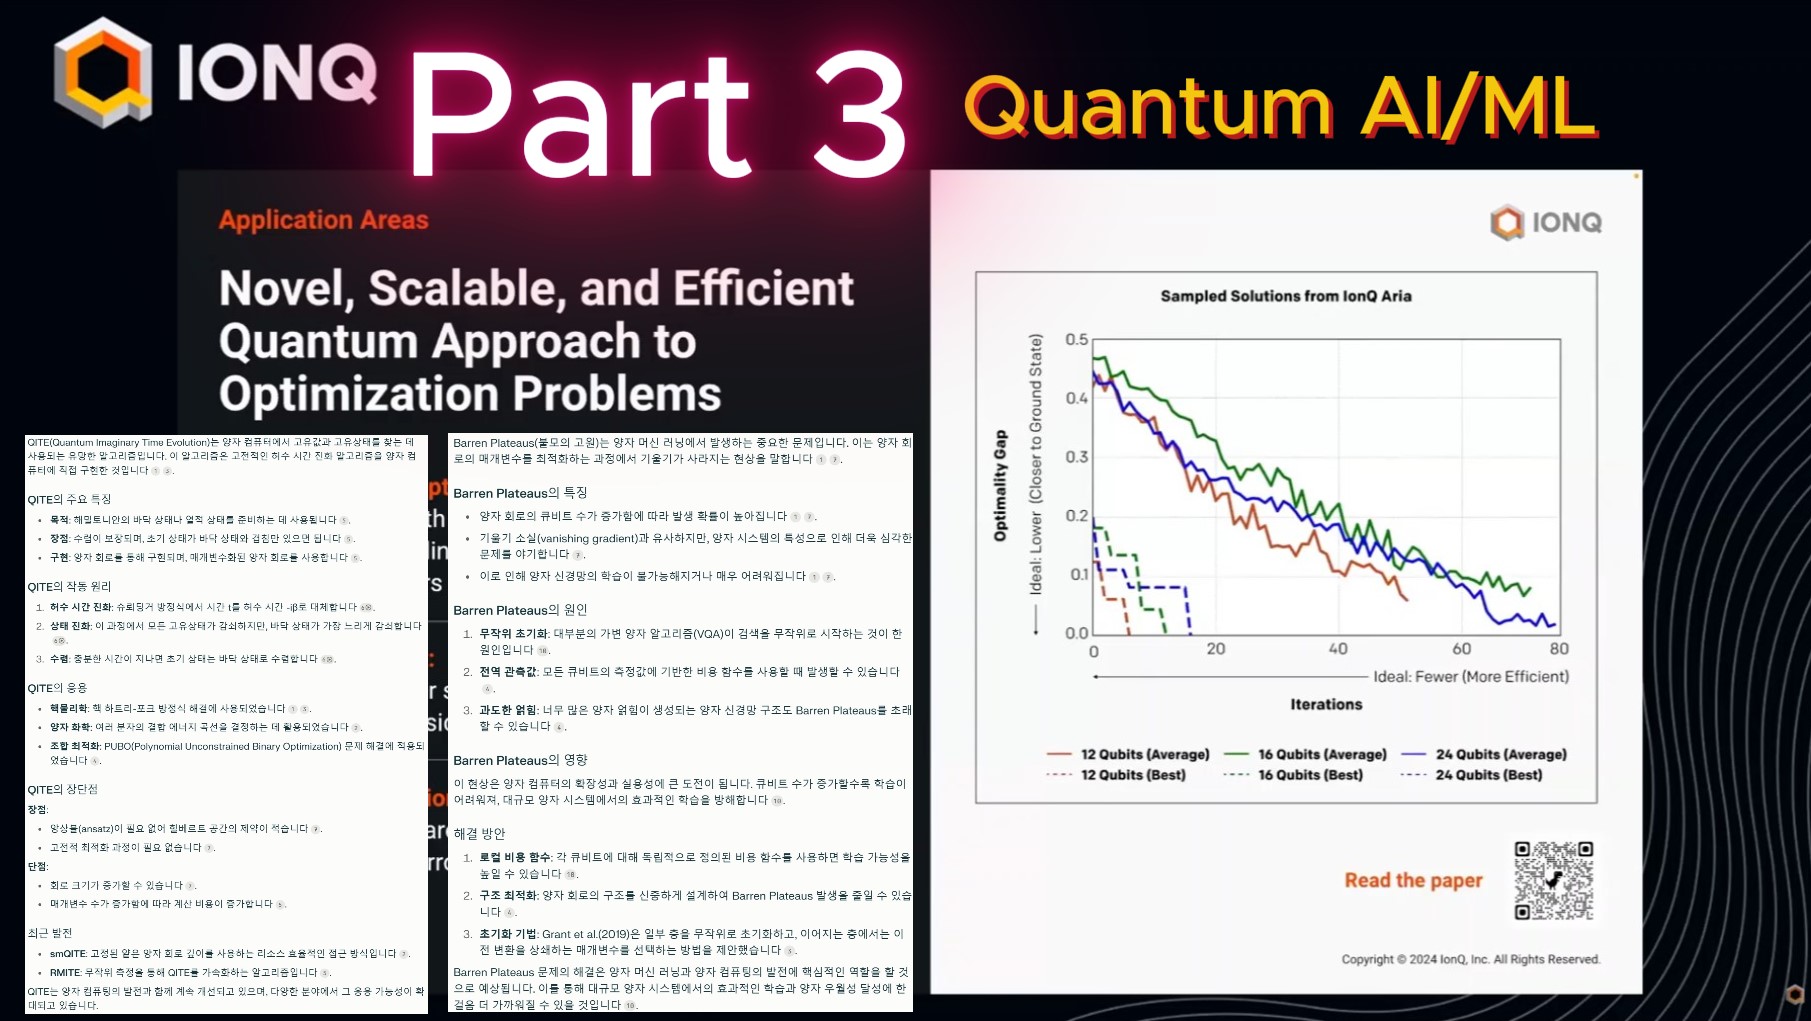
오늘은 IonQ's Full-Stack Quantum Innovation Webinar 의 Part 3를 다룹니다.
오늘 발표는 IonQ에서 Director of Applications Development 로 있는 Dr. Masako Yamada 가 Quantum AI/ML과 관련한 내용을 발표 합니다.
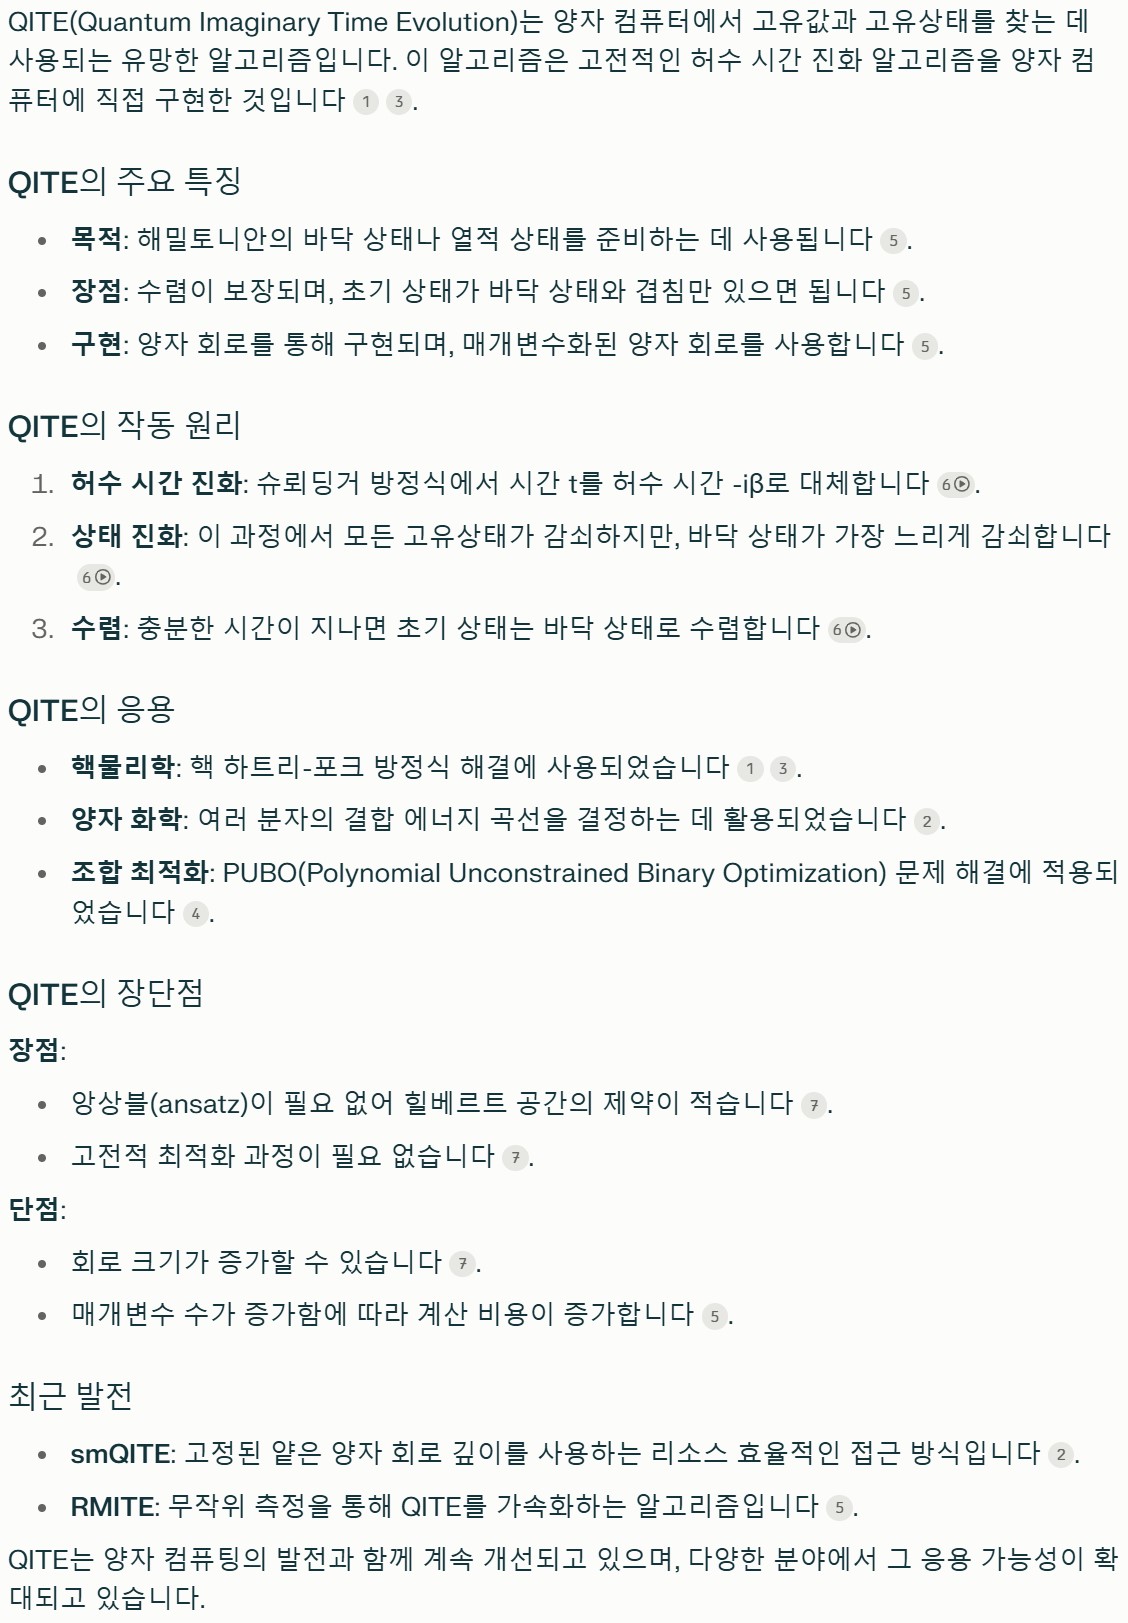
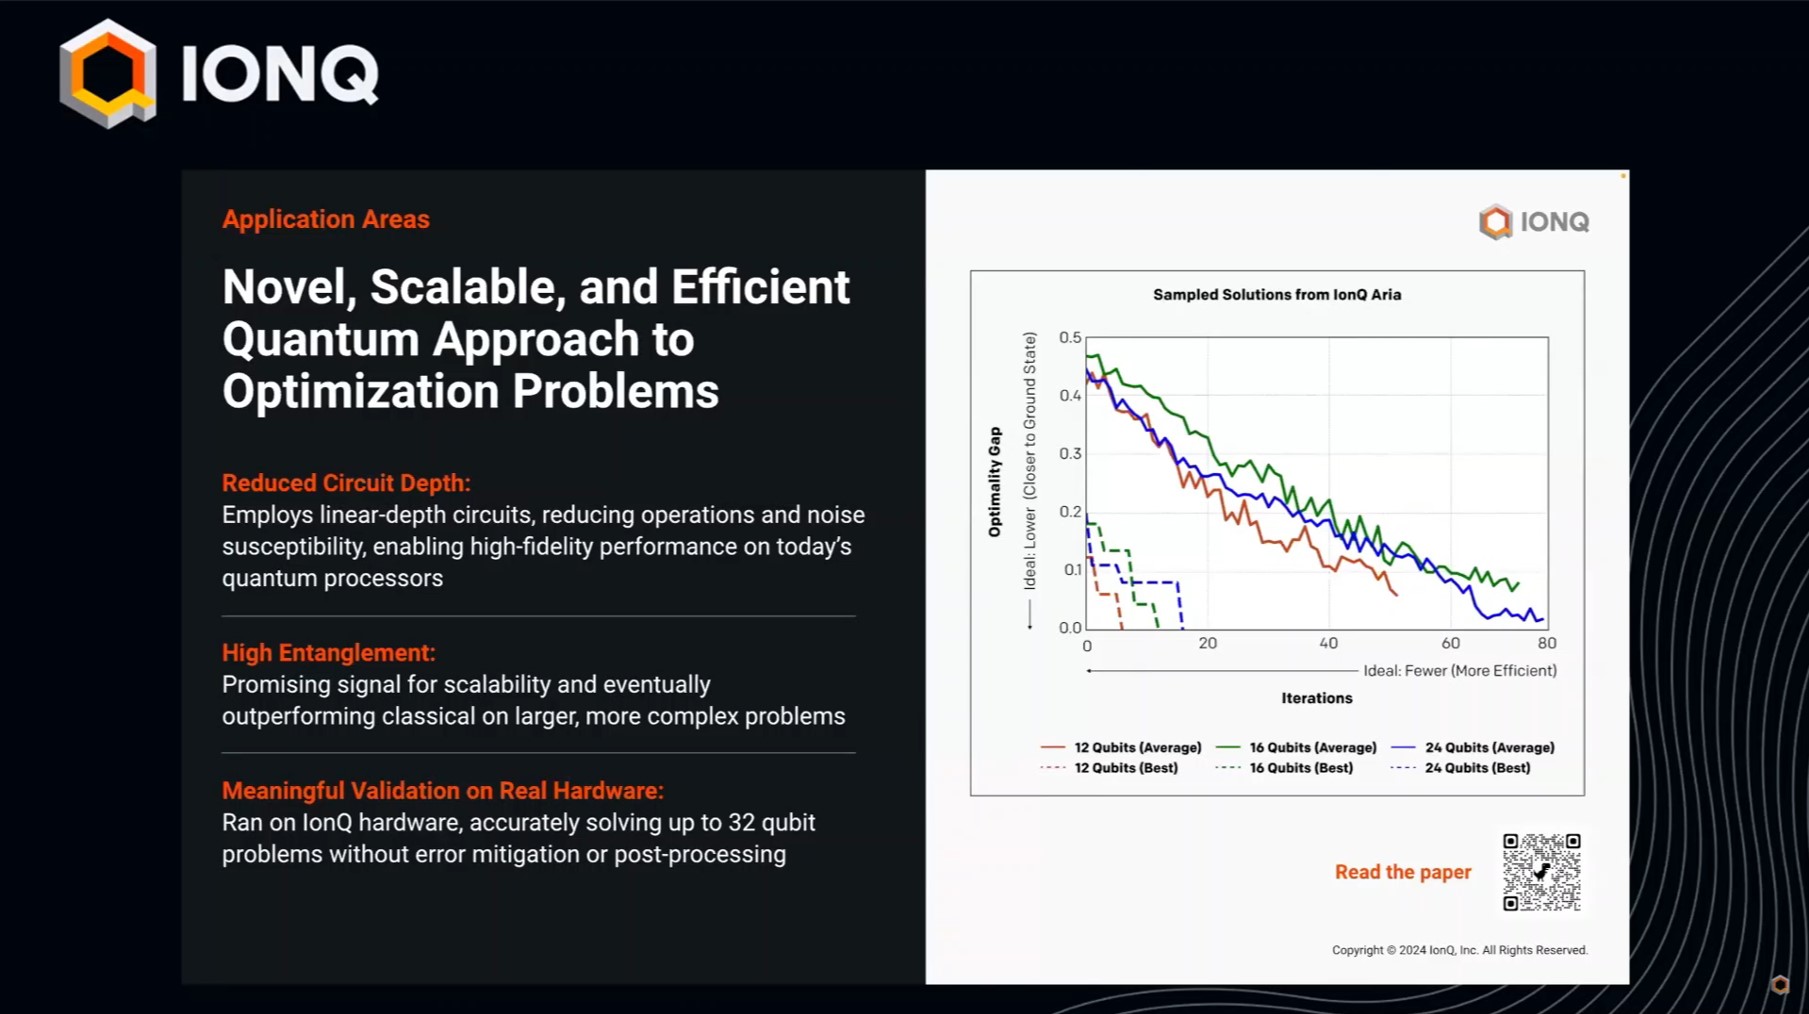
IonQ의 QITE 알고리즘을 통해 최적화 문제에서 비용과 에너지를 효율적으로 최소화하는 방법과 양자 얽힘을 활용한 성과를 발표 합니다.
그 외에 다른 파트너들과 협력하여 개발한 하이브리드 알고리즘과 더 많은 파트너와의 협력을 제안합니다.
https://youtu.be/VuT61s3fR7s?si=4dI5LdCuB1Zwyi81
반응형