반응형
블로그 이미지
개발자로서 현장에서 일하면서 새로 접하는 기술들이나 알게된 정보 등을 정리하기 위한 블로그입니다. 운 좋게 미국에서 큰 회사들의 프로젝트에서 컬설턴트로 일하고 있어서 새로운 기술들을 접할 기회가 많이 있습니다. 미국의 IT 프로젝트에서 사용되는 툴들에 대해 많은 분들과 정보를 공유하고 싶습니다.
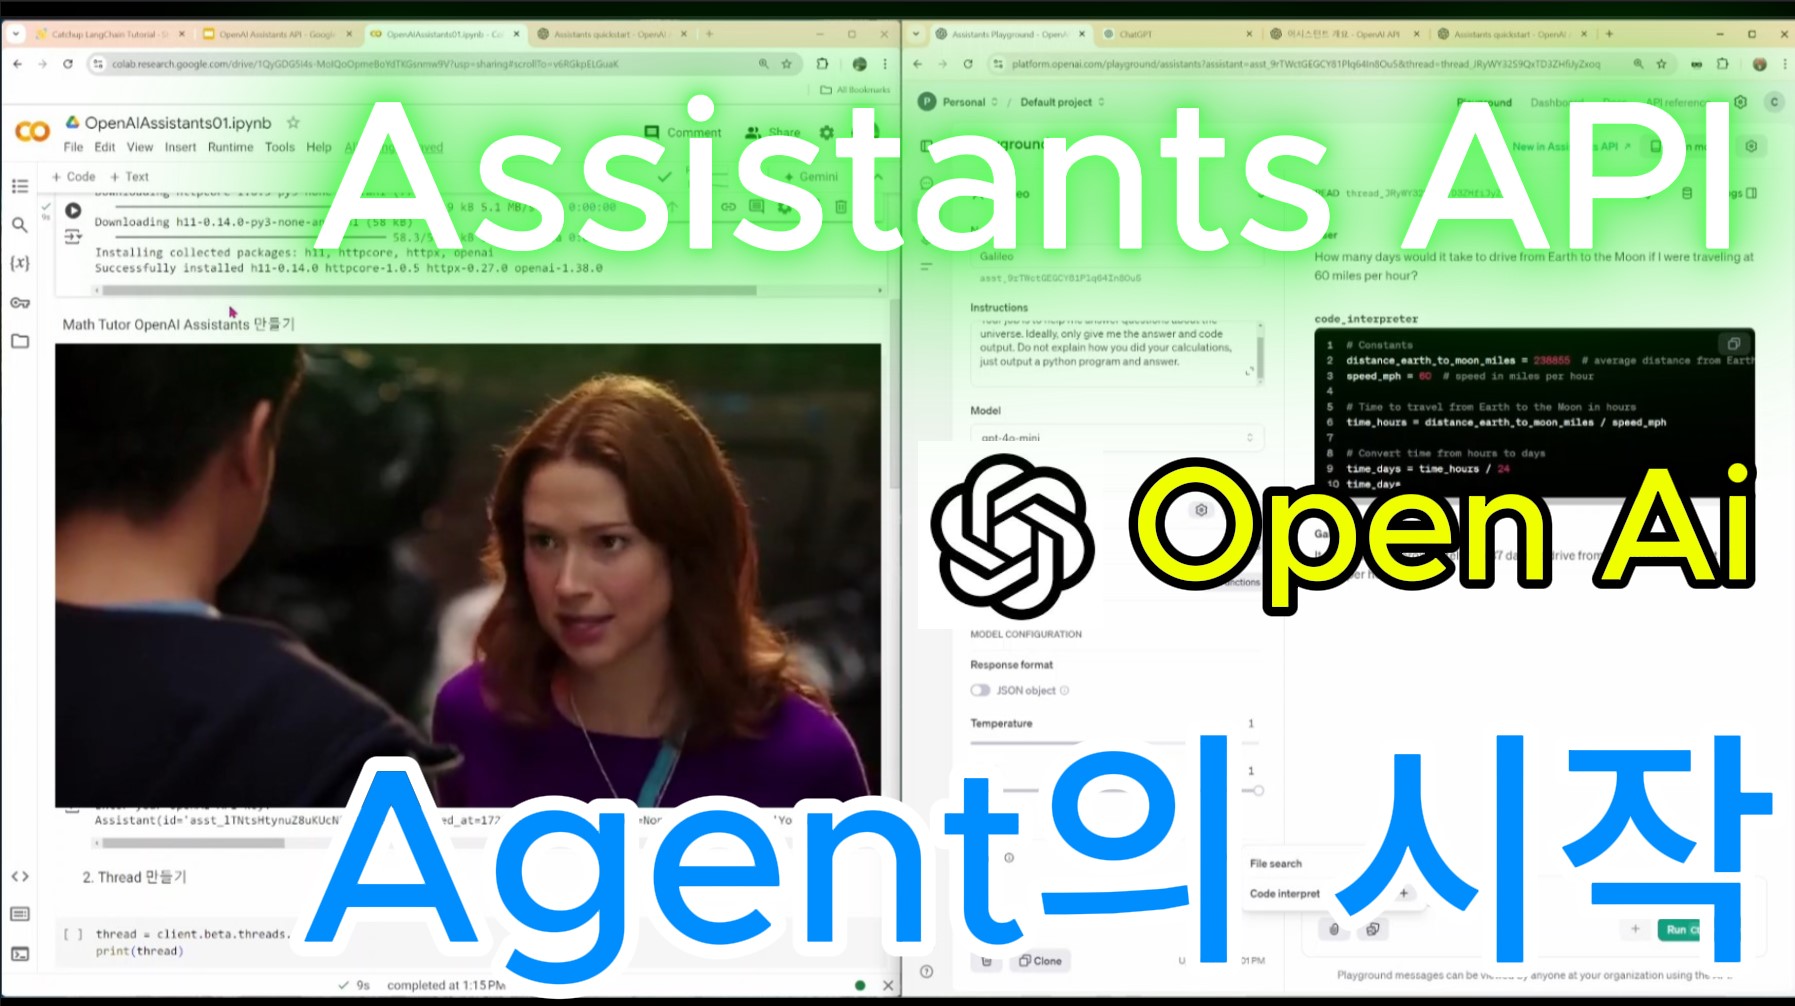
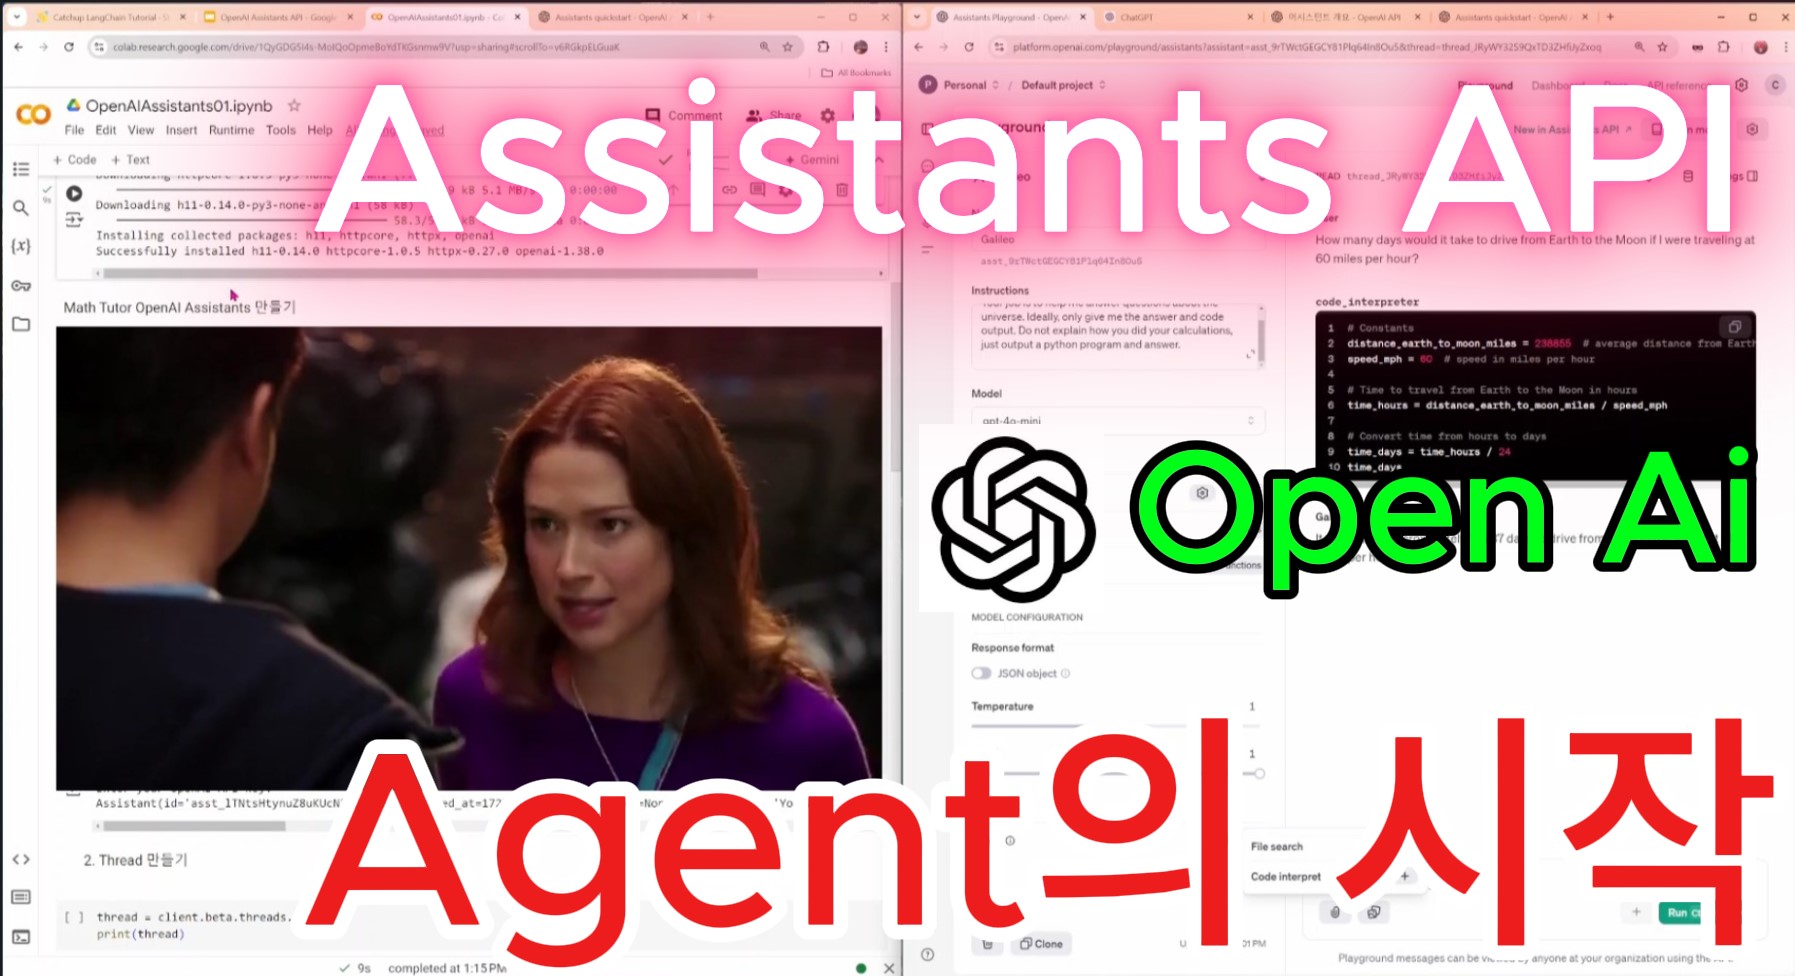
솔웅

최근에 올라온 글

최근에 달린 댓글

최근에 받은 트랙백

글 보관함

카테고리

'챗GPT'에 해당되는 글 2

  1. 2023.04.04 Chat GPT Plugin - Authentication
  2. 2023.02.24 Openai cookbook - Embeddings - How to get embeddings

Chat GPT Plugin - Authentication

2023. 4. 4. 00:17 | Posted by 솔웅


반응형

Authentication - OpenAI API


OpenAI API

An API for accessing new AI models developed by OpenAI

platform.openai.com


Plugin authentication

Plugins offer numerous authentication schemas to accommodate various use cases. To specify the authentication schema for your plugin, use the manifest file. Our plugin domain policy outlines our strategy for addressing domain security issues. For examples of available authentication options, refer to the examples section, which showcases all the different choices.


플러그인은 다양한 사용 사례를 수용하기 위해 수많은 인증 스키마를 제공합니다. 플러그인에 대한 인증 스키마를 지정하려면 매니페스트 파일을 사용하십시오. 플러그인 도메인 정책은 도메인 보안 문제를 해결하기 위한 전략을 간략하게 설명합니다. 사용 가능한 인증 옵션의 예는 다양한 선택 사항을 보여주는 examples section을 참조하십시오.


No authentication

We support no-auth flow for applications that do not require authentication, where a user is able to send requests directly to your API without any restrictions. This is particularly useful if you have an open API that you want to make available to everyone, as it allows traffic from sources other than just OpenAI plugin requests.


사용자가 제한 없이 API에 직접 요청을 보낼 수 있는 인증이 필요하지 않은 애플리케이션에 대해 무인증 흐름을 지원합니다. 이는 OpenAI 플러그인 요청 이외의 소스에서 트래픽을 허용하므로 모든 사람이 사용할 수 있게 하려는 개방형 API가 있는 경우에 특히 유용합니다.


"auth": {
  "type": "none"
},


Service level

If you want to specifically enable OpenAI plugins to work with your API, you can provide a client secret during the plugin installation flow. This means that all traffic from OpenAI plugins will be authenticated but not on a user level. This flow benefits from a simple end user experience but less control from an API perspective.


OpenAI 플러그인이 API와 함께 작동하도록 구체적으로 활성화하려는 경우 플러그인 설치 흐름 중에 클라이언트 암호를 제공할 수 있습니다. 이는 OpenAI 플러그인의 모든 트래픽이 인증되지만 사용자 수준에서는 인증되지 않음을 의미합니다. 이 흐름은 단순한 최종 사용자 경험의 이점이 있지만 API 관점에서 제어력이 떨어집니다.


  • To start, a developer pastes in their access token (global key)
  • 시작하려면 개발자가 액세스 토큰(글로벌 키)을 붙여넣습니다.
  • Then, they have to add the verification token to their manifest file
  • 그런 다음 매니페스트 파일에 확인 토큰을 추가해야 합니다.
  • We store an encrypted version of the token
  • 암호화된 버전의 토큰을 저장합니다.
  • Users don’t need to do anything when they install the plugin
  • 사용자는 플러그인을 설치할 때 아무 것도 할 필요가 없습니다.
  • Last, we pass it in the Authorization header when making requests to the plugin (“Authorization”: “[Bearer/Basic][user’s token]”)
  • 마지막으로 플러그인에 요청할 때 Authorization 헤더에 전달합니다("Authorization": "[Bearer/Basic][user's token]").
"auth": {
  "type": "service_http",
  "authorization_type": "bearer",
  "verification_tokens": {
    "openai": "cb7cdfb8a57e45bc8ad7dea5bc2f8324"
  }
},


User level

Just like how a user might already be using your API, we allow user level authentication through enabling end users to copy and paste their secret API key into the ChatGPT UI during plugin install. While we encrypt the secret key when we store it in our database, we do not recommend this approach given the poor user experience.


사용자가 이미 당신의 API를 사용하는 것처럼 최종 사용자가 플러그인 설치 중에 비밀 API 키를 복사하여 ChatGPT UI에 붙여넣을 수 있도록 하여 사용자 수준 인증을 허용합니다. 비밀 키를 데이터베이스에 저장할 때 암호화하지만 사용자 경험이 좋지 않은 경우에는 이 접근 방식을 권장하지 않습니다.


  • To start, a user pastes in their access token when installing the plugin
  • 시작하려면 사용자가 플러그인을 설치할 때 액세스 토큰을 붙여넣습니다.
  • We store an encrypted version of the token
  • 암호화된 버전의 토큰을 저장합니다.
  • We then pass it in the Authorization header when making requests to the plugin (“Authorization”: “[Bearer/Basic][user’s token]”)
  • 그런 다음 플러그인에 요청할 때 Authorization 헤더에 전달합니다("Authorization": "[Bearer/Basic][user's token]").
"auth": {
  "type": "user_http",
  "authorization_type": "bearer",
},


OAuth

The plugin protocol is compatible with OAuth. A simple example of the OAuth flow we are expecting in the manifest looks like the following:


플러그인 프로토콜은 OAuth와 호환됩니다. 매니페스트에서 예상되는 OAuth 흐름의 간단한 예는 다음과 같습니다.


  • To start, a developer pastes in their OAuth client id and client secret
  • 시작하려면 개발자가 OAuth 클라이언트 ID와 클라이언트 비밀번호를 붙여넣습니다. 
    • Then they have to add the verification token to their manifest file
    • 그런 다음 매니페스트 파일에 확인 토큰을 추가해야 합니다.
  • We store an encrypted version of the client secret
  • 클라이언트 시크릿의 암호화된 버전을 저장합니다.
  • Users log in through the plugin’s website when they install the plugin
  • 사용자는 플러그인을 설치할 때 플러그인 웹 사이트를 통해 로그인합니다. 
    • That gives us an OAuth access token (and optionally a refresh token) for the user, which we store encrypted
    • 그러면 사용자에 대한 OAuth 액세스 토큰(및 선택적으로 새로 고침 토큰)이 제공되며 암호화되어 저장됩니다.
  • Last, we pass that user’s token in the Authorization header when making requests to the plugin (“Authorization”: “[Bearer/Basic][user’s token]”)
  • 마지막으로 플러그인에 요청을 할 때 Authorization 헤더에 해당 사용자의 토큰을 전달합니다("Authorization": "[Bearer/Basic][user's token]").
"auth": {
  "type": "oauth",
  "client_url": "https://my_server.com/authorize",
  "scope": "",
  "authorization_url": "https://my_server.com/token",
  "authorization_content_type": "application/json",
  "verification_tokens": {
    "openai": "abc123456"
  }
},


To better understand the URL structure for OAuth, here is a short description of the fields:

OAuth의 URL 구조를 더 잘 이해할 수 있도록 다음은 필드에 대한 간단한 설명입니다.

  • When you set up your plugin with ChatGPT, you will be asked to provide your OAuth client_id and client_secret
  • ChatGPT로 플러그인을 설정할 때 OAuth client_id 및 client_secret을 제공하라는 메시지가 표시됩니다.
  • When a user logs into the plugin, ChatGPT will direct the user’s browser to "[client_url]?response_type=code&client_id=[client_id]&scope=[scope]&redirect_uri=https%3A%2F%2Fchat.openai.com%2Faip%2F[plugin_id]%2Foauth%2Fcallback"
  • 사용자가 플러그인에 로그인 할 때 챗GPT는 사용자의 브라우저를 이 페이지로 이동 시킬 겁니다. -> [client_url]?response_type=code&client_id=[client_id]&scope=[scope]&redirect_uri=https%3A%2F%2Fchat.openai.com%2Faip%2F[plugin_id]%2Foauth%2Fcallback
  • After your plugin redirects back to the given redirect_uri, ChatGPT will complete the OAuth flow by making a POST request to authorization_url with content type authorization_content_type and parameters { “grant_type”: “authorization_code”, “client_id”: [client_id], “client_secret”: [client_secret], “code”: [the code that was returned with the redirect], “redirect_uri”: [the same redirect uri as before] }
  • 플로그인이 주어진 redirect_uri 로 다시 redirection 된 후 챗GPT는 콘텐츠 요형  authorization_content_type 콘텐츠 유형 과 기타 파라미터들과 함께 authorization_url로 POST request를 만듦으로서 OAuth 흐름을 완료 하게 될 겁니다. 이때 사용되는 파라미터들은 다음과 같습니다. - authorization_content_type and parameters { “grant_type”: “authorization_code”, “client_id”: [client_id], “client_secret”: [client_secret], “code”: [the code that was returned with the redirect], “redirect_uri”: [the same redirect uri as before] }
반응형


반응형

오늘은 OpenAI Cookbook 에 있는 Embeddings 섹션의 두번째 페이지를 공부해 보겠습니다.

Text comparison exampls에 있는 예제들은 대충 한번 둘러 봤습니다.

여기에는 get_embedding() 관련 에제 두개가 나옵니다.

아주 기초적인 건데요. 이미 두루었기도 하구요.

여기 나오니까 잠깐 살펴보고 가겠습니다.


첫번째 소스 입니다.

import openai

embedding = openai.Embedding.create(
    input="Your text goes here", model="text-embedding-ada-002"
)["data"][0]["embedding"]
len(embedding)

이렇게 하면 embedding에는 prompt ("Your text goes here") 에 대한 openai api의 response가 담기게 됩니다.

이것은 JSON 형식으로 되어 있습니다. 그 중에 data 항목의 첫번째에 있는 embedding이란 항목에 있는 값만 embedding에 담기게 됩니다.


이것을 그대로 출력해 보겠습니다.


import openai

def open_file(filepath):
    with open(filepath, 'r', encoding='utf-8') as infile:
        return infile.read()

openai.api_key = open_file('openaiapikey.txt')

embedding = openai.Embedding.create(
    input="Your text goes here", model="text-embedding-ada-002"
)["data"][0]["embedding"]
len(embedding)
print (len(embedding))
print (embedding)

확인을 위해서 소스코드를 약간 바꾸었습니다.

openai api key를 제공하는 부분을 넣었구요.

command 창에서 결과를 확인할 수 있도록 print 문을 넣었습니다.

파이썬 주피터 툴을 쓰시면 print 문 없이 결과를 확인 할 수 있습니다.


결과는 이렇습니다.


embedding의 length는 1536 이고 그 값은 아래 나온 숫자들입니다.


그럼 전체 JSON 형식의 response를 확인하기 위해 ["data"][0]["embedding"] 부분을 빼 보겠습니다.


import openai

def open_file(filepath):
    with open(filepath, 'r', encoding='utf-8') as infile:
        return infile.read()

openai.api_key = open_file('openaiapikey.txt')

embedding = openai.Embedding.create(
    input="Your text goes here", model="text-embedding-ada-002")
print (embedding)

그 결과는 아래와 같습니다.


["data"][0]["embedding"] <- 이 부분이 하는 일은 data의 첫번째 embedding 값들만 받으라는 얘기입니다.

참고로 이 response의 끝부분은 이렇습니다.


이 response의 data에는 embedding 값만이 아니라 index, object 정보도 있습니다.

그리고 data 이외의 정보들로는 사용한 모델, object 타입 usage 안에는 토큰 정보가 있습니다.

(참고로 이 모델과 토큰에 따라 api 사용료가 달라집니다.)


그러니까 이 ["data"][0]["embedding"] 부분이 하는 일은 저 response 중에 data에 있는 embedding 값만 받고 싶을 때 사용할 수 있습니다.


그 다음 예제는 아래와 같습니다.


import openai
from tenacity import retry, wait_random_exponential, stop_after_attempt


@retry(wait=wait_random_exponential(min=1, max=20), stop=stop_after_attempt(6))
def get_embedding(text: str, model="text-embedding-ada-002") -> list[float]:
    return openai.Embedding.create(input=[text], model=model)["data"][0]["embedding"]


embedding = get_embedding("Your text goes here", model="text-embedding-ada-002")
print(len(embedding))

이 글의 주제와는 다른 토픽이지만 처음 보는 파이썬 모듈이 나와서 살펴 보고 넘어 가겠습니다.

tenacity

Tenacity is a general-purpose retrying library to simplify the task of adding retry behavior to just about anything.

이 모듈은 소스 코드에서 retry 해야 할 필요가 있을 때 사용할 수 있는 모듈이라고 합니다.


에러나 예외 처리에 의해 런타임이 종료 될 때가 있는데 이때 Tenacity는 종료 없이 함수를 다시 실행시켜 주는 Python 라이브러리 입니다.


이 모듈이 깔려 있지 않으면 pip install tenacity 를 사용해서 인스톨 할 수 있습니다.


그 중에 retry와 wait_random_exponential, stop_after_attempt 함수를 import 했습니다.


이와 관련한 사용법은 아래 페이지에 있습니다.

https://tenacity.readthedocs.io/en/latest/


Tenacity — Tenacity documentation

Tenacity Tenacity is an Apache 2.0 licensed general-purpose retrying library, written in Python, to simplify the task of adding retry behavior to just about anything. It originates from a fork of retrying which is sadly no longer maintained. Tenacity isn

tenacity.readthedocs.io

from tenacity import retry, wait_random_exponential, stop_after_attempt
@retry(wait=wait_random_exponential(min=1, max=20), stop=stop_after_attempt(6))

이 부분은 실행중에 에러나 예외 처리에 의해 런타임이 종료 되어야 하는 상황이 오면 retry 를 하는데 그 retry 사이의 시간 텀은 1초에서 20초 사이에 랜덤하게 설정하고 retry를 6번 까지만 실행 하라는 의미 입니다.


런타임 종료 상황이 오지 않는다면 이 부분은 실행 될 일이 없는 부분입니다.


이제 본 내용인 그 다음 코드를 살펴 보겠습니다.


def get_embedding(text: str, model="text-embedding-ada-002") -> list[float]:
    return openai.Embedding.create(input=[text], model=model)["data"][0]["embedding"]

embedding = get_embedding("Your text goes here", model="text-embedding-ada-002")
print(len(embedding))


get_embedding() 함수가 있는데요. 

이 함수에서는 input 값인 string값과 model 값을 input으로 받습니다.

그리고 return은 list[float] 형식입니다.


그 다음 return 부분은 위에서 설명한 내용 그대로 입니다.

JSON 형식의 response 중에서 data의 첫번째 인자인 embedding 값을 return 한다는 의미 입니다.


그 다음 줄에서는 이 return 값을 embedding에 담기 위해 get_embedding 함수를 호출하고 있습니다.

print(len(embedding)) 은 이 return 값의 length를 출력 합니다.


이 소스 코드를 그대로 출력해 보겠습니다.


그러기 위해서 api key 관련 부분을 추가했습니다.

import openai
from tenacity import retry, wait_random_exponential, stop_after_attempt

def open_file(filepath):
    with open(filepath, 'r', encoding='utf-8') as infile:
        return infile.read()

openai.api_key = open_file('openaiapikey.txt')

@retry(wait=wait_random_exponential(min=1, max=20), stop=stop_after_attempt(6))
def get_embedding(text: str, model="text-embedding-ada-002") -> list[float]:
    return openai.Embedding.create(input=[text], model=model)["data"][0]["embedding"]


embedding = get_embedding("Your text goes here", model="text-embedding-ada-002")
print(len(embedding))

그리고 결과 값은 아래와 같습니다.

이 페이지는 openai api 중 embeddings_utils.py에 있는 get_embedding() 을 설명하기 위한 페이지 입니다.

이 파이썬 소스 코드에 있는 get_embedding() 함수는 아래와 같습니다.


여기서 모델은 text-similarity-davinci-001로 돼 있는데 이 model (engine) 파라미터를 text-embedding-ada-002 로 해서 보내면 됩니다.


이 파이썬에는 이 외에도 aget_embedding(), get_embeddings(), aget_embeddings(), cosine_similarity() 등 더 많은 메소드들이 있습니다.


이곳에 가면 그 내용을 볼 수 있습니다.


https://github.com/openai/openai-python/blob/main/openai/embeddings_utils.py


GitHub - openai/openai-python: The OpenAI Python library provides convenient access to the OpenAI API from applications written

The OpenAI Python library provides convenient access to the OpenAI API from applications written in the Python language. - GitHub - openai/openai-python: The OpenAI Python library provides convenie...

github.com


또 여기에 대한 내용은 제 이전 글에서도 잠깐 다룬 바 있습니다.

이 글에서 보시면 openai.embeddings_utils를 사용하는 방법을 보실 수 있습니다.


https://coronasdk.tistory.com/1263


Openai cookbook - Embeddings - Text comparison examples - Semantic text search using embeddings

오늘은 openai cookbook 에 있는 Embeddings 부문의 Text comparison examples 에 있는 Semantic_text_search_using_embeddings.ipynb 예제를 살펴 보겠습니다. 우선 이 예제를 살펴 보기 전에 준비해야 할 사항들이 몇가지

coronasdk.tistory.com


오늘은 get embeddings의 아주 기초적인 부분을 짚고 넘어갈 수 있었네요.


이 내용은 openai-cookbook 페이지로 가서 Embeddings -> How to get embeddings로 가서면 보실 수 있습니다.

https://github.com/openai/openai-cookbook


GitHub - openai/openai-cookbook: Examples and guides for using the OpenAI API

Examples and guides for using the OpenAI API. Contribute to openai/openai-cookbook development by creating an account on GitHub.

github.com


반응형
이전 1 다음